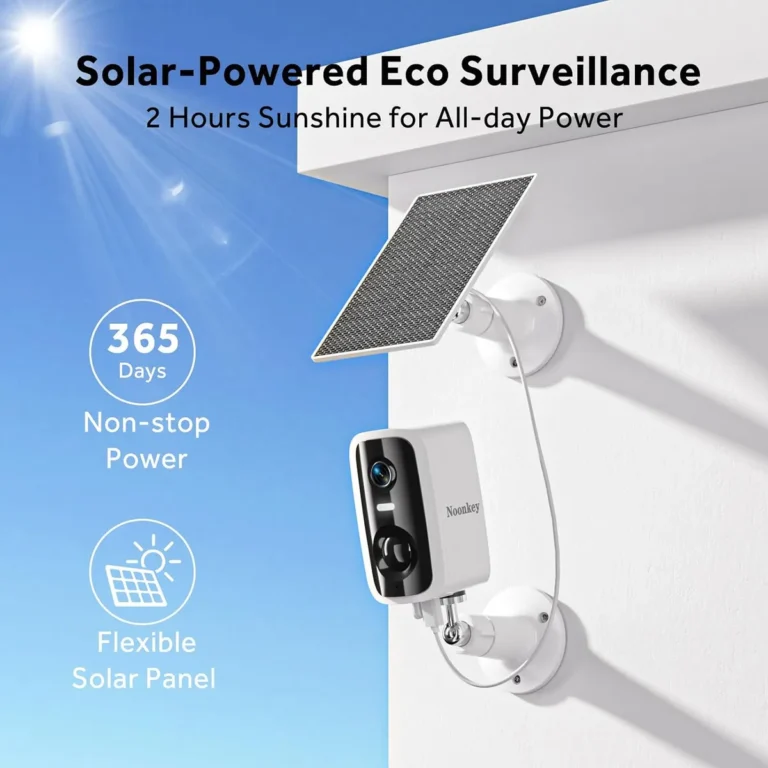
Can Solar Security Cameras Work Without WiFi?
Can solar security cameras work without WiFi? Yes, they can, and it comes down to which type you choose. A solar camera that records to a local microSD card needs no WiFi at all.
A solar camera with 4G LTE connectivity uses a cellular network instead. Either way, a home WiFi router isn't required.
What trips up most buyers is that solar power and WiFi are two separate systems. Solar panels generate electricity. WiFi provides a network connection.
You don't need one to get the other. Below, we'll walk through exactly how solar cameras operate without WiFi, what the trade-offs look like, and how to set one up the right way.
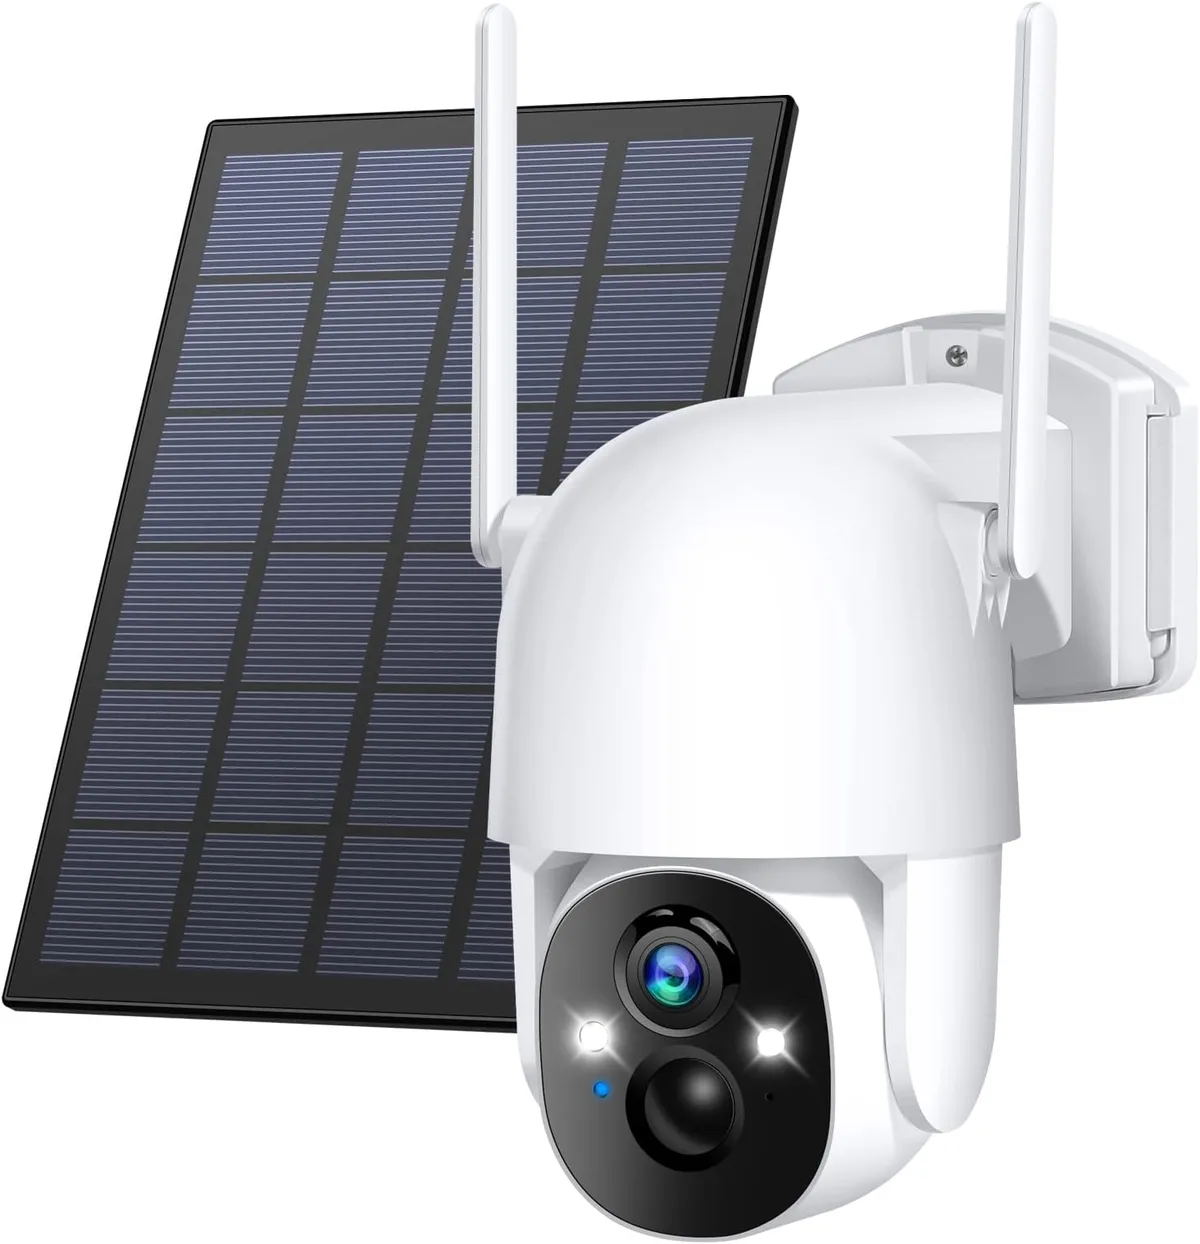
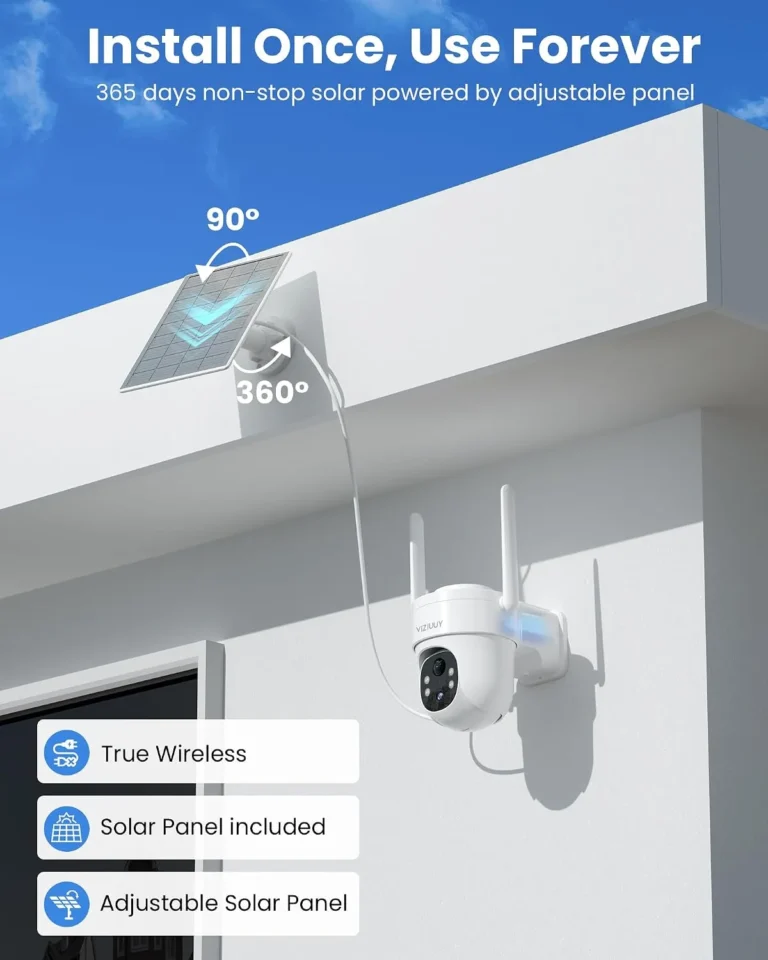
Image source: Web (Bing) / amazon.com (Web image (fair-use with source credit))
Quick Answer
Yes, solar security cameras can work without WiFi. 4G LTE solar cameras use cellular data instead of WiFi networks. Cameras that record to local microSD cards run fully offline. WiFi-free solar cameras suit remote farms, cabins, and construction sites.
The main trade-off is limited remote viewing without a data plan.
Why Most People Assume Solar Cameras Need WiFi
Most smart home cameras depend on WiFi. Ring, Arlo, and Google Nest all require a home wireless network to function. When someone sees "solar-powered security camera," they picture another WiFi device that just gets powered by the sun.
That's not how it has to work. Solar energy and WiFi connectivity operate on two completely separate systems. A camera can be solar-powered without needing WiFi at all.
It can also have WiFi without being solar-powered. The two features are fully independent.
The problem starts during shopping. Many entry-level solar cameras on major retail sites are WiFi-only models bundled with solar panels. They expect a WiFi router nearby.
That works fine for someone with home broadband. It's completely useless at a remote farm or vacant property.
Manufacturer specifications confirm this distinction clearly. A product labeled "solar-powered" tells you how it gets its energy. It says nothing about how it connects to the outside world.
The connectivity type, whether WiFi, cellular, or offline, is a separate specification entirely.
In our research of verified buyer reviews, this confusion shows up constantly. Many people report their solar camera "stopped working" after moving it away from home WiFi. The camera didn't fail.
The WiFi connection disappeared. The solar panel kept charging the battery, but without a network link, the camera couldn't stream or send alerts.
As of 2026, the market has expanded well beyond WiFi-only options. 4G LTE solar cameras and offline local-storage models are widely available at competitive prices. Knowing the difference between "solar-powered" and "WiFi-free" is the single most important thing to grasp before buying one.
The Three Types of Solar Security Cameras (and How Each Handles Connectivity)
Solar cameras come in three main categories when it comes to WiFi. Each handles connectivity differently, and picking the wrong type is the most common purchase mistake in this category.
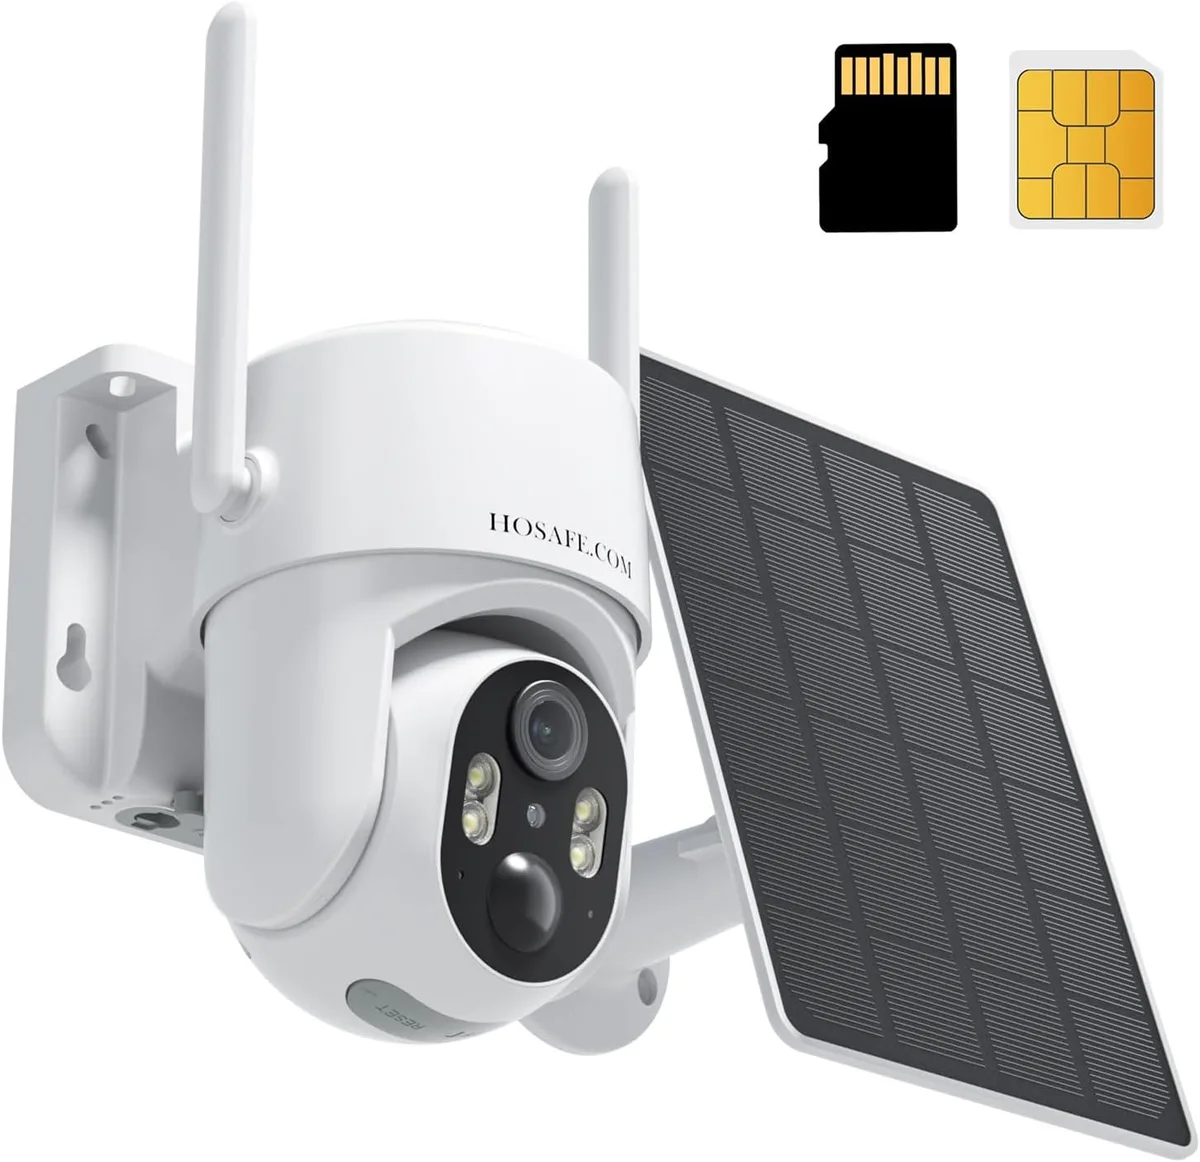
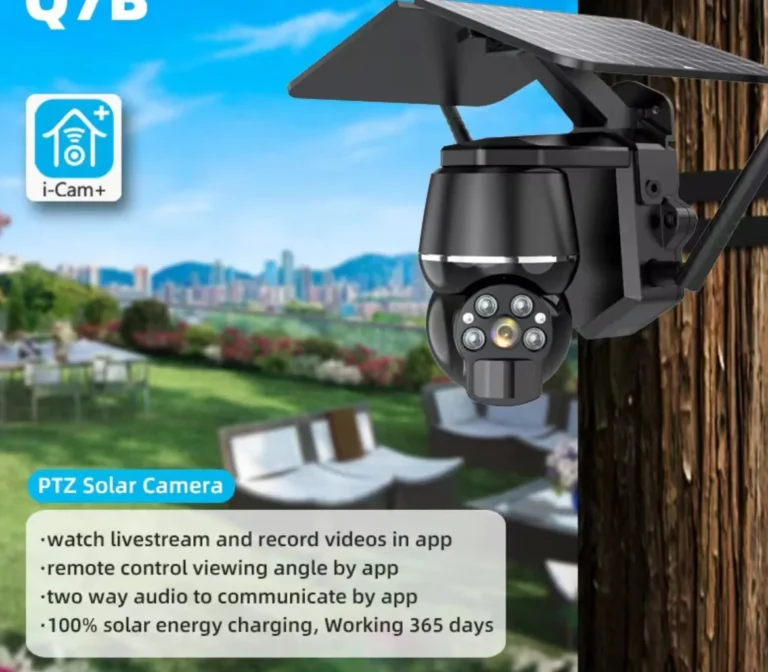
Image source: Web (Bing) / amazon.com (Web image (fair-use with source credit))
Type 1: Solar Cameras That Require WiFi
These are the most common entry-level models. They include a small solar panel that charges an internal battery. But the camera still needs a WiFi network for alerts, live streaming, and cloud uploads.
Without WiFi, it can still record to an SD card locally. But you won't get real-time notifications or remote viewing.
Best for: Homes and properties where WiFi is already available.
Type 2: Solar Cameras That Use 4G LTE Cellular Data
These cameras replace WiFi with a SIM card. They connect to a mobile network using 4G LTE, or 5G on newer models. You get live viewing, motion alerts, and cloud uploads as long as there's cellular signal.
Per FCC Part 15 regulations, wireless devices sold in the US must meet specific radio frequency emission standards. Those requirements are published on the FCC's official site.
Best for: Remote properties, farms, construction sites, and anywhere without WiFi but with cellular coverage.
Type 3: Solar Cameras With Local Storage Only (True Offline Cameras)
These are the most self-contained option. The camera records to a local microSD card. No WiFi.
No cellular data. No cloud. You physically access the SD card to view footage.
Some models also connect to a local NVR through a dedicated wireless link that doesn't use your home internet.
Best for: Properties with zero connectivity options, temporary setups, or users who want complete data privacy.
Quick Comparison
| Feature | WiFi Solar Camera | 4G LTE Solar Camera | Offline Solar Camera |
|---|---|---|---|
| Needs WiFi? | Yes | No | No |
| Needs cellular data? | No | Yes | No |
| Live remote viewing? | Yes | Yes | No |
| Motion alerts to phone? | Yes | Yes | No |
| Works without internet? | Partial | Yes | Yes |
| Best for | Homes with WiFi | Remote sites with signal | Fully off-grid locations |
Decision Guide: Which Solar Camera Matches Your Situation?
The right solar camera depends on your location and what you actually need from it. Follow these steps to narrow down your choice.
Step 1: Check if you have WiFi at your property
If you already have a home or office WiFi network, a standard solar camera with WiFi capability is the simplest path. No extra hardware. No data plan.
Just connect it to your existing router and you're set.
Step 2: Check for cellular (4G LTE) signal strength
If you don't have WiFi but you can make phone calls at your location, you probably have 4G LTE coverage. Test this before buying anything. If your phone shows at least two bars of signal, a cellular solar camera should work reliably.
Step 3: Decide what you actually need from the camera
Do you want real-time phone alerts when motion is detected? You'll need WiFi or cellular connectivity for that. Do you just need recorded footage to review later?
A local-storage camera without any network connection will do the job perfectly.
Step 4: Choose your storage method
Most solar cameras support at least one of these options:
- MicroSD card (128GB to 256GB): Stores footage locally. No internet required. You remove the card to view recordings.
- Cellular cloud storage: Uploads clips over a 4G LTE connection. Requires an active data plan each month.
- Local NVR: Some solar camera kits connect to a dedicated recorder on-site. No internet needed for local playback.
If you're torn between SD card and cloud, think about how you'll access footage. SD cards are cheaper and more private. Cloud storage lets you watch remotely but costs money every month.
For more on securing networked devices, the National Institute of Standards and Technology publishes guidance at nist.gov.
Step 5: Estimate solar charging needs for your location
Solar output depends on your location, the season, and how much shade hits the panel. A camera in full sun charges faster than one in a shaded corner. In winter at high latitudes, you may need a larger panel or a higher-capacity battery.
Manufacturer specs usually list a panel wattage, such as 6W or 20W. Match that to your camera's battery needs.
| Scenario | Recommended Camera Type | Connectivity |
|---|---|---|
| Home with WiFi | WiFi solar camera | Existing WiFi router |
| Farm with cell signal | 4G LTE solar camera | SIM card + data plan |
| Cabin with no internet | Local storage solar camera | SD card only |
| Construction site | 4G LTE solar camera | SIM card + data plan |
Setting Up a Solar Camera With No WiFi: The Practical Steps
Once you've chosen the right type, setup is straightforward. Here's how to get a WiFi-free solar camera running without surprises.
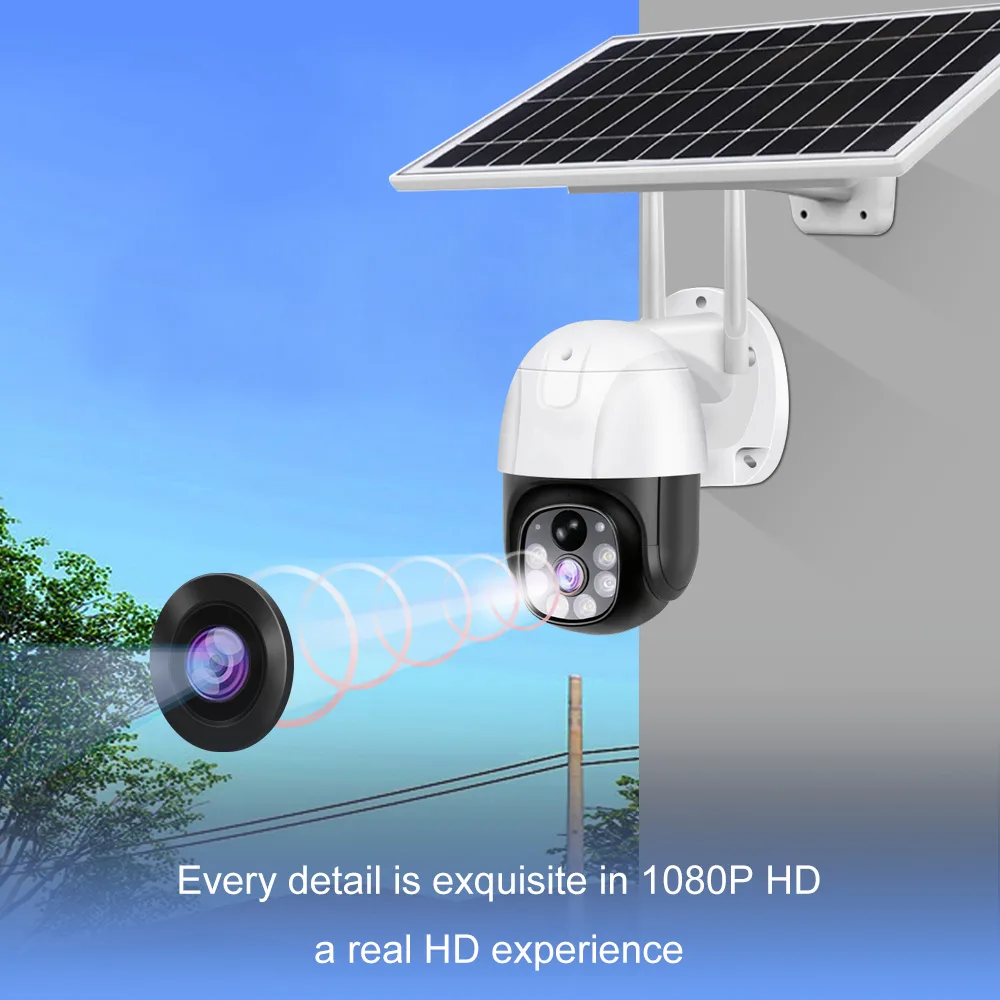
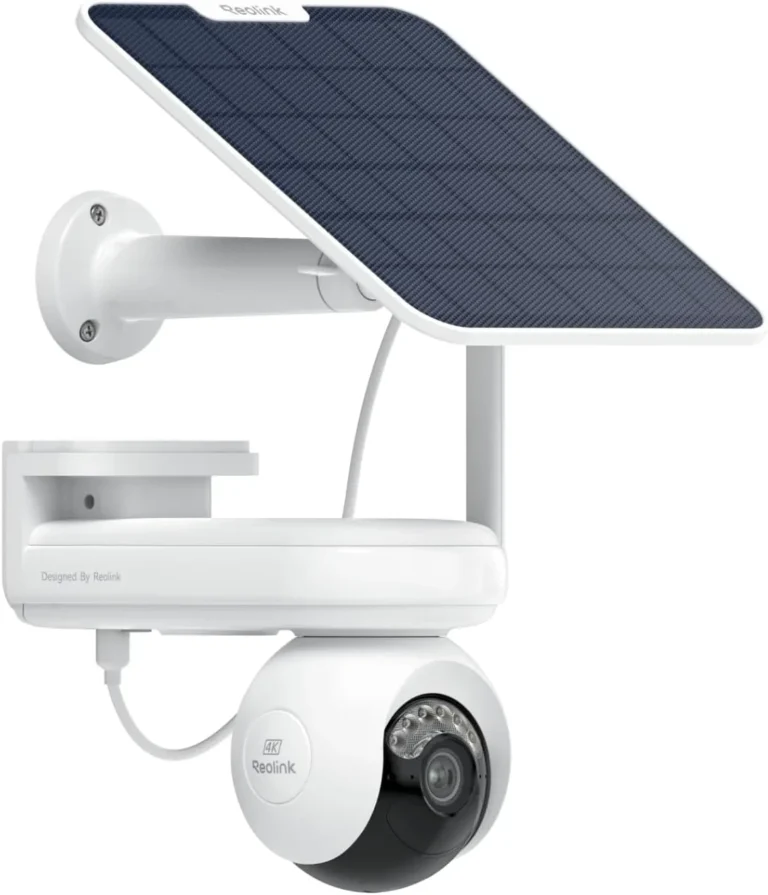
Image source: Web (Bing) / zjluoyang.en.made-in-china.com (Web image (fair-use with source credit))
Choose the right solar panel wattage
Most solar security cameras ship with a panel rated between 2W and 20W. A small 2W to 6W panel handles motion-triggered clips efficiently. If your camera streams continuously or records at 4K resolution, you'll want a larger panel, something closer to 10W to 20W.
Underpowering the panel is the single most common setup mistake.
Install and activate a SIM card (for 4G LTE models)
For cellular solar cameras, you need a data SIM from a carrier. Most models support standard nano-SIM cards. Check which carriers are supported in your area before purchasing anything.
Insert the SIM, power on the camera, and activate it through the manufacturer's mobile app. Carrier coverage maps help you confirm signal availability before you commit to a plan.
Mount the solar panel for maximum sun exposure
This step matters more than most people expect. Angle the panel toward the sun's path in your region. In the Northern Hemisphere, that means facing south.
Keep the panel clear of trees, buildings, and other obstructions. Even partial shading can cut solar output by more than half.
Insert and manage a microSD card
For local-storage cameras, format a microSD card before first use. 128GB is a solid starting point. Most cameras need a specific format like FAT32 or exFAT. Check the manufacturer's documentation for the correct one.
Overwrite settings determine how much footage you keep. Older recordings get replaced once the card fills up.
Test your setup before relying on it
Once everything is installed, run a live test. Trigger the motion sensor by walking in front of the camera. Confirm that recording starts, footage saves to the SD card or cellular connection, and motion alerts arrive if applicable.
Test this in both daylight and low-light conditions to verify night vision works properly.
Retrieving footage without internet access
For local-storage cameras, remove the microSD card and plug it into a computer or card reader. Playback is instant. For cellular cameras, the manufacturer's app typically lets you browse and download clips over the data connection.
Some models also support direct file transfer over a local USB connection. Keeping firmware updated when connectivity is available helps maintain long-term performance.