How Do I Connect a Solar Security Camera to WiFi?
"How do I connect a solar security camera to WiFi?" is one of the most common setup questions people run into, and the answer depends on your camera brand, your WiFi band, and whether your router actually reaches the mounting spot. Most solar security cameras are built for 2.4GHz networks, not 5GHz, and that mismatch alone causes a surprising number of failed connections.
Per IEEE 802.11 standards, 2.4GHz signals travel farther and penetrate walls better than 5GHz, which is why most solar cameras stay locked to that band as of 2026. Manufacturer specs from Reolink and Arlo confirm a typical outdoor WiFi range of 100 to 200 feet, line of sight. With the right preparation, most users can get a solar camera online in 15 to 30 minutes.
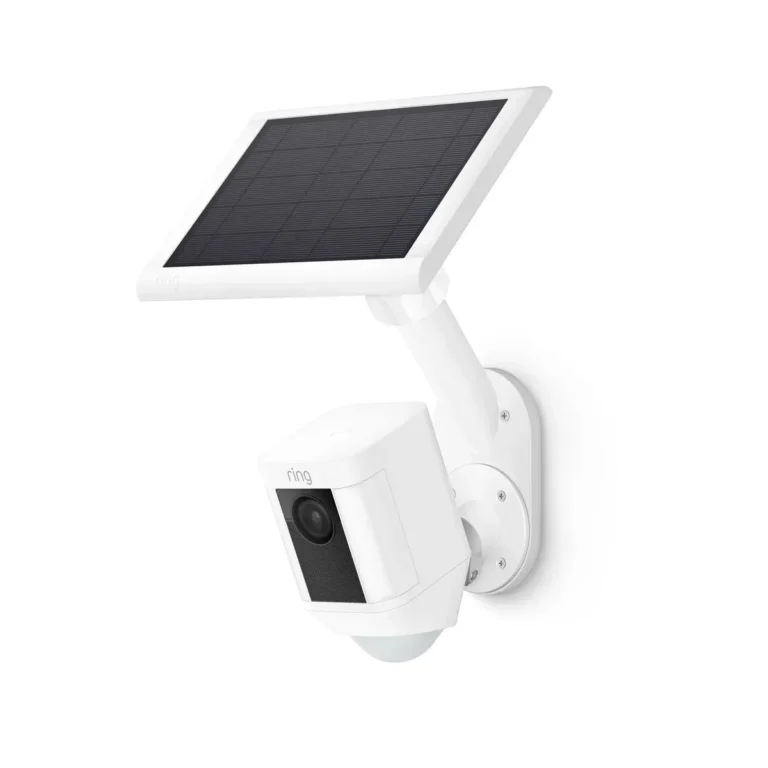
Image source: Web (Bing) / eufy.com (Web image (fair-use with source credit))
Quick Answer
To connect a solar security camera to WiFi, ensure the solar panel and battery are fully charged. Download the companion app for your camera brand. Scan the camera's QR code or pair it via Bluetooth.
Enter your 2.4GHz WiFi network name and password when prompted. Most solar cameras do not support 5GHz networks.
Before You Start: A Quick Setup Checklist for Solar Cameras
Before you open the app or power on the camera, run through this checklist. Skipping even one step is a common cause of setup failure. Manufacturer installation guides from brands like Reolink and Swann all recommend the same pre-setup verification.
Here are the key items to confirm:
- Your router broadcasts a separate 2.4GHz network, not just a merged dual-band SSID
- WiFi signal strength at the mount point reads above -70 dBm RSSI
- The solar panel has no shading and is angled toward direct sun
- The battery is charged to at least 50 percent before setup
- You know your router's SSID and password
- You've decided on storage: cloud subscription versus microSD card
- You've downloaded the correct companion app for your camera brand
Here's a quick reference table for what each check verifies:
| Pre-Setup Check | What to Verify | Why It Matters |
|---|---|---|
| WiFi Band | 2.4GHz SSID is visible | Most solar cameras can't connect to 5GHz |
| Signal Strength | RSSI above -70 dBm at mount point | Weak signal causes dropouts and offline alerts |
| Battery Charge | At least 50 percent before setup | Camera needs power to complete pairing |
| Solar Panel | No shading, panel angled toward sun | Below-rated solar output delays full charge |
| WiFi Password | Written down and correct | Incorrect credentials are the most common error |
| Storage Plan | Cloud vs microSD chosen in advance | Some apps won't proceed without a storage selection |
Take five minutes to run through this list. It saves far more time than troubleshooting a failed connection afterward.
Step-by-Step Workflow: How to Connect a Solar Camera to WiFi
Once your checklist is done, the actual connection process follows one of three paths depending on your camera model. As of 2026, most solar security cameras on the US market use app-guided setup with QR code scanning or Bluetooth pairing.
Branch A: App-Guided Setup (QR Code or Bluetooth)
This is the most common path for Reolink, Arlo, Ring, and Blink models. Open the companion app and create an account if you haven't already. Power on the solar camera and confirm the battery indicator shows adequate charge.
If the camera was previously connected, factory reset it first using the reset button.
In the app, select your camera model, then scan the QR code on the camera body or the quick-start manual. Wait for Bluetooth discovery if your model uses that method instead. When the camera appears, select your 2.4GHz WiFi network and enter the password.
The app confirms once the camera goes online.
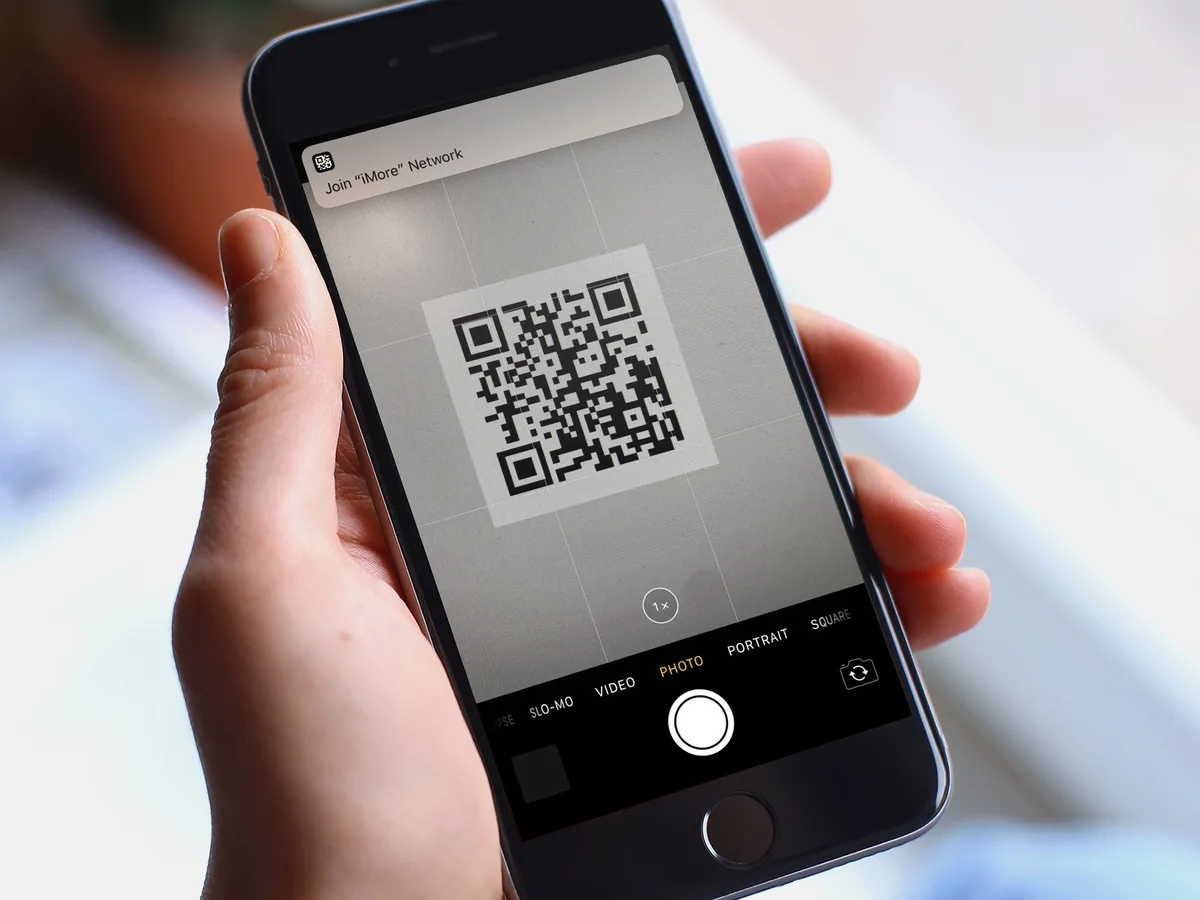
Image source: Web (Bing) / mqjg.herdingdonkeys.com (Web image (fair-use with source credit))
Branch B: Manual WiFi Setup (No App)
Some older or budget solar cameras don't require an app. Power on the camera and it broadcasts a temporary WiFi network, usually named after the brand. Connect your phone directly to that network.
Open a browser and navigate to the camera's default IP address to enter your home WiFi credentials.
Branch C: 4G LTE Solar Camera (No WiFi Required)
If your property has no broadband WiFi, a 4G LTE solar camera is the practical alternative. Insert the SIM card, activate the data plan, and power on the camera. Configure everything through the app over cellular.
Place the solar panel where it gets direct sun for at least 4 to 6 hours daily.
Fixing Common WiFi Connection Failures on Solar Cameras
If your solar camera won't connect despite following the setup steps, the problem is almost always one of these five issues. Start here before you reset anything or contact support.
Camera Not Appearing in the App
If the app can't find the camera during pairing, check two things. First, confirm the battery has enough charge to power the camera's WiFi radio. Second, make sure you're trying to connect to a 2.4GHz network.
Disable the 5GHz band on your router temporarily and try again.
WiFi Password Rejected
This is the single most reported error code across solar camera brands. Double-check the password for hidden characters, capitalization, and spaces. If you've recently changed your router password, update it in the camera app settings before retrying.
Signal Too Weak at the Mounting Location
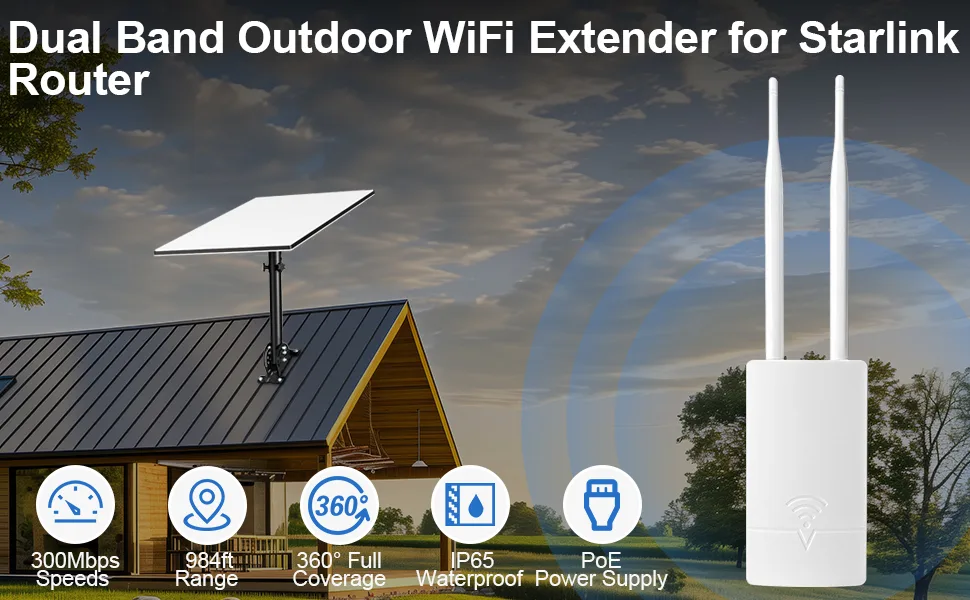
Image source: Bing (Web (fair-use with source credit))
Move the camera closer to the router if possible. If that's not practical, a WiFi extender placed between the router and the camera can boost coverage. Manufacturer specs indicate that a standard outdoor WiFi extender adds 80 to 100 feet of usable range in most environments.
Camera Loses WiFi After Setup
This usually points to signal instability rather than a pairing failure. Solar cameras often enter a low-power mode to conserve battery, and the WiFi connection drops during sleep cycles. Adjust the recording schedule so the camera stays active during high-traffic hours and peak security needs.
Firmware Needs Updating
Older firmware versions can cause pairing and connectivity bugs that persist across attempts. Check the app for OTA updates before troubleshooting anything else. Per NIST cybersecurity guidance for IoT devices, keeping camera firmware current also reduces security vulnerabilities on your home network.
WiFi vs 4G Cellular vs Wired: Choosing the Right Solar Camera Connection
Choosing the right connection type depends on where the camera is going and what your property already has. Here's how the three main options compare.
| Factor | WiFi Solar Camera | 4G LTE Solar Camera | Wired Solar Camera |
|---|---|---|---|
| Best for | Homes with strong router coverage | Remote properties, no broadband available | Properties with electrical outlets nearby |
| Setup difficulty | Moderate, app-guided | Moderate, app-guided over cellular | Higher, wiring required |
| Monthly cost | None | $5 to $20/month for SIM data | None |
| Range from camera to signal | 100 to 200 ft from router | Unlimited, depends on cell tower | Limited by cable run length |
| Connection stability | Depends on WiFi signal strength | Depends on cell tower proximity | Most stable of all three options |
If your home already has solid 2.4GHz coverage, a WiFi solar camera is the simplest and cheapest option. For remote cabins or agricultural properties without internet, 4G LTE models from Reolink and Swann work on cellular data plans. Wired is the rarest choice for solar cameras but offers the most stable connection if an outlet is nearby.
The FCC regulates all wireless devices sold in the US under Part 15 rules. Whether you choose WiFi or cellular, confirm the camera carries FCC certification for your region before purchasing.
Costs, Specs, and Long-Term Solar Camera Performance
Solar security camera pricing runs from about $80 for a basic Reolink model to $350 or more for a 4K AI-enabled unit with advanced motion detection. Mid-range cameras in the $120 to $200 range handle most residential needs and include 2K resolution, color night vision, and a built-in solar panel.
Cloud storage subscriptions add an ongoing cost most buyers overlook. Here's how the major brands compare as of 2026:
| Brand | Monthly Cloud Cost | Annual Cloud Cost | Local Storage Option |
|---|---|---|---|
| Reolink | $3 to $5 | $30 to $50 | MicroSD, NVR |
| Arlo | $3 to $17 | $29 to $179 | Local base station |
| Ring | $4 to $20 | $40 to $200 | Local SD card (some models) |
| Blink | $3 to $10 | $30 to $100 | Local Blink Sync module |
| Swann | Free to $5 | Free to $60 | MicroSD |
If you prefer zero recurring costs, a Reolink model with microSD storage gives you 7 to 30 days of local recording without any subscription. Aggregate user reviews consistently report that local storage works fine for most residential setups.
On the solar side, manufacturer specs show typical panel wattage between 2W and 6W with battery capacities of 6,000mAh to 10,000mAh. A full solar charge takes 4 to 6 hours of direct sunlight. In our research, well-positioned panels maintain 80 percent or higher battery charge even in overcast conditions.
Maintenance is straightforward. Clean the solar panel surface monthly with a soft cloth to remove dust, leaves, and bird droppings. Dirty panels can lose 10 to 15 percent of their charging output.
Check the camera's firmware through the companion app every few months. Run a signal strength test in the app at least once a season. Replace batteries that consistently fall below 50 percent charge after a full day of sun exposure.
Expert Tips, FAQs, and Final Decision Guide
Expert Tips for Solar Camera WiFi Reliability
Manufacturer support documentation and aggregate user reviews point to a few practices that make a real difference.
- Verify 2.4GHz compatibility before you buy. This is the single biggest setup blocker.
- Test the WiFi signal at the mount point before drilling. Use a phone WiFi analyzer app to confirm RSSI above -70 dBm.
- Keep the solar panel angled toward direct south-facing sun in the Northern Hemisphere.
- Position the camera within 150 feet of your router. Add a WiFi extender if the distance exceeds that.
- Update firmware immediately after initial setup. Older versions carry known connection bugs.
- Run a connection test at night. Some WiFi networks weaken after sunset as neighbors' devices come online.
Frequently Asked Questions
Do solar security cameras work without WiFi?
Some do, and some don't. Solar security cameras that use 4G LTE cellular connections operate without home WiFi, relying on a SIM card and data plan instead. WiFi-only models need a working network to transmit video and alerts.
If you live in an area without broadband, a 4G LTE solar camera from Reolink or Swann is the right choice.
Can I connect a solar security camera to 5GHz WiFi?
Most solar security cameras only support 2.4GHz networks. Manufacturer specs from Reolink, Arlo, and Blink confirm 2.4GHz compatibility only. If your router merges both bands into one SSID, the camera may not appear during setup.
Log into your router settings and temporarily disable the 5GHz band while pairing.
How long does a solar security camera battery last without sun?
Manufacturer specifications show that most solar camera batteries hold a 3 to 6 month charge without solar input, depending on usage. Cameras recording continuously or running night vision drain faster. Overcast climates reduce solar charging efficiency, but panels typically still produce 30 to 40 percent of rated output on cloudy days.
Can I use a solar security camera without a subscription?
Yes. Several brands offer local microSD storage options with no monthly fee. Reolink models support microSD cards up to 256GB and store footage directly on the card.
You won't get remote playback or long-term cloud backup, but basic recording and motion alerts work without any subscription.
Why does my solar camera keep going offline?
The most common causes are weak WiFi signal at the camera's location, low battery power, and outdated firmware. Aggregate support forum reports show that signal strength issues account for the majority of offline incidents. Check the camera's RSSI reading in the app, confirm battery charge is above 30 percent, and run a firmware update before resetting the device.
Do I need an electrician to install a solar security camera?
No. Solar security cameras are designed for DIY installation with no electrical wiring required. Mount the camera with the provided bracket, position the solar panel for sun exposure, and complete WiFi setup through the companion app.
The entire process takes 15 to 30 minutes for most models.
Final Decision Guide: Choosing the Right Solar Camera WiFi Setup
Your best solar camera WiFi setup depends on where you're installing it and what infrastructure your property already has.
If you have strong 2.4GHz router coverage, choose a WiFi solar camera from Reolink or Arlo with microSD storage. It's the cheapest long-term option with zero monthly fees.
If your property has no broadband internet, a 4G LTE cellular solar camera is the only practical path. Budget $5 to $20 per month for the SIM data plan.
If the camera is going on a detached structure 150+ feet from your router, add a WiFi extender between the camera and router. Manufacturer specs indicate standard outdoor extenders add 80 to 100 feet of usable range.
For renters or anyone who can't drill holes, look for solar cameras with magnetic mounting options and no-wire power. Set the camera up first, then mount it to confirm the connection works at the final location.