How Do You Sharpen Lawn Mower Blades?
How do you sharpen lawn mower blades? The short answer is you remove the blade, secure it, and file the cutting edge at a consistent angle. Most homeowners can do this in under 30 minutes with the right tools.
It's one of those maintenance tasks that makes a bigger difference than most people realize.
Major brands like Honda, Toro, and Husqvarna recommend sharpening every 20 to 25 mowing hours or once per season. Sharp blades also improve fuel efficiency by roughly 10 to 15% compared to dull ones. The USDA's Natural Resources Conservation Service backs this up, recommending regular blade maintenance as part of efficient turf management.
Let's look at what actually causes your blades to dull and what to do about it.
Quick Answer
How do you sharpen lawn mower blades? Remove the blade and file the cutting edge at 30 to 45 degrees. Balance the blade before reinstalling it.
Reinstall with the cutting edge facing the direction of rotation. Sharpen every 20 to 25 mowing hours or once per season.
Why Your Lawn Is Telling You It's Time to Sharpen Those Blades
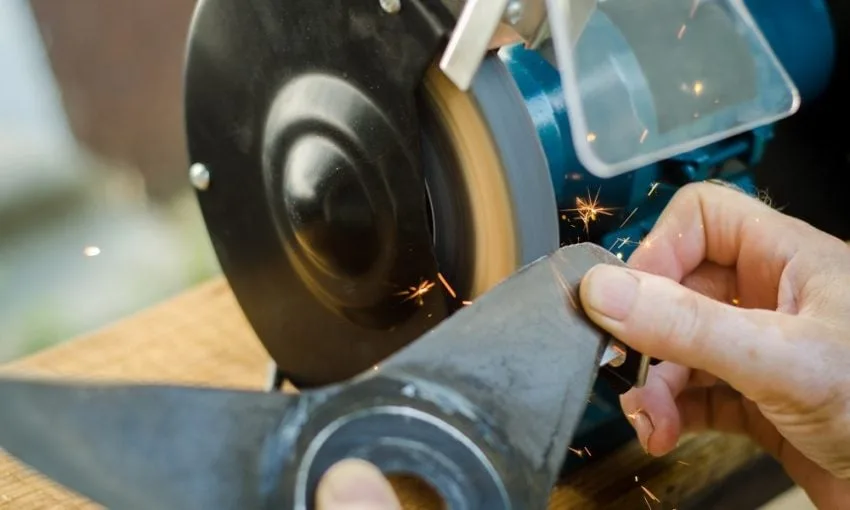
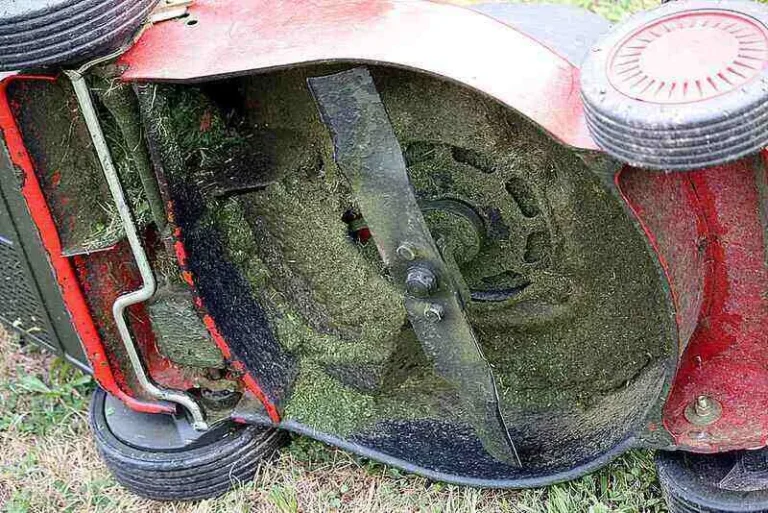
Image source: Web (Bing) / bangingtoolbox.com (Web image (fair-use with source credit))
If your lawn looks ragged a day or two after mowing, dull blades are usually the culprit. When the blade tears grass instead of slicing it cleanly, the damaged tissue turns brown within 24 to 48 hours. You'll notice it most in warm-season grasses like Bermuda and Zoysia, which are tougher on blades than cool-season fescue or Kentucky bluegrass.
Other signs your blades need attention:
- Grass tips that look shredded or frayed rather than cleanly cut
- Uneven mowing height across the yard
- Excessive vibration or noise coming from the mower deck
- More frequent engine bogging or struggling through thick patches
- Noticeably higher fuel consumption between mows
The USDA's Natural Resources Conservation Service highlights how clean cuts support turf health and reduce disease risk. Torn grass opens the door for fungal infections that a sharp blade simply wouldn't allow. Regular blade maintenance keeps your lawn looking cleaner and staying healthier through the growing season.
Blade dulling happens naturally over time. Sand particles, dirt, small rocks, and the sheer friction of mowing all roll the edge over gradually. Major mower manufacturers state clearly in their owner's manuals that dull blades increase engine load.
Over time, that extra strain shortens the life of the entire mower deck and drive system.
The Right Method Depends on Your Blade Condition, Tools, and Experience
Not every blade needs the same treatment. The method you pick should match three things: how badly the blade is damaged, what tools you have available, and how comfortable you are working around small engines.
Here's the decision framework we recommend:
| Blade Condition | Best Method | Time Required |
|---|---|---|
| Minor dulling, no visible damage | Hand file or pull-through sharpener | 10 to 15 minutes |
| Moderate dulling with small chips | Bench grinder or angle grinder | 20 to 30 minutes |
| Large chips, deep grooves, or bending | Professional sharpening or replacement | 30 to 45 minutes |
| Severely bent or cracked | Replace the blade entirely | 10 minutes |
If you're sharpening for the first time and your blade is just slightly dull, a hand file is the safest starting point. It gives you control and won't remove too much material. A bench grinder works faster but demands more confidence.
If you've never used one, practice on an old blade before touching your mower.
For riding mowers with multiple blades, inspect each one separately. Often one blade wears faster than the others because of deck geometry. Sharpen or replace them as a matched set to avoid vibration issues later.
Small engine maintenance requires some basic safety habits. Always disconnect the spark plug wire before working on any gas-powered mower. On riding mowers, disconnect the battery as well.
The Consumer Product Safety Commission maintains recall and safety notices for outdoor power equipment that are worth checking before any maintenance work.
Hand File vs. Bench Grinder vs. Blade Sharpener Tool vs. Pro Service
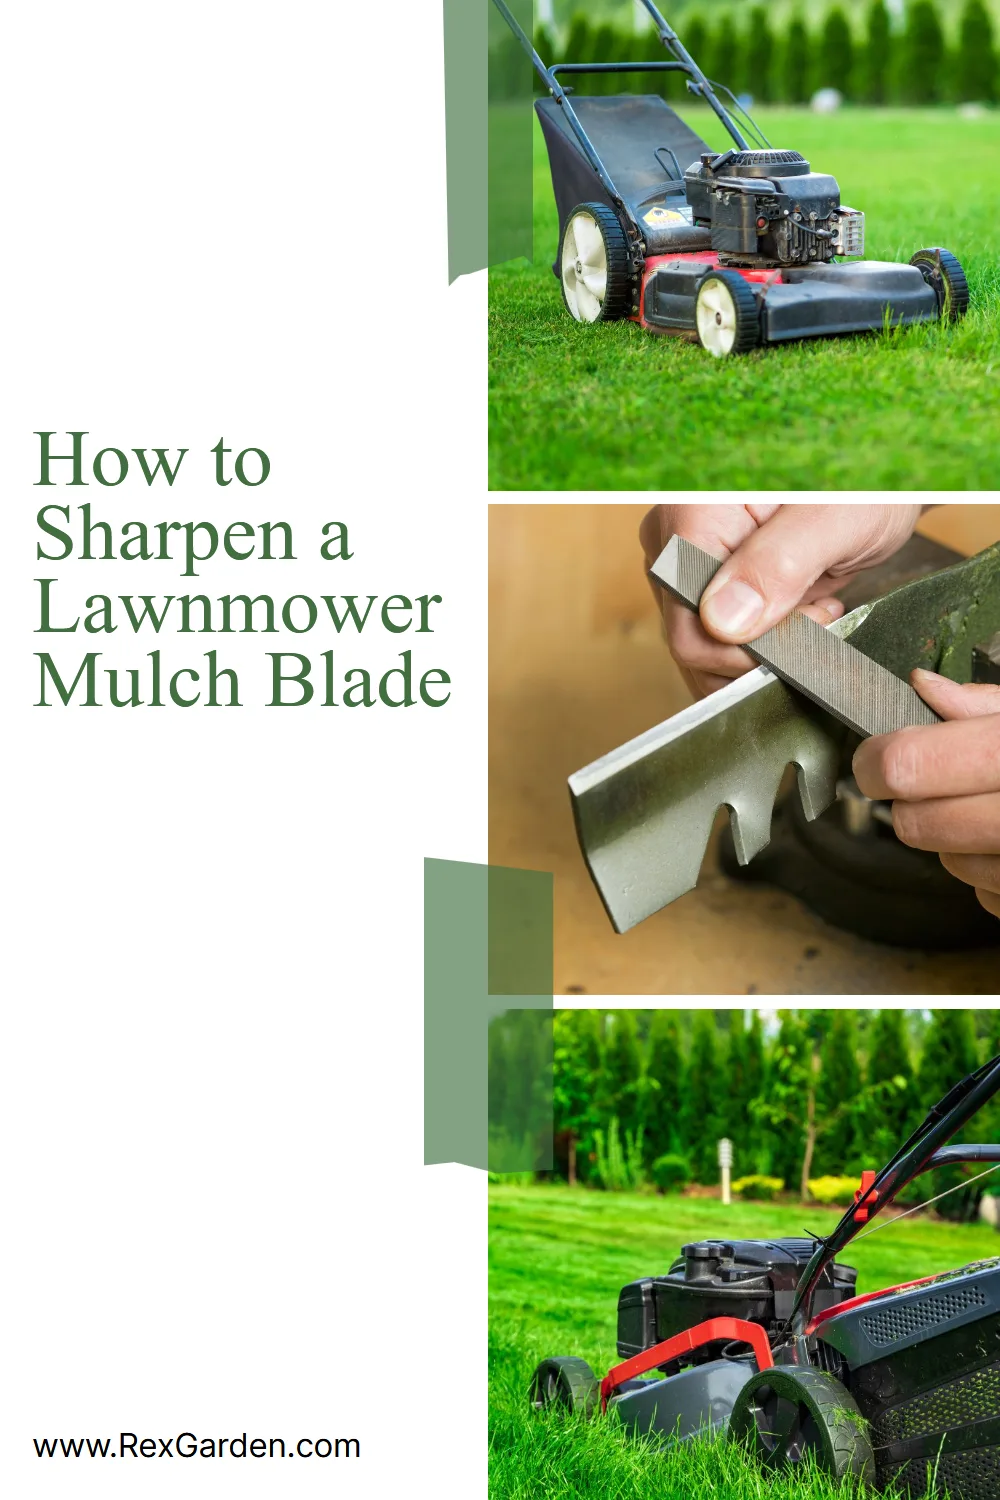
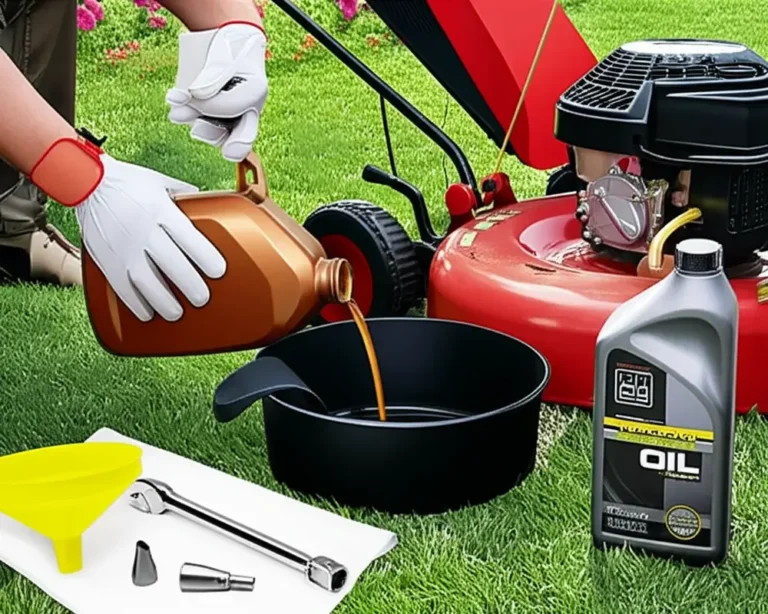
Image source: Web (Bing) / storage.googleapis.com (Web image (fair-use with source credit))
Four main approaches exist for sharpening mower blades. Each has real strengths and real limitations. Here's how they compare.
Hand file is the most accessible option. You only need a flat metal file and a sturdy bench vise. It works well for blades that have minor dulling and no chips.
The downside is that it takes patience and physical effort. You're grinding metal by hand, and consistency depends entirely on your technique.
Bench grinder is faster and handles chipped or rough edges better. The risk is overheating. Running a blade against a grinder wheel for too long can soften the steel temper, weakening the blade permanently.
Use light, consistent passes and dip the blade in water frequently.
Pull-through blade sharpener tool is the cheapest and most beginner-friendly option. These handheld devices grip the blade edge and file it at a preset angle. They're great for quick touch-ups but struggle with heavily chipped edges.
Most cost between $10 and $20.
Professional sharpening service is the hands-off choice. Landscaping supply stores and some small engine shops offer this for $5 to $15 per blade as of 2026. It's worth it if you have multiple riding mower blades, a severely damaged edge, or simply don't want to deal with the process yourself.
| Method | Cost | Best For | Skill Level |
|---|---|---|---|
| Hand file | $10 to $20 (file only) | Light sharpening, control | Beginner |
| Bench grinder | $40 to $100 (grinder) | Chipped or rough edges | Intermediate |
| Pull-through tool | $10 to $20 | Quick touch-ups | Beginner |
| Pro service | $5 to $15 per blade | Convenience, multiple blades | None |
Step-by-Step: How to Sharpen a Lawn Mower Blade Safely
The process is straightforward once you know the order. Whether you're using a hand file or a grinder, the steps are essentially the same.
Step 1: Prep the mower. Disconnect the spark plug wire on gas mowers. Remove the key and disconnect the battery on riding mowers. Roll the mower on its side with the air filter facing up to prevent oil from leaking into the carburetor.
Step 2: Remove the blade. Use a socket wrench to loosen the blade bolt while holding the blade with a block of wood. Most push mower blades use a standard blade bolt, while riding mowers may use a hex head bolt. Keep track of any washers or spacers.
Step 3: Inspect the blade. Look for chips, bends, cracks, and heavy wear. A blade with a crack needs replacement. A blade with small chips can be ground down and sharpened.
If the blade is badly bent, replace it rather than trying to straighten it.
Step 4: Clamp and sharpen. Secure the blade in a bench vise with the cutting edge facing up. File at a 30 to 45 degree angle using smooth, even strokes. Follow the existing edge angle if you can determine it.
Work from the inside of the blade toward the outer tip.
Step 5: Deburr and check. Run your finger along the backside of the cutting edge to feel for burrs. File lightly to remove them. A clean edge without burrs cuts better and lasts longer.
Step 6: Reinstall. Place the blade back on the mower with the cutting edge facing the direction of rotation. Most blades have a stamped side indicating "this side out." Torque the blade bolt to the manufacturer's specification. For most riding mowers, that's 70 to 80 foot-pounds, but always check your owner's manual.
Blade Balancing Is Just as Important as Sharpening
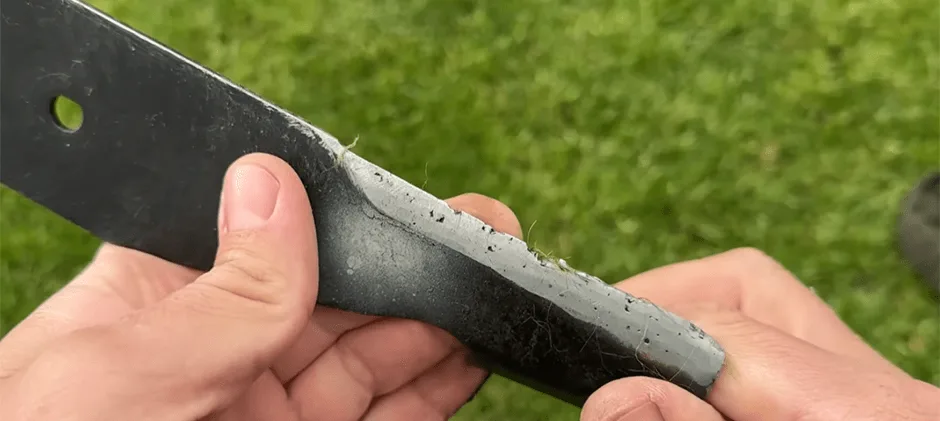
Image source: Web (Bing) / fridayparts.com (Web image (fair-use with source credit))
A sharp blade that's out of balance causes more problems than a dull one. When both sides of the blade aren't equal in weight, the mower vibrates aggressively during operation. Over time, that vibration damages bearings, pulleys, and even the crankshaft.
Testing the balance is simple. Find a flat-head screwdriver or a nail and balance the blade on it at its center hole. Let it hang freely.
One side will drop if the blade is unbalanced. A balanced blade will sit level.
If the blade dips, take it back to the vise and file material from the heavier side. Check the balance again after each small pass. Don't rush this step.
Even a small amount of uneven material can cause noticeable vibration.
Some hardware stores and mower shops sell blade balancing tools. These are cone-shaped devices that hold the blade and show you exactly how much weight to remove. They cost around $10 to $15 and save time compared to the nail method.
Balancing matters more on riding mowers because those decks spin at higher RPMs. A push mower running at 2,800 to 3,000 RPM will tolerate minor imbalance. A zero-turn mower running at 3,600 RPM will not.
Getting this right extends the life of the entire deck assembly.