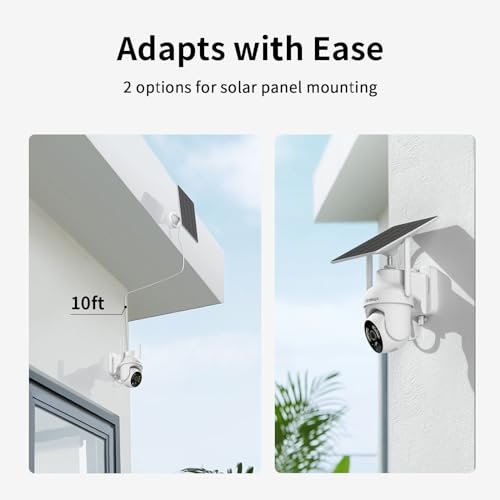
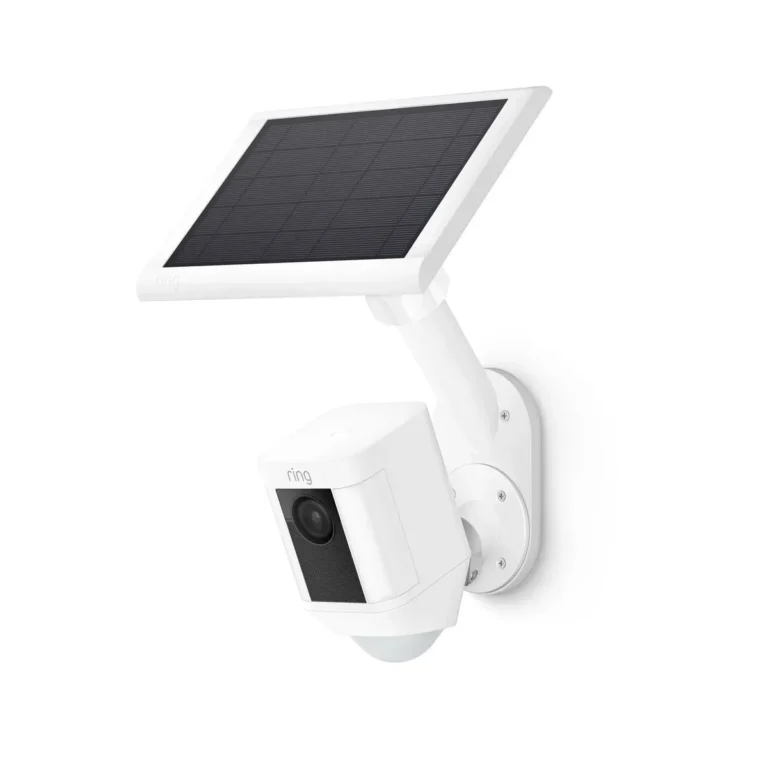
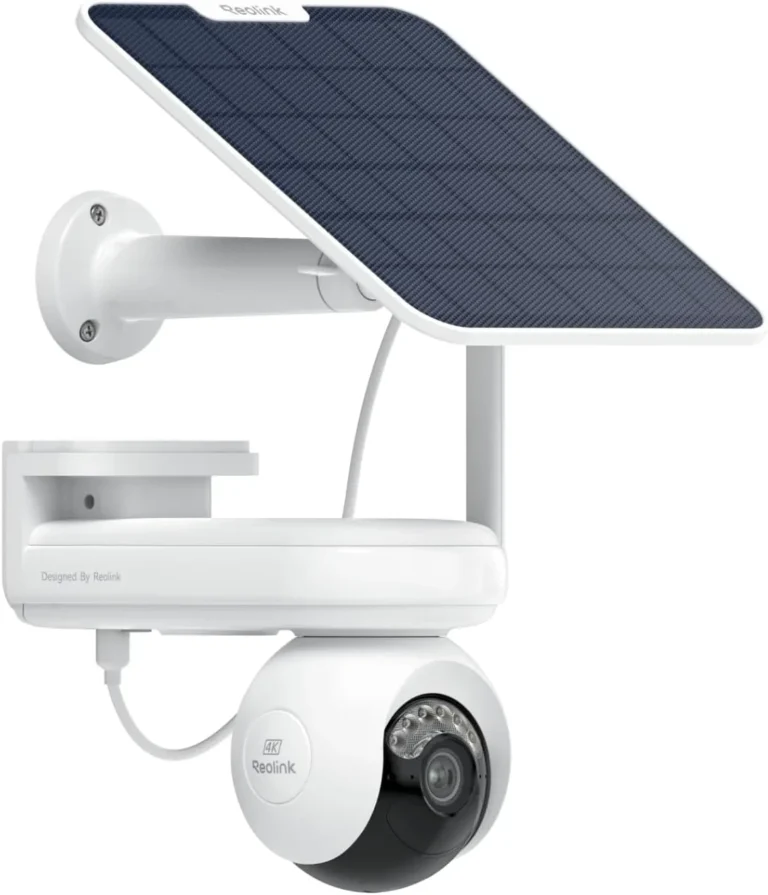
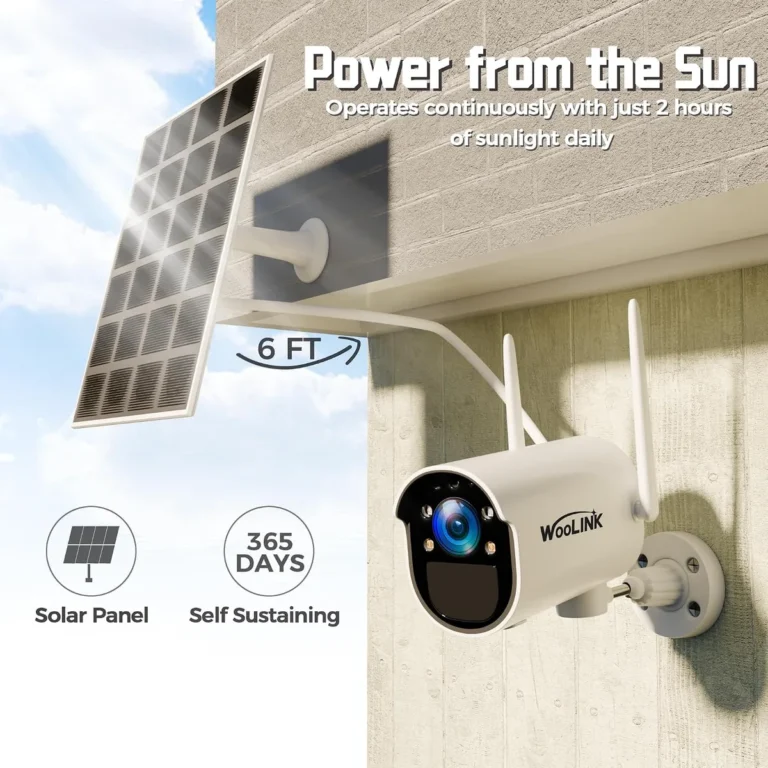
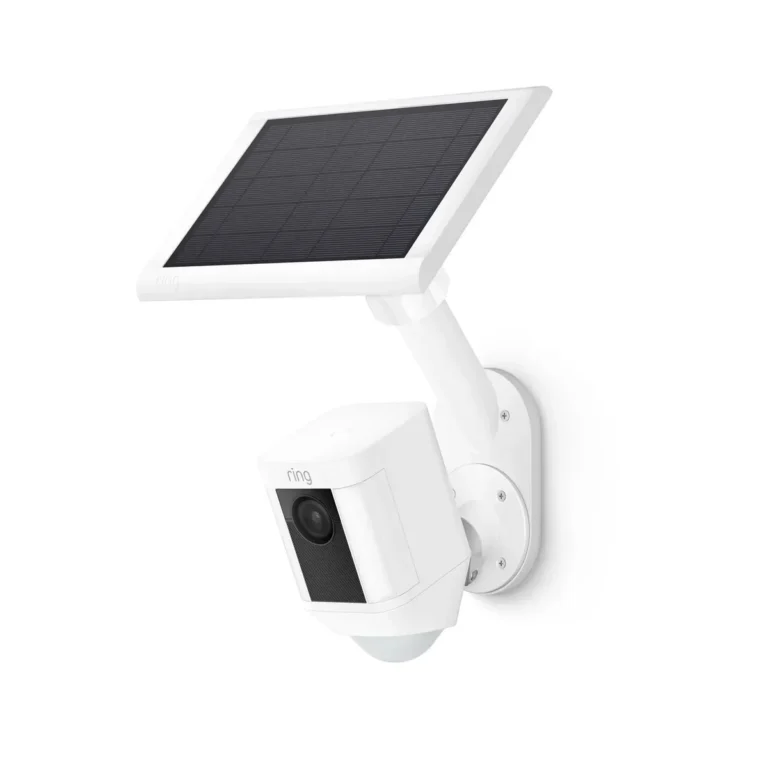
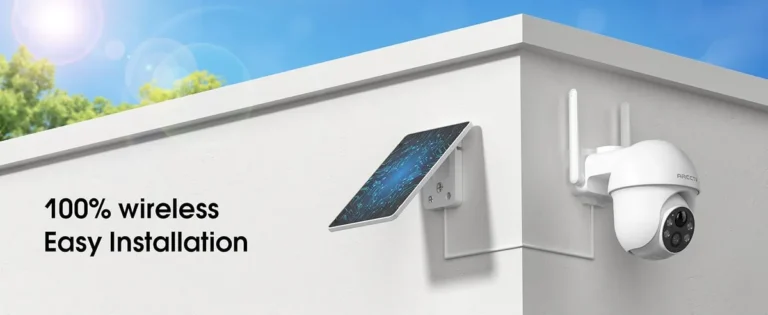
Why Is My Solar Security Camera Not Charging?
Why is my solar security camera not charging? It's a frustrating question that catches almost every owner of a wire-free outdoor camera off guard. One week it works perfectly, the next the app shows 0% and the unit is completely dead.
The solar panel on your roof or fence doesn't seem to be doing anything at all.
Solar security cameras typically rely on panels rated between 2W and 6W to keep a lithium-ion battery, usually 5,000 to 10,400 mAh, topped up. If the panel can't meet that energy budget, the camera dies. Most of the time, the fix is simpler than you'd think.
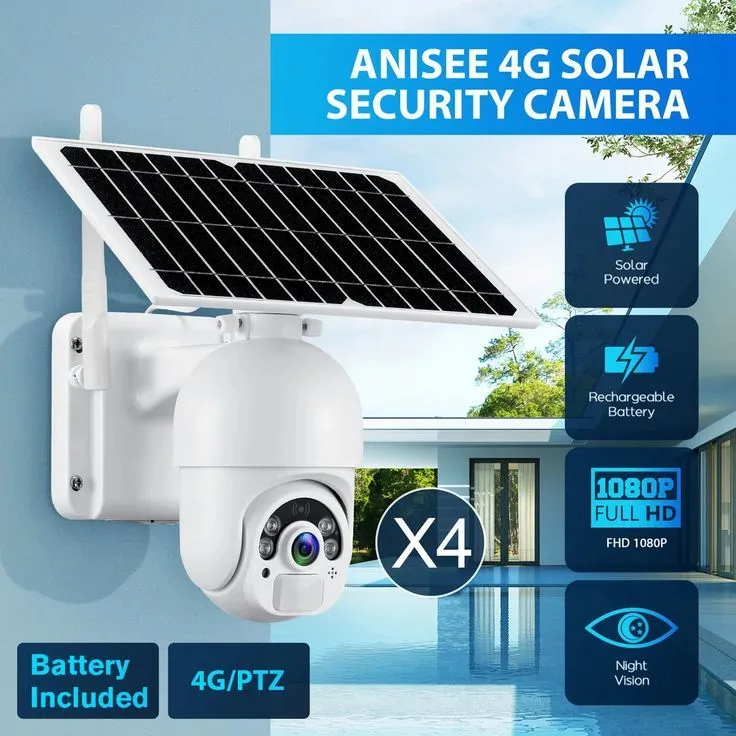
Image source: Bing (Web (fair-use with source credit))
Quick Answer
Why is my solar security camera not charging? The most common causes are a dirty or shaded panel, a loose or damaged cable, or insufficient daily sunlight. Most solar cameras need 6 to 8 hours of direct sun per day to stay charged.
Check the panel, cable, and LED indicator before replacing any hardware.
The Real Problem Behind the Dead Camera
When a solar security camera stops charging, owners usually panic and assume the panel failed. That's the wrong starting point. In most cases, you're dealing with a combination of issues working together.
Isolating each one saves you from buying parts you don't need.
Solar Panel Output Falls Below Threshold
The National Renewable Energy Laboratory estimates that standard solar panels lose about 0.5% of output per year. On a large rooftop array, that barely matters. But a 2W security camera panel runs at razor-thin margins.
Modest degradation combined with a few cloudy days can push output below the camera's minimum charging threshold.
Battery Degradation Is the Silent Killer
Most solar security cameras use lithium-ion cells rated for 500 to 800 charge cycles. After two or three years of daily cycling, usable capacity can drop to 60% or less. Your panel still works fine.
The battery just can't hold what it produces anymore. You'll notice the camera dying faster even when the panel looks perfect.
Camera Power Draw You Can't See
The camera itself consumes more energy than most owners realize. Wi-Fi reconnection attempts, motion detection sensors, night vision LEDs, and cloud uploads all drain the battery continuously. Per manufacturer documentation from Reolink and Arlo, a weak Wi-Fi signal can increase battery consumption significantly because the camera retries its connection over and over.
Here's a quick breakdown of how common each failure mode actually is:
| Failure Mode | Typical Cause | Likelihood |
|---|---|---|
| Shaded or dirty panel | Trees, dust, bird droppings, pollen | High |
| Loose cable connection | Rodents, UV wear, accidental tugging | High |
| Battery degradation | Age and accumulated charge cycles | Medium |
| Firmware not updated | Missed app notifications | Medium |
| Undersized panel | Panel wattage below camera demand | Low to Medium |
| Hardware failure | Panel or camera internal damage | Low |
The takeaway: treat this as a system-level diagnostic, not a single-part replacement. The troubleshooting tree below walks you through isolating the real issue step by step.
How Solar Camera Charging Actually Works
Understanding the charging chain makes troubleshooting far easier. A solar security camera setup has four main components working in sequence: the solar panel, the connection cable, the charge controller, and the battery.
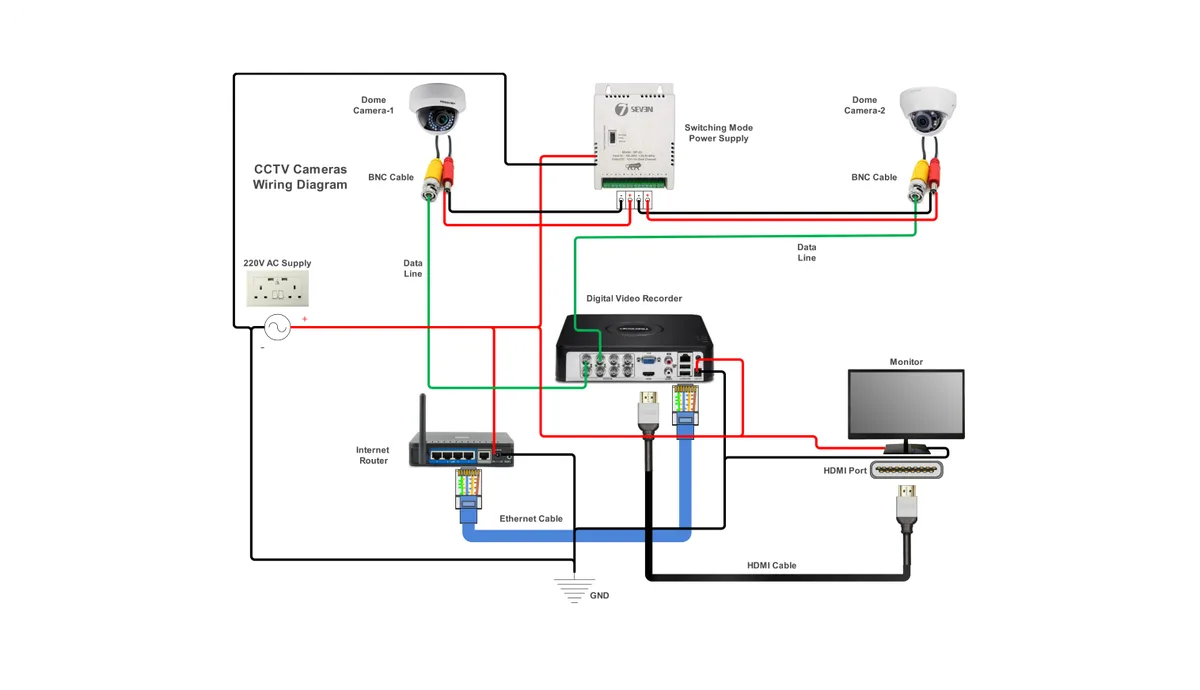
Image source: Bing (Web (fair-use with source credit))
The Solar Panel
The panel converts sunlight into DC electrical current. Most security camera panels are monocrystalline silicon with conversion efficiencies between 18% and 22%. They're small, lightweight, and designed to output 6V to 8.4V DC.
The Connection Cable
This carries power from the panel to the camera's charging port. Most use a DC barrel plug or a proprietary connector. Cable damage is one of the most common failure points because the cable sits outdoors exposed to UV radiation, rodents, and weather.
The Charge Controller
Every solar security camera has an internal charge controller, often using MPPT (Maximum Power Point Tracking) technology. This regulates the voltage and current flowing into the battery to prevent overcharging. If the controller malfunctions, the camera may show the panel as connected but refuse to actually charge.
The Battery
Lithium-ion batteries store the energy. As of 2026, most mainstream solar security cameras from Reolink, Arlo, Eufy, and Swann ship with either standard lithium-ion cells or LiFePO4 batteries. LiFePO4 chemistry lasts 2,000 to 3,000 charge cycles, compared to 500 to 800 for standard lithium-ion.
The charging cycle works like this: sunlight hits the panel, the panel generates current, the charge controller regulates that current, and the battery stores it. If any step in that chain fails, charging stops. The camera doesn't care which link broke.
It just stops charging.
That's exactly why the troubleshooting decision tree matters. You need to isolate which component in the chain has failed before buying anything.
The Solar Camera Charging Troubleshooting Decision Tree
This is where you get hands-on. Work through these steps in order. Each one isolates a different part of the charging system.
Skip a step and you might fix the wrong thing.
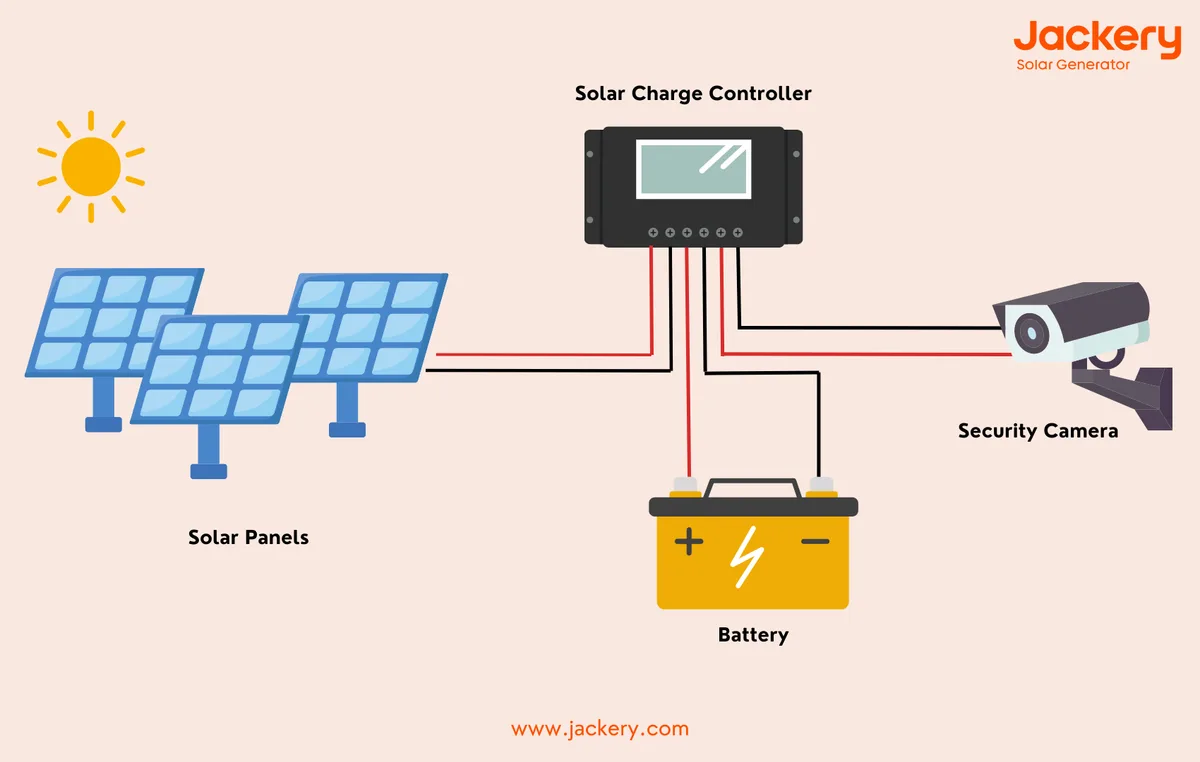
Image source: Bing (Web (fair-use with source credit))
Step 1: Check the App Status
Open your camera's companion app and look at the battery percentage and solar panel indicator. If the app shows no solar panel connection at all, the problem is likely at the panel or cable level. If it shows the panel connected but the battery isn't rising, the issue runs deeper into the system.
Step 2: Inspect the Panel Face
Look at the panel. Is it covered in dust, bird droppings, pollen, or leaves? Clean it with a soft cloth and mild soapy water.
A dirty panel can lose 15% to 25% of its output. That alone is often enough to push a marginal setup into total failure.
Step 3: Verify the Cable Connection
Check where the solar panel cable plugs into the camera. Make sure it's fully seated. Look for rodent chew marks, cracking, or corrosion on the connector.
If the cable looks damaged, replace it. This is one of the most common fixes and costs very little.
Step 4: Check the LED Indicator
Look at the camera's status LED. No light when the panel is connected usually means the panel isn't producing any output. A solid or slow-pulsing LED typically means charging is happening.
A fast blink usually signals low battery or a hardware fault.
Step 5: Confirm Panel Orientation and Shading
The panel needs to face true south in the Northern Hemisphere at an angle close to your latitude plus 10 degrees. Check that nothing casts a shadow during peak sun hours, typically 10 AM to 2 PM. Trees, fences, and even new construction can cause this.
Step 6: Test the Camera with a Wired Charger
Plug the camera into a USB-C or micro-USB charger. If it charges fine on wired power, the camera and battery are okay. The problem is in the solar system.
If it doesn't charge on wired power either, the battery or camera is faulty and needs replacement.
Step 7: Check for Firmware Updates
Open the app and check for firmware updates. Some models won't recognize the solar panel correctly until the firmware is current. This is an easy fix that many owners skip because they never think to look.
If none of these steps resolve the problem, the panel or charge controller itself may need replacement.
Mistakes That Sabotage Solar Camera Charging
Even with a working system, common mistakes can make it look like the camera isn't charging. Here are the ones that trip up the most owners.
Mounting the Panel at the Wrong Angle
Many owners mount the panel flat against a wall or horizontally on a fence. This reduces effective output by 30% to 50% compared to an optimal tilt angle. Adjust the angle to match your latitude and face it true south.
Ignoring Seasonal Sun Changes
In summer, a panel that faces slightly south of west still catches enough sun to keep things running. In winter, that same setup may get almost no direct sunlight. Tilt the panel steeper and trim any tree branches that shade it.
As of 2026, most premium panels come with adjustable brackets for exactly this reason.
Using an Undersized Panel
Not all solar panels are created equal. A 1W panel may keep a camera alive in full summer sun but can't sustain it in overcast conditions. If your camera has night vision, continuous recording, and aggressive motion detection, you need at least 2W to 4W of panel output.
Check your camera's power requirements against the panel's rated output.
Skipping Firmware Updates
This one catches people off guard. Some solar security camera models have firmware bugs that cause them to ignore solar charging input entirely. Updates get pushed through the companion app, but only if you enable notifications and actually open the app on a regular basis.
Neglecting Cable Maintenance
Outdoor cables degrade from UV exposure, moisture, and rodent activity. Annual inspection prevents most of these issues. If you live in an area with aggressive squirrels or rats, route the cable through a protective conduit.
Expecting Solar to Recharge From Zero
Solar panels maintain battery level. They don't recharge it from zero every night. If your camera records dozens of motion-triggered events per day and runs night vision continuously, the panel may only offset a fraction of the daily drain.
Set realistic expectations.
Expert Tips and Maintenance for Long-Term Solar Charging Reliability
A solar security camera system that's set up correctly and maintained regularly will run for years with minimal intervention. Here's what keeps these systems reliable over the long haul.
Clean the Panel Monthly
Dust, pollen, and bird droppings accumulate faster than most people expect. A quick wipe with a damp cloth every month keeps output within 95% of rated capacity. In areas with heavy pollen or construction dust, clean twice a month.
Adjust Panel Tilt Seasonally
The sun's position shifts by roughly 23 degrees between summer and winter solstice. Re-tilting your panel to match keeps year-round performance steady. Without this adjustment, winter output can drop by 40% compared to summer.
Monitor Battery Health in the App
Most companion apps report battery health as a percentage. When that number drops below 70%, the battery can no longer hold enough charge to bridge cloudy days. Plan for replacement before it reaches 50%.
Use a Wired Backup When Possible
If the camera is close to a power outlet, wire it as the primary source and let the solar panel act as a supplement. This extends battery life dramatically and reduces the panel's workload to occasional top-ups.
Check Wi-Fi Signal Strength
A camera with weak Wi-Fi burns significantly more battery. Move the router closer, add a Wi-Fi extender, or choose a camera with a stronger antenna. This single change can add weeks of battery life between charges.
Keep Firmware Current
Enable auto-update in your camera's app. As of 2026, most major brands including Reolink, Arlo, and Eufy push firmware improvements that include battery efficiency optimizations and charging controller refinements.
Per UL (Underwriters Laboratories) standards for outdoor solar equipment, all panels and battery packs should carry current certification marks. If you're replacing components, verify the replacements are UL-listed. This prevents fire risk and protects your warranty.