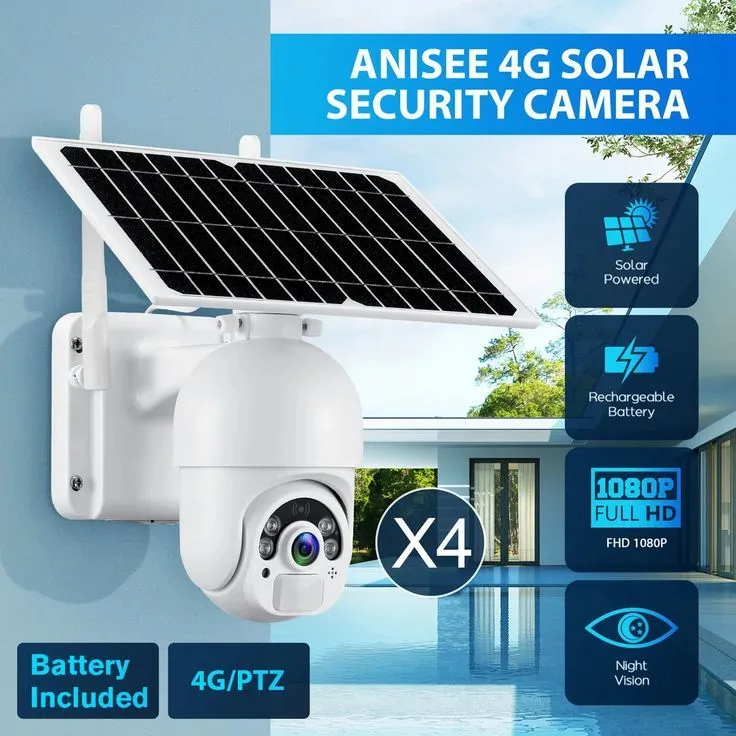
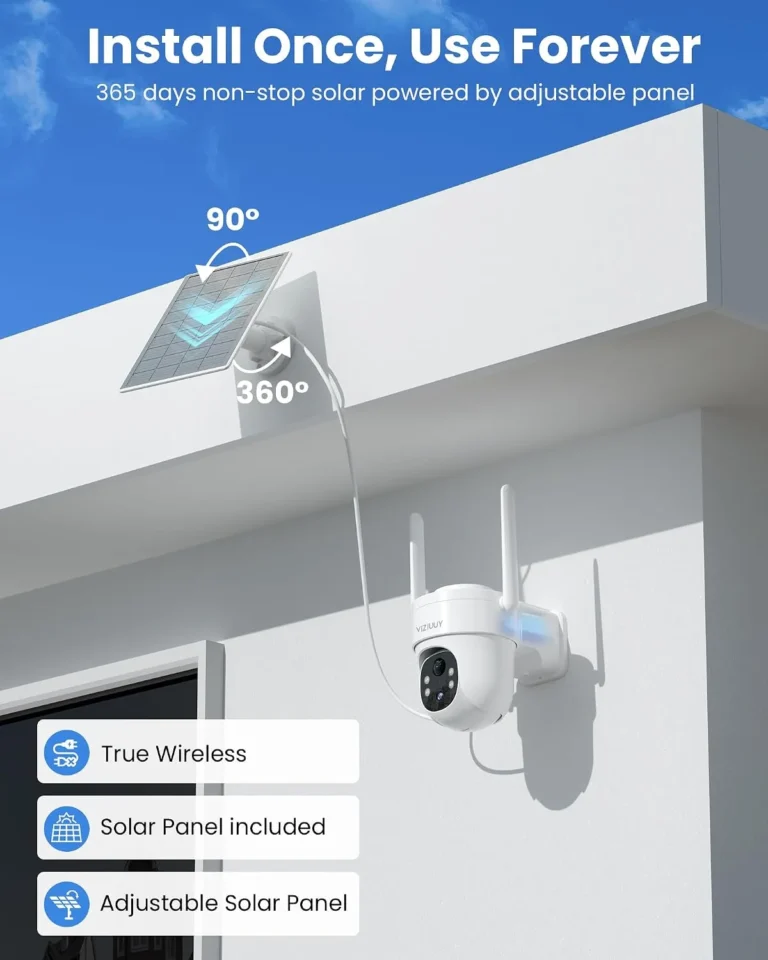
How Much Sunlight Does a Solar Security Camera Need?
How much sunlight does a solar security camera need to keep running reliably? The short answer is about 6 hours of direct, strong sun exposure per day. But the real number depends on your latitude, your camera's power draw, and the solar panel it comes with.
Getting this wrong means a camera that goes dark at night or during cloudy spells.
Most manufacturers size their solar panels around 6 peak sun hours daily. A peak sun hour is one hour where solar irradiance hits 1000 W/m², the standard test condition for panel ratings. Per the National Renewable Energy Laboratory (NREL), peak sun hours vary dramatically by region and season.
That variation is exactly why there's no single universal answer.
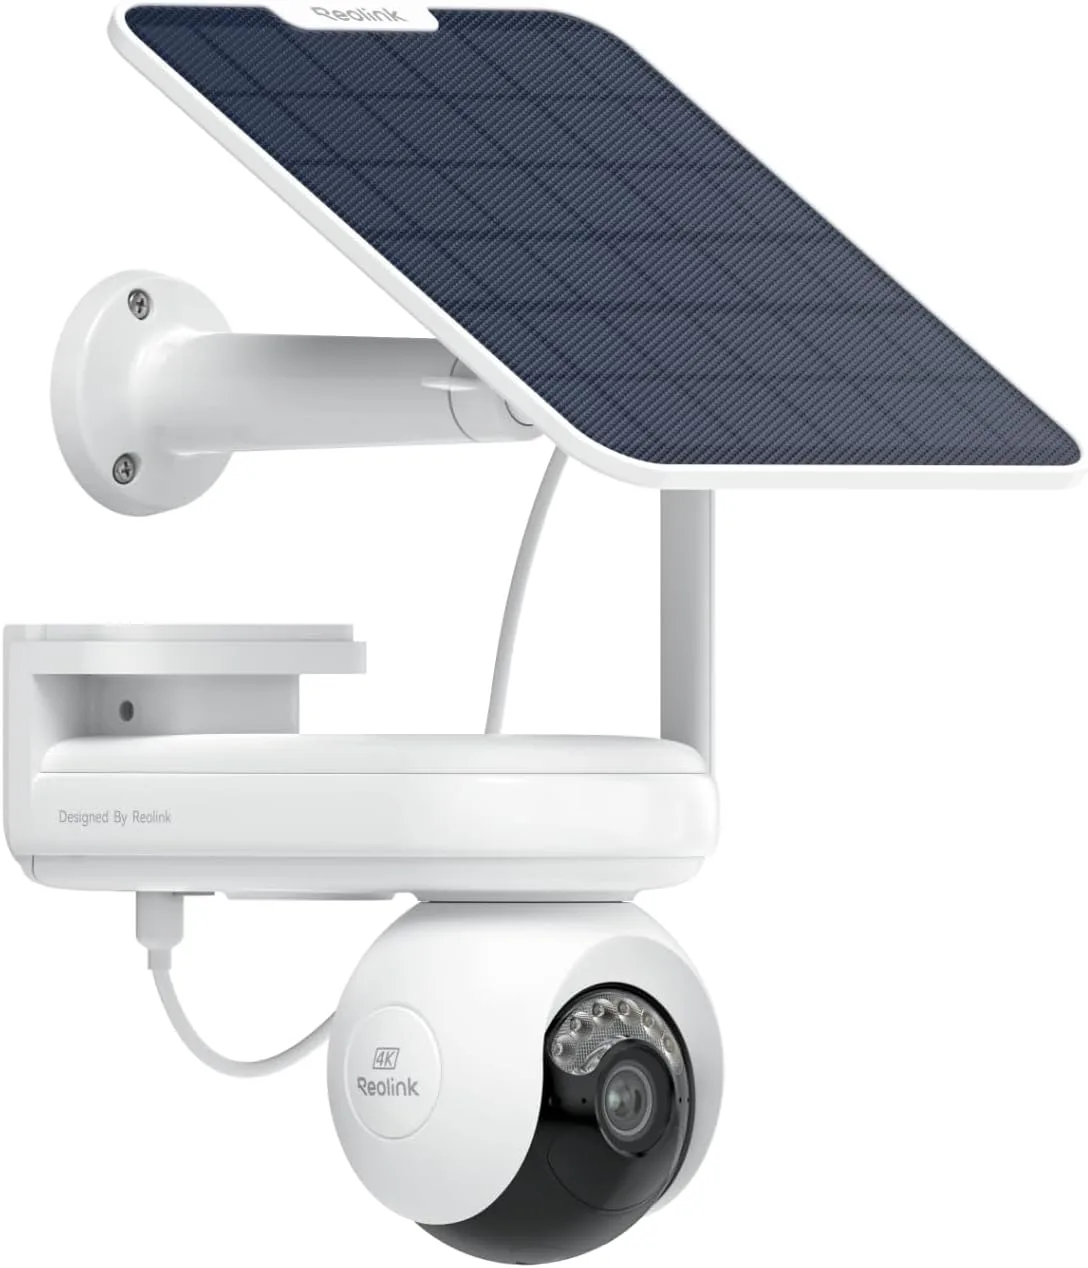
Quick Answer
How much sunlight does a solar security camera need? Most models require about 6 hours of direct daily sunlight. That's roughly 6 peak sun hours at standard test conditions.
Batteries provide a buffer for nights and cloudy periods. Your exact need varies by latitude and season.
Why Your Solar Security Camera Keeps Going Dark
Most solar security camera complaints follow the same pattern. The camera charges fine in summer. Then it quietly starts shutting down when the days get shorter.
By December, it's black by 8 PM and you've lost the footage you actually needed.
Three things cause this problem most often:
- The solar panel is undersized for the camera's power draw
- Shading cuts effective charging time below what the system requires
- Winter sun angles deliver far fewer peak sun hours than summer does
Per aggregate user reviews on verified retail platforms, "camera stopped charging in winter" is one of the most common complaints for solar security cameras as of 2026. The good news is that this problem is almost always fixable.
What makes solar security cameras tricky is that they're not all powered the same way. Some use a tiny 2W built-in panel with a small 2000mAh battery. Others run off a detachable 10W panel feeding a 10000mAh battery.
The smaller systems need very little sun to stay alive. The larger ones need more but handle cloudy weather better.
| Camera Type | Solar Panel | Battery | Daily Sun Needed |
|---|---|---|---|
| Budget built-in | 2-3W | 2000-4000mAh | 4-5 hours |
| Mid-range detachable | 5-10W | 6000-10000mAh | 5-6 hours |
| High-end / 4G | 10-20W+ | 10000mAh+ | 6+ hours |
The core question isn't just how much sun your camera gets. It's whether the charging time it receives offsets what it drains while recording, storing footage, and transmitting data to your phone.
If your setup falls into the budget tier and you're getting fewer than 4 peak sun hours a day, you'll likely experience dead battery issues regularly. Mid-range systems are more forgiving but still suffer when winter drops your available sun below 4 hours.
The fix depends on your specific situation. First, though, you need to understand what "enough sun" actually means in measurable terms.
What Enough Sunlight Means for a Solar Camera
Enough sun for a solar security camera means a specific measurable thing: peak sun hours (PSH). One peak sun hour equals one hour where solar irradiance hits 1000 W/m². This is the standard test condition that panel manufacturers use for ratings.
This distinction matters because not all daylight is equal. Morning light at 8 AM might deliver 200 W/m². Midday sun at noon in July might deliver 1000+ W/m².
Your camera doesn't care about total daylight hours. It cares about effective charging time.
Solar panels produce power proportional to irradiance. A 10W panel rated at 1000 W/m² produces 10W. At 250 W/m² in morning or winter conditions, it produces about 2.5W.
That gap is where camera failures come from.
Most solar security camera manufacturers size their panels for about 6 peak sun hours daily. This assumes a well-oriented panel with no shading. It also assumes the camera's power draw stays within normal recording behavior.
The real calculation is straightforward. Take your camera's daily power consumption in watt-hours. Divide it by your solar panel's wattage.
That gives you the minimum peak sun hours you need just to break even.
A camera consuming 15 Wh per day paired with a 10W solar panel needs 1.5 peak sun hours to break even. A camera consuming 45 Wh per day on the same panel needs 4.5 peak sun hours. Those headroom margins matter because cloudy days and winter angles reduce your actual PSH significantly.
Per NREL's solar resource data, peak sun hours vary by more than 40% across US climate zones. The same 10W panel that works beautifully in Phoenix may underperform badly in Seattle during December.
Practically speaking, you can't control your climate. You can control your panel size, battery capacity, and how you orient the system. Those three factors determine whether your camera survives the low-sun months.
Your Climate and Location Decide the Real Answer
Your GPS coordinates matter more than your camera's brand when it comes to solar charging. Latitude determines the angle of the sun and how many hours of usable light you get each day.
NREL solar resource maps show dramatic differences across the US alone. Arizona and New Mexico average 6.5 to 7.5 peak sun hours daily. Seattle and Portland average 3 to 3.5 in December.
That gap is large enough to make or break a solar camera system.
| Region | Avg. Summer PSH | Avg. Winter PSH | Solar Camera Risk |
|---|---|---|---|
| Sun Belt (AZ, TX, NV) | 7-8 hours | 5-6 hours | Low |
| Midwest (OH, IL, IN) | 5.5-6.5 hours | 2.5-3.5 hours | Moderate |
| Northeast (NY, MA, PA) | 5-6 hours | 2-3 hours | Moderate-High |
| Pacific NW (OR, WA) | 4.5-5.5 hours | 1-2 hours | High |
These numbers are averages. Your actual conditions shift based on elevation, local weather patterns, and cloud cover frequency. Mountain locations may see fewer cloud-covered days than nearby valleys.
The seasonal swing is what catches people off guard. A camera that charges perfectly in July can be at 40% battery by 8 PM in December. The sun sits lower.
Days are shorter. Cloud cover is more frequent across northern states.
If you're above roughly 40°N latitude, winter PSH drops below 3 hours in most locations. That's when a solar security camera with a small panel starts failing. It can't generate enough power to refill the battery during short, dim days.
NREL publishes its National Solar Radiation Database for location-specific data. You can look up your exact coordinates to see realistic PSH estimates for every month of the year. It's free and takes about two minutes.
If your location falls in the High Risk row above, you'll need to either oversize your solar panel, use a larger battery, or plan for seasonal maintenance during winter months.
Matching Your Solar Panel Size to Your Camera's Power Needs
A solar security camera's panel and battery work together as a system. Matching them correctly keeps the camera alive through cloudy stretches and short winter days.
The rule of thumb: your solar panel should produce at least 2x the camera's daily power consumption at your location's peak sun hours. For a camera drawing 30 Wh per day, you want a panel that generates 60 Wh on a good day. At 6 PSH, that means a 10W panel minimum.
| Component | Budget Model | Mid-Range Model | High-End Model |
|---|---|---|---|
| Solar Panel | 2-3W built-in | 5-10W detachable | 10-20W detachable |
| Battery | 2000-4000mAh | 6000-10000mAh | 10000-15000mAh |
| Best For | Sunny climates, light use | Most homeowners | Low sun areas, heavy use |
| Winter Tolerance | Poor | Moderate | Good |
Built-in panels are convenient but fixed. They can't be angled toward the sun. They also can't be upgraded if you need more power later.
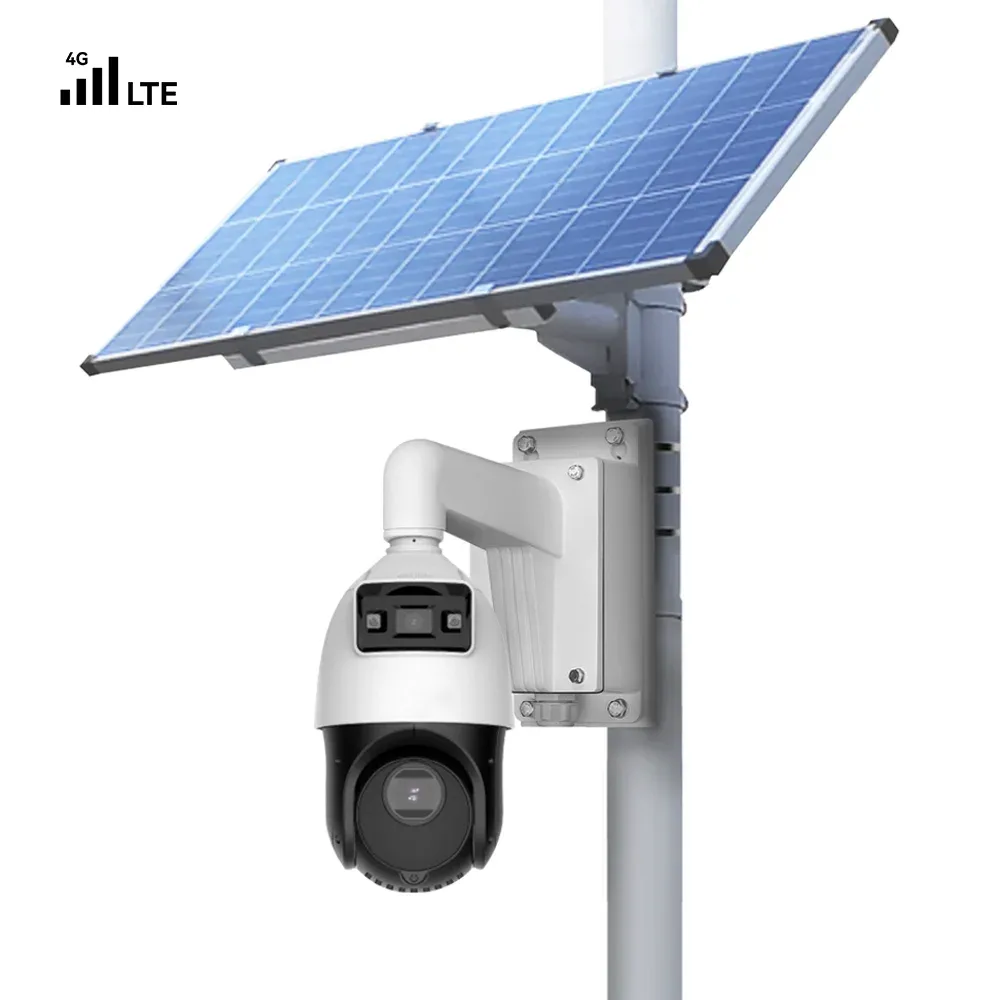
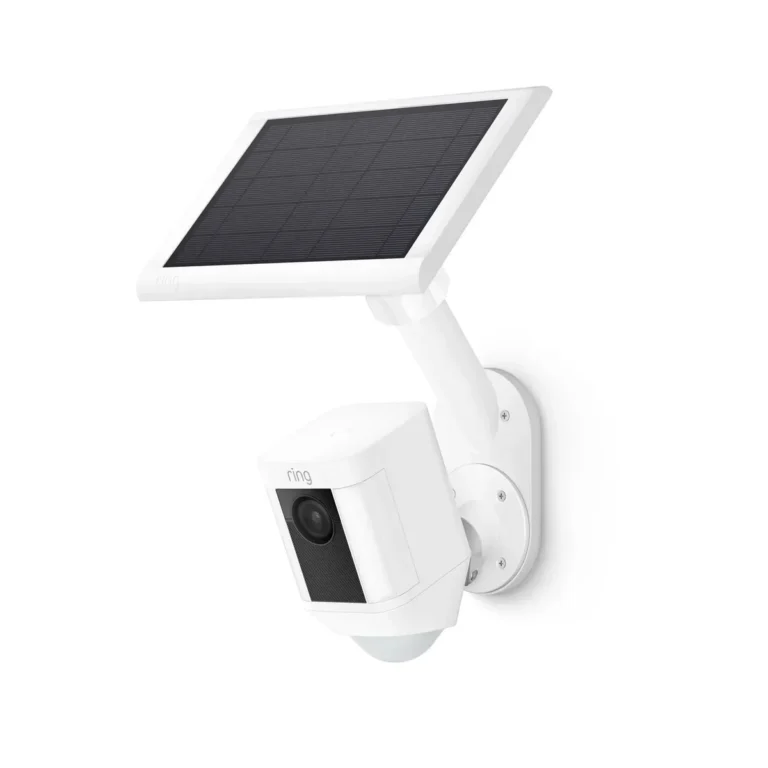
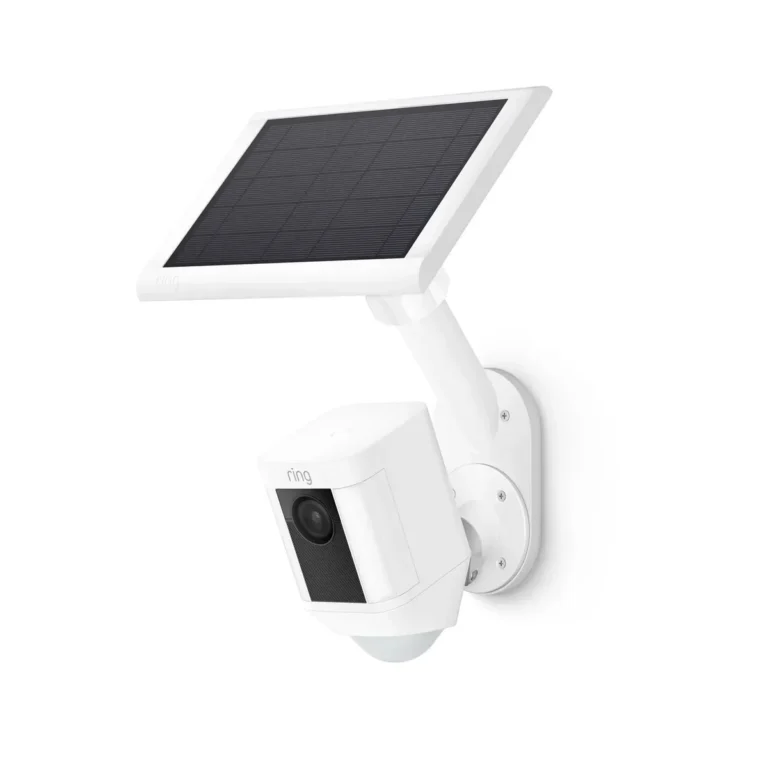
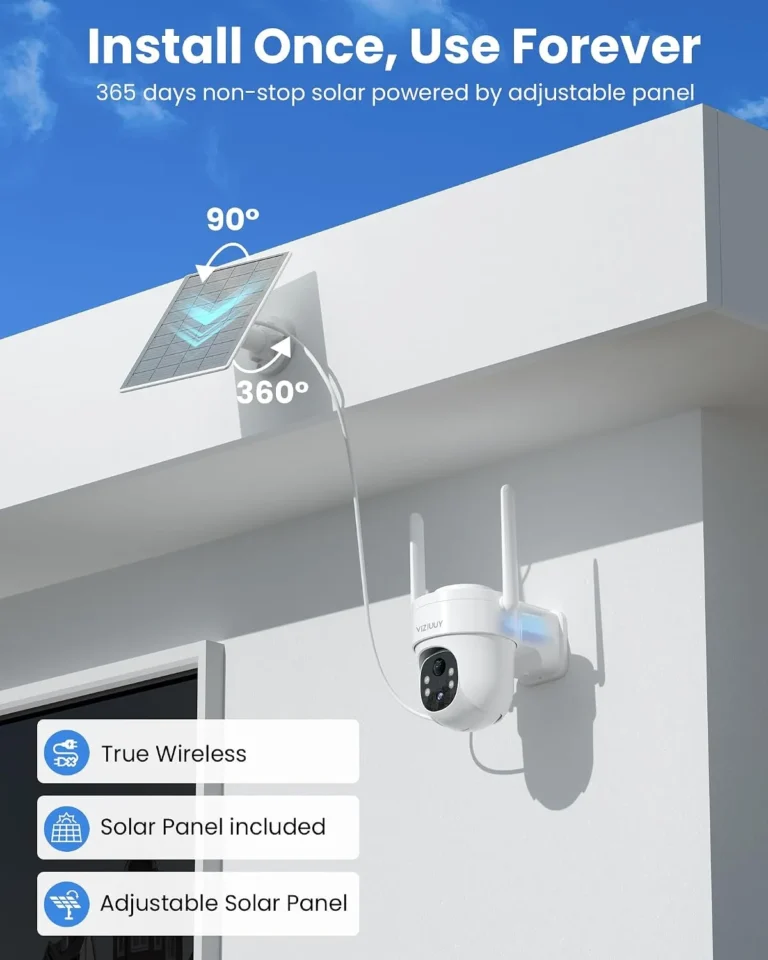
Detachable panels solve both problems. You can mount the panel on a roof or post where it gets full sun while keeping the camera in a sheltered spot. For areas with limited winter sun, this is the better choice.
Charge controllers also matter. Most budget cameras use PWM controllers, which are less efficient. Mid-range and higher-end models often use MPPT controllers instead.
MPPT tracks the panel's maximum power point, squeezing out 15 to 30% more energy from the same panel.
Per manufacturer technical documentation, MPPT controllers matter most when temperatures drop below 50°F. The voltage differential between panel and battery grows in cold weather, and MPPT handles it better than PWM.
Many users discover this the hard way. A camera that ships with a 2W panel and 2000mAh battery performs fine in direct summer sun but goes offline every other cloudy day in spring. Adding a 10W external panel and upgrading to a 10000mAh battery solves the problem without replacing the camera.
If your budget model works great in summer but dies in winter, oversizing your panel is usually the fastest fix.
Shading, Weather, and Placement Mistakes That Sabotage Solar Cameras
Even a perfectly sized solar system fails if the panel doesn't get adequate direct sunlight. Shading and placement errors are the most common and most preventable reasons solar cameras die early.
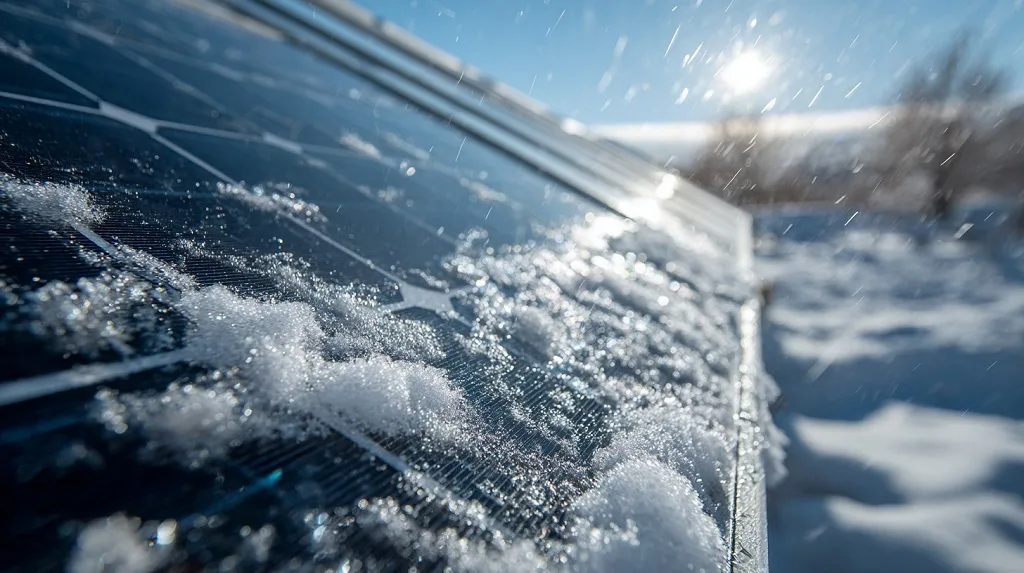
A 10% shading loss on one cell can cut total panel output by 40% or more. Solar panels are wired in series internally. If one section is blocked, the entire panel's output drops.
Even partial shade from a tree branch or fence post causes real damage.
The biggest placement mistakes show up repeatedly in verified user reviews:
- Mounting the panel where it's convenient instead of where it gets full sun
- Installing under eaves or near walls that block low winter sun angles
- Ignoring tree growth that gradually shades the panel over time
- Failing to account for snow accumulation on the panel in winter
- Mounting in an orientation that faces east instead of south
In the Northern Hemisphere, panels should face true south. Not magnetic south. True south.
A compass reading adjusted for your local magnetic declination gives you the correct heading.
Tilt angle matters too. The rule of thumb is to set tilt equal to your latitude. At 40°N, tilt the panel at 40 degrees from horizontal.
Adjust 5 to 10 degrees steeper for winter to catch the low sun.
Urban environments present unique problems. Building shadows, neighboring fences, and overhead power lines all reduce effective sunlight. If you're installing on a property with limited open sky, measure your actual light before committing to placement.
Rural properties usually have fewer shading issues but face other challenges. Wind-driven debris, animal droppings, and dust buildup can reduce panel output by 20 to 30% if you're not cleaning regularly.
Snow is another real factor. Even a thin layer reduces output significantly. If you live in a snow-prone region, choose a panel with a steeper tilt so snow slides off instead of accumulating.
A practical fix: check your panel's position at 10 AM and 2 PM during the month you're most concerned about. If shadows cover the panel at either time, reposition it. Most shading problems show up immediately when you look.