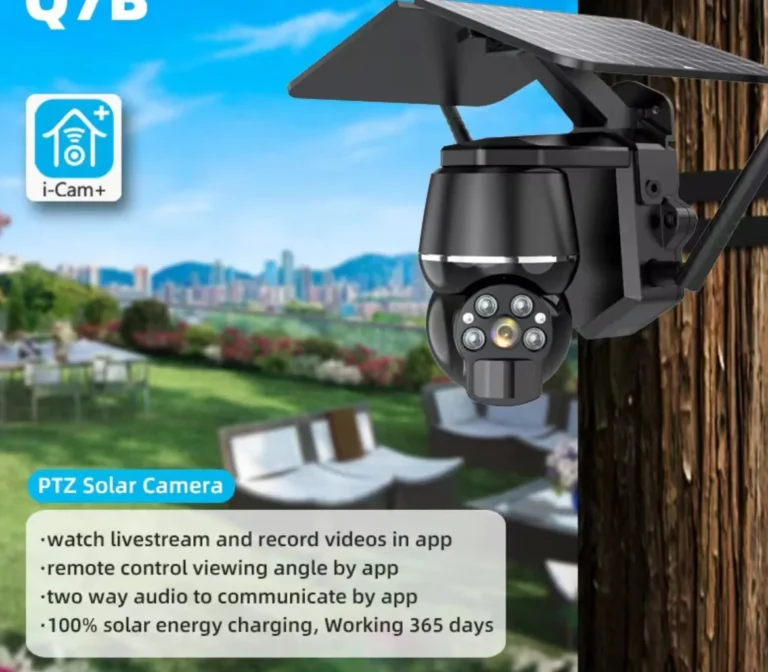
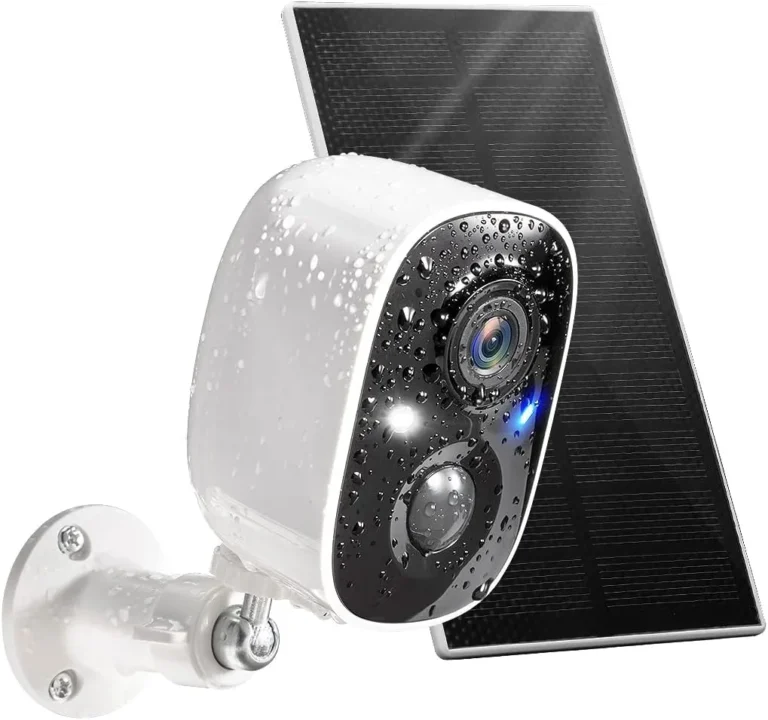
How Many Hours of Sunlight Does a Solar Security Camera Need?
How many hours of sunlight does a solar security camera need to stay powered year-round? Most homeowners are told 4 to 6 hours of direct sunlight per day, and that's roughly right. But the exact number shifts depending on your camera's battery size, panel wattage, and where you live.
Getting this wrong means a dead camera exactly when you need it most.
Per National Renewable Energy Laboratory data, peak sun hours across the U.S. range from about 2.5 hours daily in Seattle during winter to over 6 hours in Phoenix year-round. That difference is the single biggest factor in whether your solar setup holds up. Here's how to figure out what you actually need.
Image source: Web (Bing) / walmart.com (Web image (fair-use with source credit))
Quick Answer: Most Solar Security Cameras Need 4 to 6 Hours of Direct Sunlight
How many hours of sunlight does a solar security camera need? Most solar security cameras need 4 to 6 hours of direct sunlight daily to stay charged. Peak sun hours is the key term.
It means hours when the sun delivers its full rated power output. Daylight hours are not the same thing. Actual solar panel output depends on battery size, panel wattage, and your location.
Why There's No Single Answer: The Variables That Change Everything
The quick answer gives you a starting point. But your specific setup might need more or less than 4 to 6 hours. Four main variables determine what you actually need.
Peak Sun Hours vs. Daylight Hours
Here's the distinction that trips most people up. Peak sun hours (PSH) are the hours when the sun delivers its full rated irradiance of 1000 watts per square meter. Daylight hours run from sunrise to sunset, when the sun is often too low to produce meaningful power.
If you get 10 hours of daylight in June, you might only have 5 to 6 peak sun hours.
Camera Power Draw
Not all cameras use the same energy. A basic motion-only camera might draw 2 to 5 Wh per day. A Wi-Fi camera recording continuously can draw 20 to 50 Wh daily.
A cellular PTZ camera with 24/7 streaming can exceed 80 Wh per day. The bigger your camera's energy budget, the more sunlight it demands.
Battery Capacity and Autonomy
Your battery acts as a buffer between cloudy days. If your camera draws 30 Wh per day and you have a 60 Wh battery, you have about 2 days of autonomy. That means the panel must fully recharge that battery every 2 days or fewer.
Larger batteries give you more slack during overcast weeks.
Real-World Efficiency Loss
Manufacturer panels are rated under laboratory conditions. Real-world output is typically 75 to 85 percent of the rated number. High temperatures, dust on the panel surface, imperfect angle, and cloud cover all cut output.
A 10W panel delivering 2 peak sun hours produces roughly 15 to 17 Wh of usable energy, not 20 Wh.
The Step-by-Step Method to Size Your Solar Panel for Any Security Camera
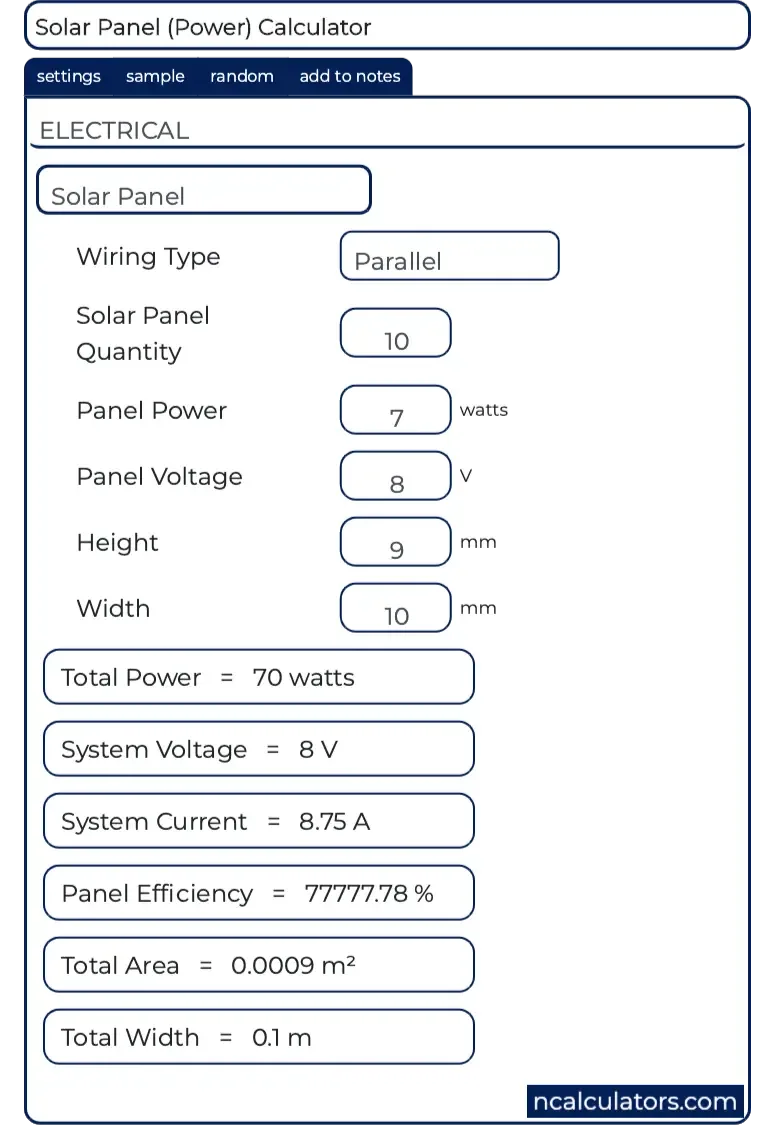
Image source: Web (Bing) / lmecg.photopixar.com (Web image (fair-use with source credit))
You don't need an engineering degree to size a solar security camera panel. Follow these five steps and you'll have a solid number.
Step 1: Find Your Camera's Daily Energy Consumption
Check the manufacturer's spec sheet for battery capacity and charging current. If daily consumption isn't listed directly, calculate it this way. A 5000 mAh battery at 3.7V equals about 18.5 Wh of stored energy.
If the camera needs a full charge every 3 days, it consumes roughly 6.2 Wh per day. A camera that continuously records drains that battery in under 24 hours, so it uses 18.5 Wh or more daily.
Step 2: Look Up Your Location's Peak Sun Hours
NREL's PVWatts tool is the gold standard for U.S. locations. It provides monthly and annual peak sun hours for any ZIP code. Phoenix averages 6.5 PSH per day annually.
Denver averages 5.5. Seattle averages 3.8. These numbers vary significantly in winter, so pull the monthly figures too.
Step 3: Apply Real-World Efficiency Loss
Multiply your peak sun hours by 0.75 to 0.80. This accounts for panel temperature losses, dirt buildup, and imperfect installation angle. If your location gives you 5 PSH, the realistic number is 3.75 to 4 effective sun hours.
Don't skip this step. It's where most sizing errors come from.
Step 4: Divide to Get Required Panel Wattage
Take your camera's daily energy consumption and divide it by the effective sun hours. If your camera uses 20 Wh per day and you have 3.75 effective sun hours, you need a panel rated at about 5.3W. Round up.
Always round up. A 10W panel gives you comfortable headroom for cloudy weeks and battery degradation over time.
Step 5: Size the Battery for Cloudy-Day Autonomy
Rule of thumb: your battery should cover at least 3 to 5 days of camera operation without any solar input. For a 20 Wh per day camera, that means a 60 to 100 Wh battery. That's roughly 6000 to 10000 mAh at 3.7V.
This buffer keeps the camera alive through storms and overcast stretches.
What Happens in Different Situations: Sunny Phoenix, Cloudy Seattle, and Northern Winters
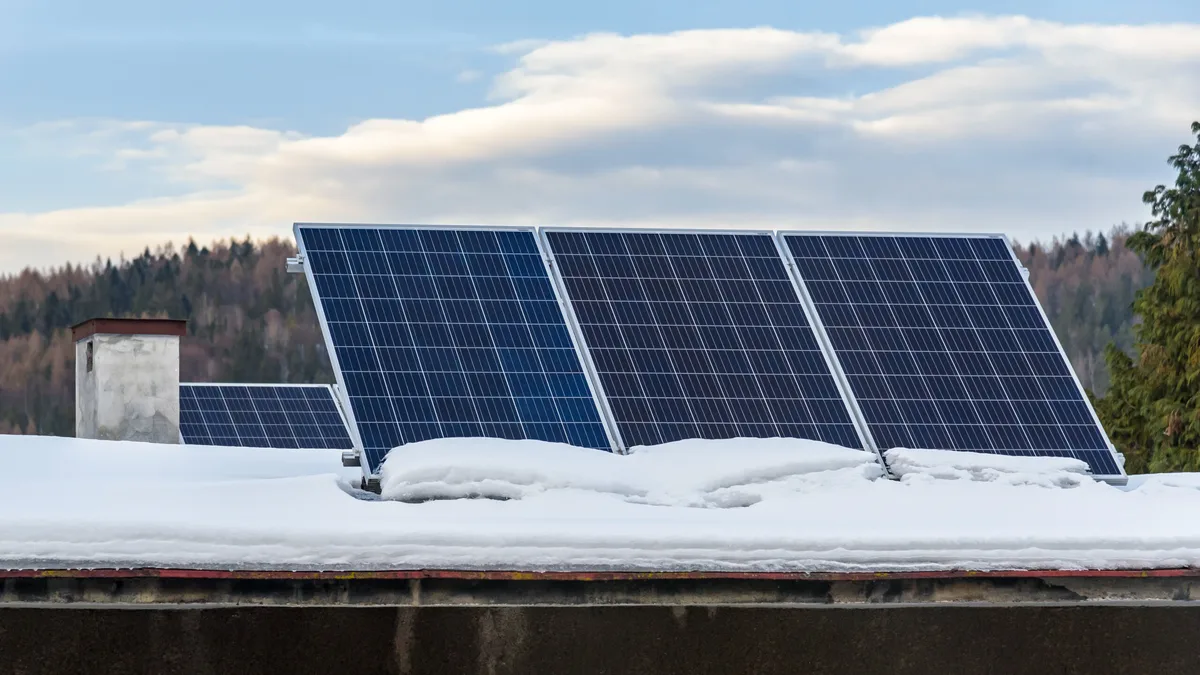
Image source: Web (Bing) / wolfriverelectric.com (Web image (fair-use with source credit))
The same camera and panel that work perfectly in one location can fail in another. Here's how three common scenarios play out.
Sunny Phoenix, Arizona
Phoenix averages 6.5 peak sun hours annually, one of the highest numbers in the country. A 10W panel paired with a 5000 mAh battery keeps a moderate solar security camera running year-round. Even in December, Phoenix gets about 5.2 PSH per day.
Your camera charges fully most days with plenty of headroom.
Cloudy Seattle, Washington
Seattle averages only 3.8 peak sun hours annually. In November and December, that drops to about 1.5 PSH per day. A 10W panel paired with a 5000 mAh battery can still work, but only if the camera's daily draw stays under 8 to 10 Wh.
For cameras with continuous recording or cellular transmission, you'll need a 20W panel and a larger battery. NOAA's seasonal climate data confirms these patterns hold across the Pacific Northwest.
Northern Winters: The Real Stress Test
Winter is the test that breaks weak solar setups. Daylight shrinks dramatically above 40 degrees latitude. Snow and ice cover panel surfaces.
Cold temperatures reduce battery capacity by 10 to 20 percent. If your camera draws 30 Wh per day and your winter PSH is 2.0, you need a 20W panel with efficiency loss applied. Your battery autonomy buffer becomes critical.
Plan for the darkest week of the year, not the brightest month.
Panel Sizing Guide: 5W, 10W, or 20W for Your Camera and Location
| Panel Size | Best For | Daily Output (at 4 PSH) | Battery Recommendation |
|---|---|---|---|
| 5W | Motion-only cameras in sunny climates (5+ PSH) | 15 to 20 Wh | 3000 to 5000 mAh |
| 10W | Wi-Fi cameras in moderate climates (3.5 to 5 PSH) | 30 to 40 Wh | 5000 to 8000 mAh |
| 20W | Cellular or PTZ cameras in cloudy climates (under 3 PSH) | 60 to 80 Wh | 8000 to 15000 mAh |
A few practical notes on choosing between these sizes.
A 5W panel is enough for motion-only cameras that send short clips to Wi-Fi, but only if you live somewhere sunny. Verified user feedback on small solar security cameras confirms this works reliably in Sunbelt states during spring and summer. Winter performance drops fast in northern latitudes though.
A 10W panel is the sweet spot for most homeowners. It handles moderate power draw, covers moderate cloud cover, and keeps the battery charged through most seasons. This is the size most bundled solar security camera kits ship with, and for good reason.
A 20W panel is where you go when reliability is non-negotiable. If your camera connects over cellular, streams continuously, or sits in a cloudy region, 20W keeps you charged through extended overcast periods. You'll pay more up front, but you won't be pulling a dead camera off the wall in January.
As of 2026, most standalone solar panel kits for security cameras range from $15 for a 5W unit to $80 or more for a 20W panel with integrated charge management. Battery-only cameras typically cost $30 to $60 more than their wired counterparts, but the solar panel kit pays for itself in avoided cabling and electricity costs.
Common Mistakes That Leave Solar Security Cameras Dead in the Water
Here are the errors we see most often, and how to avoid them.
- Assuming peak sun hours equals daylight hours. Ten hours of daylight in March might only give you 3 to 4 peak sun hours. Use NREL data, not sunrise-to-sunset math.
- Skipping the winter calculation. If your panel works in July but your camera dies in December, you sized it for the best month. Always size for the worst one.
- Undersizing the panel by rounding down. A 5W panel that calculates to 4.7W is not a 5W panel. Round up every time.
- Ignoring shade and obstruction. A tree, building, or fence shadow cutting across your panel for even 2 hours can drop output by 30 to 40 percent. Install where the panel gets full exposure from at least 9 AM to 3 PM.
- Forgetting efficiency loss. Real-world output runs 15 to 25 percent below the rated number. Build that margin in before you buy.
- Using a small battery as a cost saver. A larger battery costs more but prevents the most common failure mode: dead camera after a cloudy week. Battery capacity is your insurance policy.
How to Keep Your Solar Security Camera Running Year-Round
Once your panel is installed, a few maintenance habits make the difference between a system that lasts and one that fails quietly.
- Clean the panel monthly. Dust, pollen, and bird droppings block sunlight. A damp cloth is all it takes. More often in dry, dusty regions.
- Tilt the panel seasonally. In the Northern Hemisphere, angle it steeper in winter (about your latitude plus 15 degrees) and flatter in summer (latitude minus 15 degrees). This simple adjustment can boost winter output by 10 to 15 percent.
- Monitor battery health. Most solar security cameras with companion apps show battery percentage. Watch for slow charging or fast drain, both signs of a degrading battery.
- Replace the battery before it fails completely. Lithium-ion batteries typically last 2 to 3 years before capacity drops noticeably. Swap them proactively, not after a blackout.
- Check connections after storms. Wind and rain can loosen panel-to-camera wiring. A quick visual inspection catches problems before they turn into outages.
Frequently Asked Questions
How many hours of sunlight does a solar security camera need per day?
Most solar security cameras need 4 to 6 hours of direct sunlight per day to maintain charge. This figure assumes a moderately sized battery and standard panel wattage. Your actual requirement depends on camera power draw, panel size, and local peak sun hours, which vary significantly by location and season.
Can a solar security camera work in cloudy climates?
Yes, but you'll need a larger panel and battery to compensate. Cameras in cloudy regions like Seattle or Portland work when paired with a 20W panel and a battery sized for 5 or more days of autonomy. Motion-only cameras with low power draw handle overcast conditions better than continuously recording models.
What happens if a solar security camera doesn't get enough sun?
The battery drains faster than it charges, and the camera shuts down until sunlight returns. During extended cloudy stretches, a poorly sized setup can leave your camera offline for days. Oversizing the panel and battery by 20 to 30 percent prevents this scenario in most climates.
Do solar security cameras need direct sunlight or is indirect light enough?
They need direct sunlight for effective charging. Indirect or diffuse light on an overcast day can produce only 10 to 25 percent of what direct sun delivers. Solar security cameras rely on real solar irradiance, not ambient brightness, to keep batteries topped off.
How do I calculate what size solar panel my security camera needs?
Divide your camera's daily energy consumption in watt-hours by your location's peak sun hours. Then divide that result by 0.75 to 0.80 to account for real-world efficiency loss. The final number is your minimum panel wattage.
For example, 20 Wh per day divided by 4 PSH divided by 0.78 equals about 6.4W, so a 10W panel works well.
What is the best month to test my solar security camera's charging capacity?
December and January. These months have the shortest days and lowest solar angles in the Northern Hemisphere, making them the hardest months for solar charging. If your camera holds up through January, it'll work the rest of the year.
Final Recommendation: Match the Panel to Your Camera, Not the Other Way Around
Start with your camera's daily energy demand, not the panel you happen to find on sale. Look up your location's peak sun hours using NREL's tool. Apply the 75 to 85 percent efficiency loss factor.
Divide to find your minimum panel wattage. Then size the battery to cover 3 to 5 cloudy days.
The most reliable setups follow one rule: build for your worst month, not your best. A solar security camera that charges fully in June but dies in December isn't reliable, it's luck. Get the math right and your camera keeps running when it matters most.