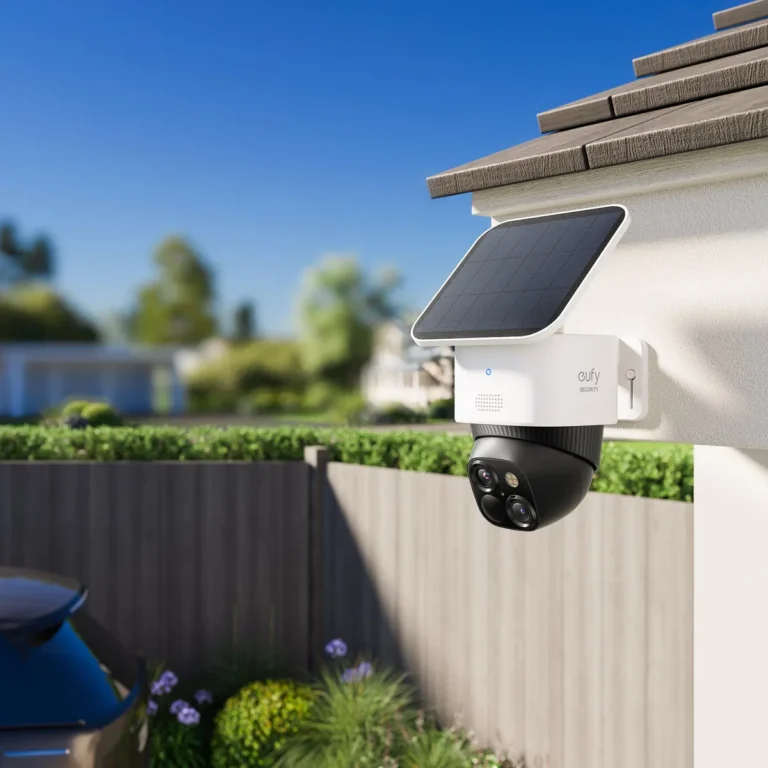
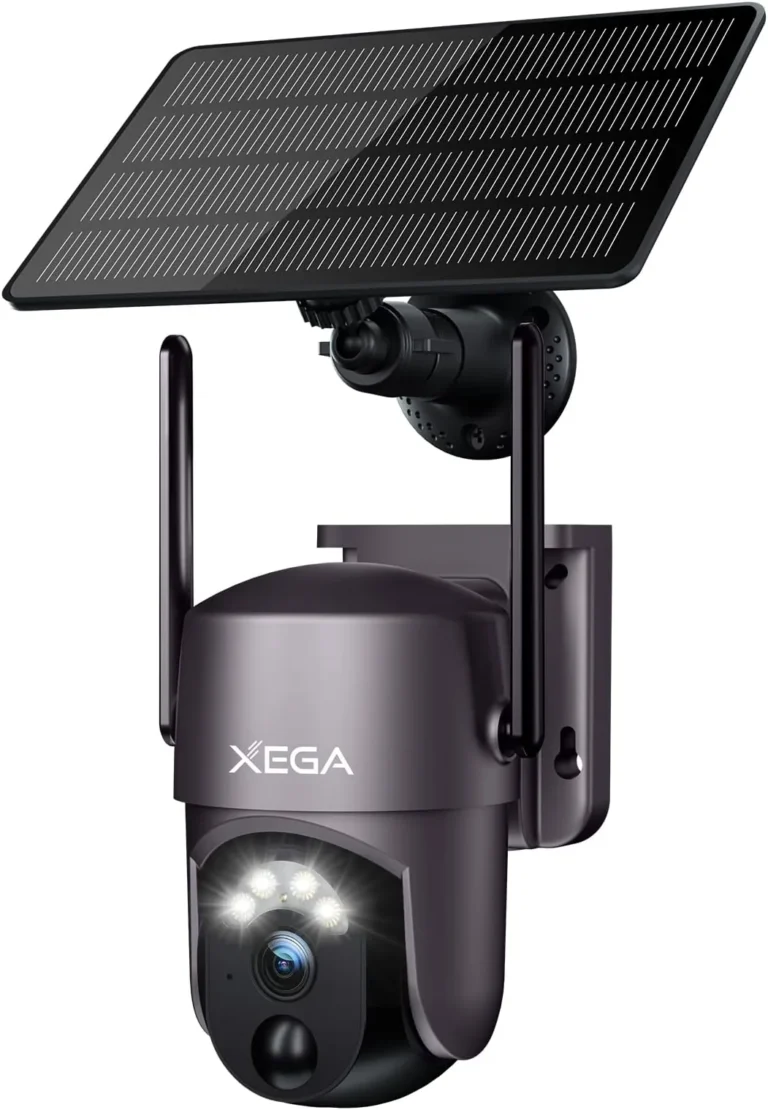
How High Should a Solar Security Camera Be Mounted?
"How high should a solar security camera be mounted? For most residential setups, the sweet spot lands between 7 and 10 feet above ground. That range balances clear facial identification, reliable motion detection, and a usable field of view.
But the right height shifts depending on what you're watching. A front door needs less height than a driveway. A pole mount reaches higher than a wall bracket.
Per manufacturer specs for popular solar cameras, panel charging efficiency can drop 20 to 30% when the panel angle doesn't match the mounting height. Here's what the research points to."
Quick Answer
A solar security camera should mount 7 to 10 feet high for homes. Pole-mounted systems can go 10 to 14 feet for wider coverage. Height must balance motion detection accuracy, night vision clarity, and solar panel sun exposure.
Too high means missed faces and washed-out night vision. Too low means easy tampering.
Why Mounting Height Matters More Than You Think
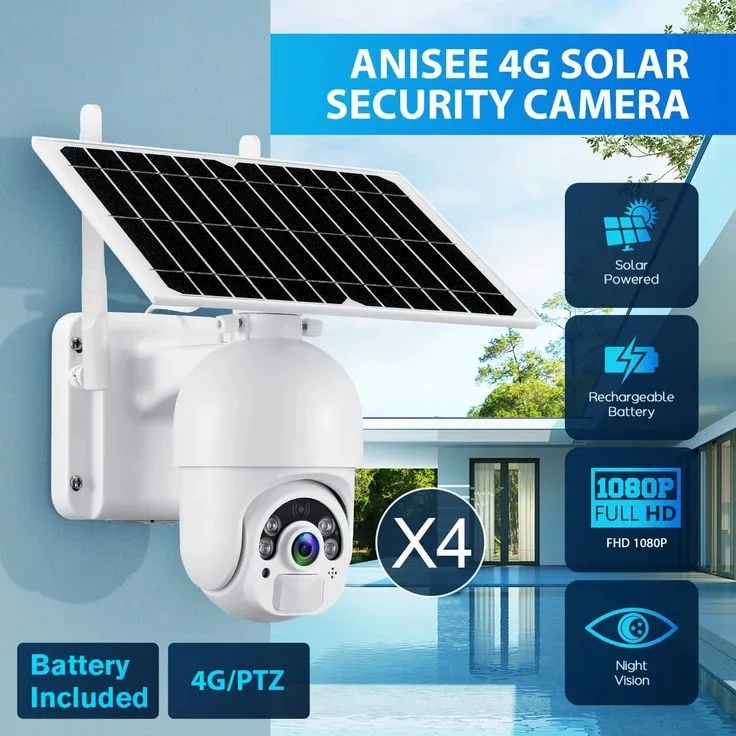
Mounting height affects almost every performance metric your solar camera has. It shapes how clearly you see faces, how accurately motion detection triggers, and how much sunlight your solar panel catches.
The physics are straightforward. A camera at 8 feet with a 120-degree field of view covers roughly 14 feet wide at a 10-foot distance. Raise it to 12 feet, and the coverage widens.
But image detail shrinks. You get more yard, less useful footage.
Motion detection has its own sweet spot. PIR sensors work best between 7 and 10 feet for typical residential cameras. Below that range, they pick up too much ground-level noise.
Above it, detection accuracy drops and you miss people crossing at an angle.
Night vision shifts with height too. IR LEDs are designed to illuminate a specific zone. Too close to a wall, the light bounces back and washes out the image.
Too high, it doesn't reach where it matters.
Solar charging adds another variable. Panel efficiency depends on unobstructed sun exposure. As of 2026, most residential solar cameras carry 2W to 6W panels.
The National Renewable Energy Laboratory confirms that even small panels lose output when shaded or poorly angled.
One-size-fits-all height advice fails because every one of these factors moves when the camera moves.
The Decision Tree: Which Height Fits Your Situation?
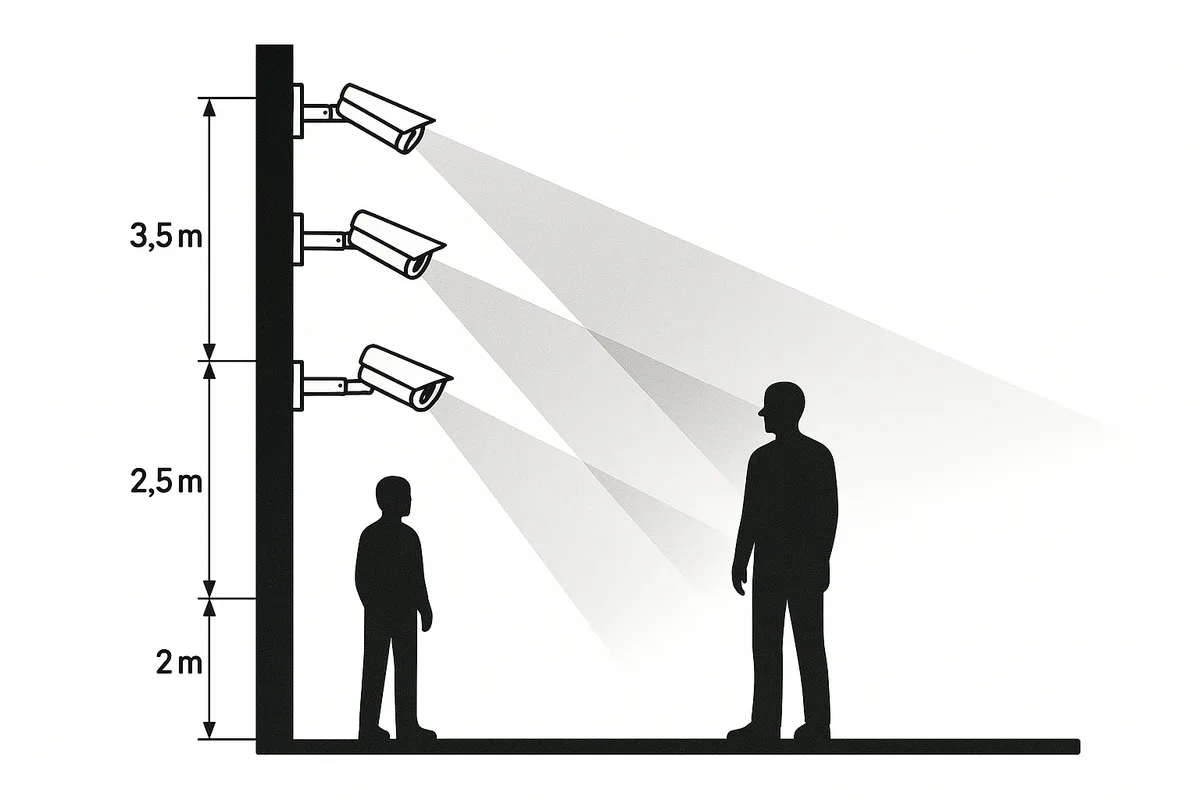
There's no universal "correct" height for a solar security camera. There's only the correct height for your setup. Here's the decision logic:
If your camera covers a front door, porch, or walkway, mount it 7 to 9 feet high. That range puts faces at eye level for clear identification. It also keeps the solar panel within easy cleaning reach.
If your camera covers a driveway or large open area, go 10 to 13 feet. Wider coverage demands more height, especially with bullet-style solar cameras that have a narrower lens angle.
If your camera sits on a pole or freestanding mount, 10 to 14 feet works well. Pole mounts already elevate the system. Going higher than 14 feet hurts more than it helps because motion detection and night vision degrade fast.
If you're mounting on an eave or soffit, calculate based on the angle rather than the ground. A camera on a 6-foot eave sits at roughly 13 feet effective height. Factor that into your planning.
The common thread: coverage goal drives height. Detail quality sets the upper limit.
Mounting Height by Camera Type and Mounting Surface
Different camera types and mounting surfaces shift the ideal height. Here's a quick reference:
| Camera Type | Mounting Surface | Recommended Height | Best For |
|---|---|---|---|
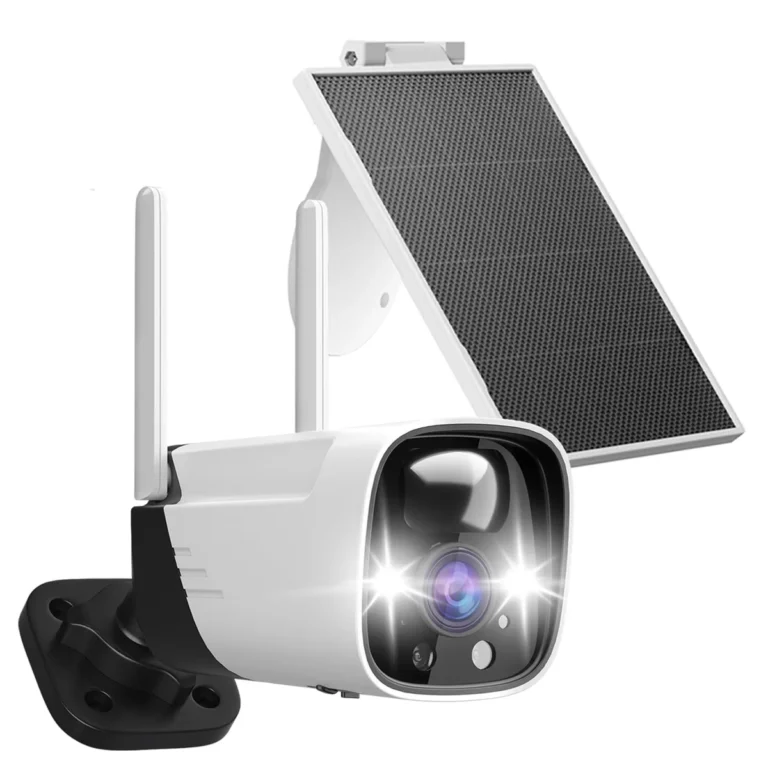
| Fixed bullet solar camera | House wall | 7 to 9 ft | Entryways, close-range detail |
| Fixed dome solar camera | House wall | 7 to 9 ft | Overhead coverage, subtle presence |
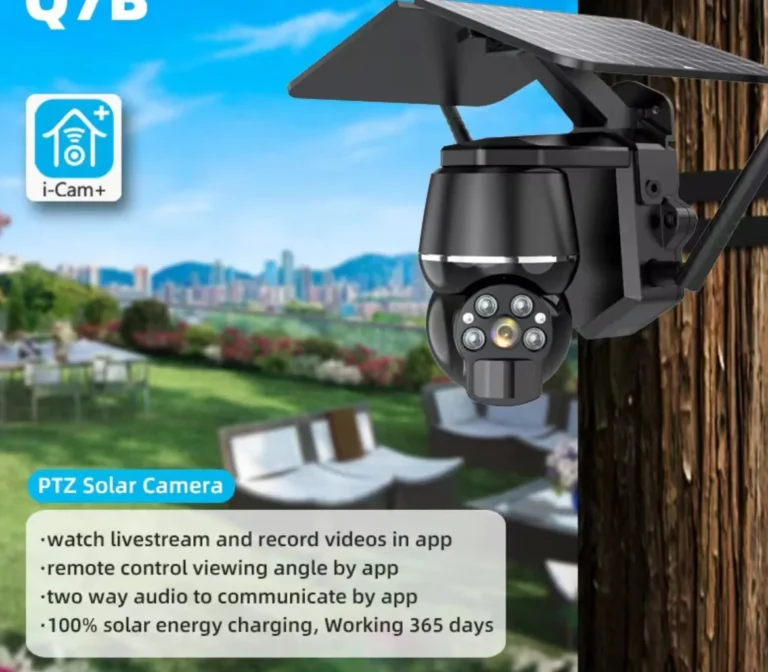
| PTZ solar camera | Pole or wall | 9 to 12 ft | Wide-area surveillance, driveways |
| Solar floodlight camera | Wall or eave | 10 to 14 ft | Large yards, perimeter monitoring |
| 4G LTE solar camera | Pole (remote) | 10 to 14 ft | Off-grid, rural, no Wi-Fi |
A few patterns stand out. Fixed cameras need less height because their field of view is already narrow. PTZ and floodlight models benefit from extra elevation.
Their wider coverage means more ground covered per foot of height.
Wall mounting offers the most control. You pick the exact position and angle. Eave and soffit mounts add height unintentionally.
Always calculate the effective distance from ground level, not just the bracket position.
Remote and off-grid installations have their own rules. A 4G LTE solar camera on a pole at a construction site or farm often needs 10 to 14 feet to cover the full perimeter. Higher mounts let the motion sensor sweep a wider arc.
They also keep the solar panel above vehicle exhaust and ground dust.
Wall-mount users can usually stop at 7 to 9 feet unless they're covering a long driveway. For that scenario, bumping up to 11 or 12 feet with a bullet camera covers the full length without needing a second unit.
Step-by-Step: Mounting Your Solar Camera at the Right Height
Here's the practical workflow:
Step 1: Define your coverage goal. Are you watching a front door, a driveway, or a whole backyard? Write it down. This determines whether you need 8 feet or 12.
Step 2: Measure your field of view. Check your camera's spec sheet for horizontal FOV. A 90-degree camera at 9 feet covers about 18 feet wide at a 10-foot distance. A 120-degree camera covers more.
Do the math before you drill.
Step 3: Choose the mounting surface. Wall, pole, eave, or bracket. Identify the material and pick the right anchors. Masonry walls need masonry anchors.
Wood siding needs lag bolts. Don't improvise.
Step 4: Mark the bracket position. Hold the bracket at your target height and mark the holes. Use a level. Sloppy mounting means a crooked camera and wasted rework.
Step 5: Drill and secure. Pre-drill pilot holes. Mount the bracket firmly. Attach the camera.
Set the solar panel angle before powering on.
Step 6: Aim and test. Point the camera at your coverage zone. Check the live feed on your phone. Walk through the detection zone and confirm motion triggers at the right height.
Step 7: Monitor the battery. Watch solar charging performance for 2 to 3 weeks. If the battery drops below 40% on cloudy days, adjust the panel angle or reposition the camera slightly.
Common Mistakes That Ruin Solar Camera Performance
Avoid these:
Mounting too high for the lens. A 90-degree FOV camera at 14 feet wastes coverage. The image looks stretched and motion detection sits too far from foot traffic.
Ignoring solar panel shading. The camera might be perfectly placed, but if the eave or a tree shades the panel, the battery dies in days. Check sun exposure at your camera's position at different times of day before committing.
Mounting on a north-facing wall. In the Northern Hemisphere, north-facing panels receive minimal direct sunlight. As of 2026, this remains the most common cause of solar camera battery failure in cloudy climates.
Using the wrong anchors. A solar camera with panel and bracket weighs 4 to 5 pounds total. Standard drywall anchors won't hold that over time. Use lag bolts into studs or masonry anchors into concrete. Mounting hardware rated by Underwriters Laboratories for outdoor use handles weather exposure and weight reliably.
Forgetting to test night vision. IR range is often only 25 to 35 feet. At 7 feet with a nearby wall, you might get IR bloom that ruins the image. Always test at night before finalizing the mount.
Mounting too close to reflective surfaces. IR light bounces off light-colored walls, fences, and siding. This washes out the entire night image. Keep at least 6 to 8 feet between your camera and any reflective surface.
Solar Panel Angle vs. Camera Aim: Getting Both Right
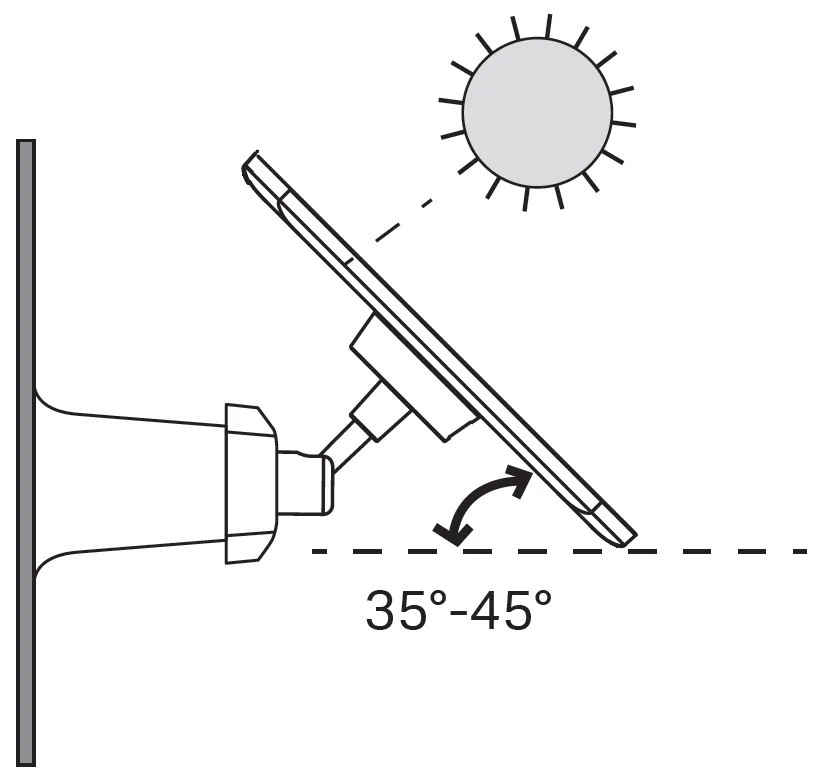
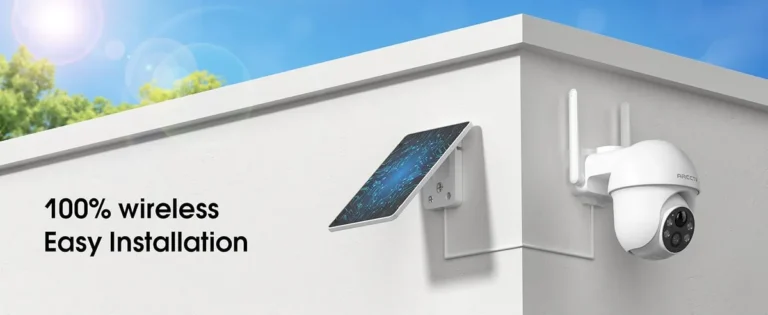
Most solar security cameras have one bracket but two jobs. The camera lens needs to point at your target zone. The solar panel needs to face the sun.
These two directions are rarely the same.
Here's how it usually breaks down. The solar panel needs to tilt toward the sun to charge efficiently. In the Northern Hemisphere, that means a south-facing angle roughly equal to your latitude.
For example, at 40 degrees north, a tilt of about 40 degrees gives strong year-round charging.
The camera lens, on the other hand, needs to aim at your driveway, porch, or yard. That angle depends on your coverage goal, not on the sun.
If your camera and panel share a fixed mount, you'll compromise. The panel tilts toward the sun. The camera aims at your target.
Manufacturer specs for fixed-bracket models confirm this creates a practical limit.
If your camera has an adjustable bracket with independent pivot points, you can optimize both. Point the panel south. Tilt it to your latitude.
Aim the camera separately. This setup delivers the best charging performance and the best image angle.
If your camera has a fully integrated panel, you're stuck with one shared angle. In this case, prioritize the camera aim and accept slightly reduced charging. Most integrated models still maintain adequate battery life in sunny climates.
The practical takeaway is simple. Solar charging works as long as the panel gets three to five hours of direct sun. The camera angle handles the rest.
For seasonal optimization, adjust the panel tilt twice a year. Raise it 10 to 15 degrees in winter when the sun sits lower. Lower it in spring and summer.
This keeps charging steady even as daylight hours shrink.
Frequently Asked Questions
What is the ideal mounting height for a solar security camera?
The ideal height is 7 to 9 feet for residential wall mounts and 10 to 13 feet for pole or wide-area setups. This range balances clear facial recognition, accurate PIR motion detection, and usable night vision. Going above 13 feet wastes coverage without improving detail.
Can I mount a solar security camera lower than 7 feet?
You can, but you lose practical advantages below 7 feet. Motion detection triggers too easily on ground-level activity. Night vision gets distorted.
The camera becomes more vulnerable to tampering and theft. For most homeowners, 7 feet is the floor.
How do I know if my solar camera will charge at a given height?
Check sunlight exposure at the exact mounting position. Map where the sun hits your wall or pole between 10am and 3pm over two full days. If you get three to five hours of direct sun, the panel will charge properly.
Shade kills solar performance faster than anything else.
Should the solar panel face the same direction as the camera?
No. The panel should face the sun. The camera should face your target area.
Use an adjustable bracket with independent pivot points so you can optimize both angles. If your camera uses a fixed shared mount, prioritize the camera angle and accept reduced panel efficiency.
What height works best for a driveway security camera?
10 to 12 feet works well for most driveways. This elevation gives a 120-degree lens coverage of roughly 24 to 28 feet across the driveway surface. For longer driveways, bump the height to 12 to 14 feet or use a PTZ solar camera with a wider effective range.
How often should I adjust the solar panel angle?
Adjust it twice a year for best results. Raise the tilt 10 to 15 degrees in winter. Lower it back in spring and summer.
Monthly cleaning of the panel surface also helps. Dust and bird droppings cut charging output by 10 to 20 percent if left unchecked.