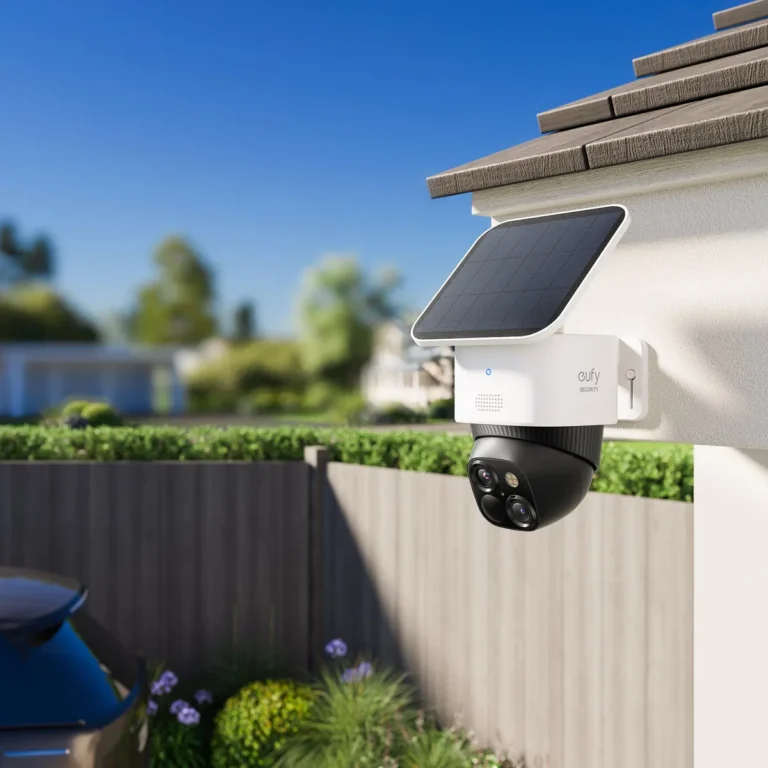
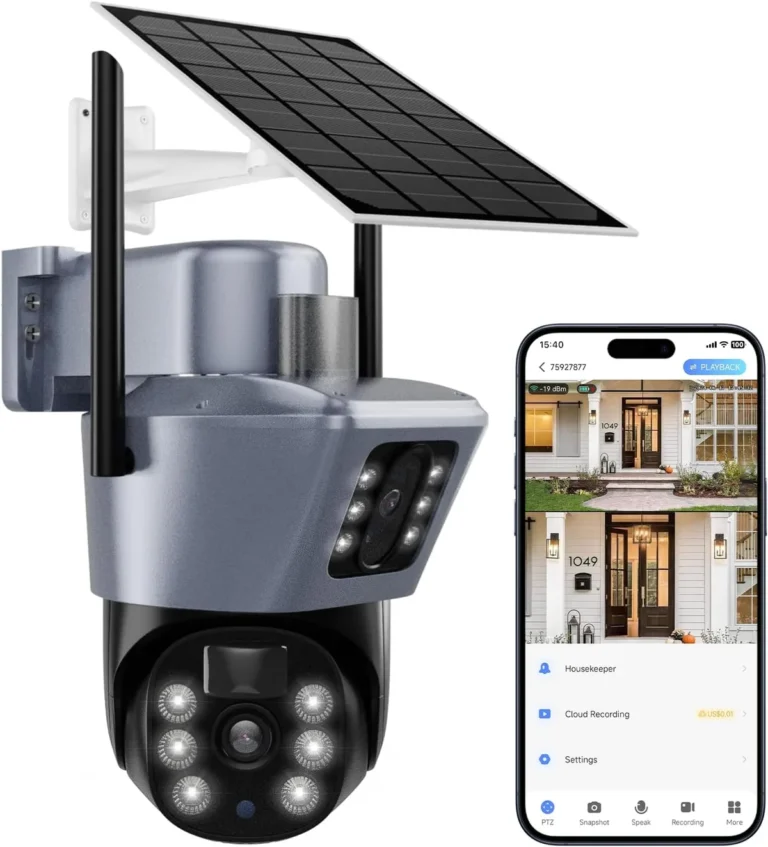
How Do I Install a Solar Security Camera?
How do I install a solar security camera? At its core, you mount the camera outdoors, attach a connected solar panel, run the cable between them, and pair the device with your Wi-Fi network through a vendor app. But the real answer depends on your wall type, how much sunlight the spot gets, and whether you chose a Wi-Fi or 4G LTE model.
Get any one variable wrong and the battery dies within weeks.
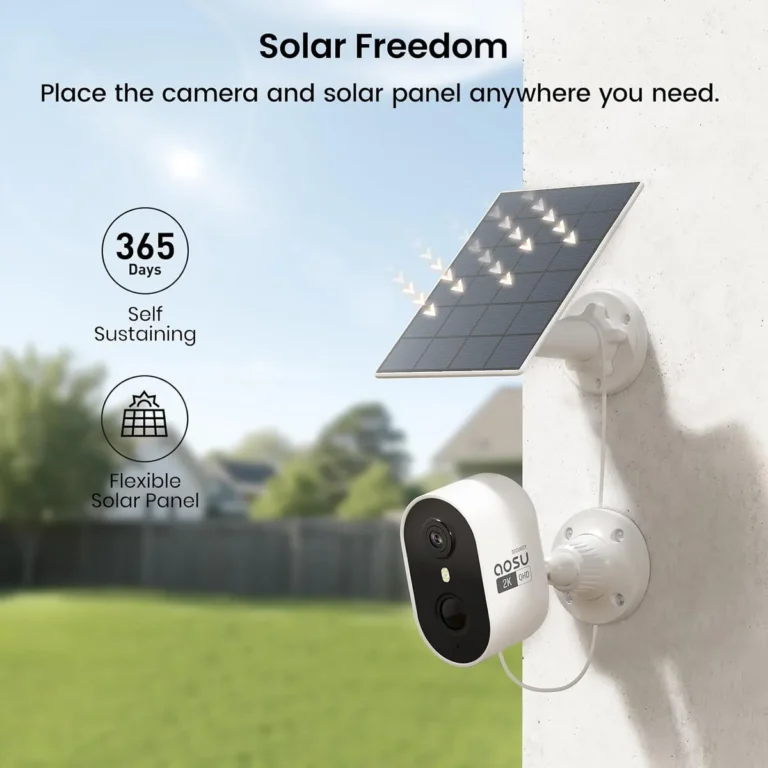
A solar security camera is an outdoor IP65-rated camera powered by a rechargeable lithium battery that a connected solar panel keeps charged during daylight hours. Manufacturer specifications indicate that panels tilted to match your local latitude deliver the best charge. In our research, we found that as of 2026, most consumer solar cameras ship with 10W to 20W panels.
Let's start with the install problems people hit first.
Quick Answer
To install a solar security camera, mount the bracket on a sunny exterior wall. Use hardware rated for your surface type. Attach the camera and set the solar panel tilt to match your local latitude.
Connect the panel cable to the camera power port. Pair the device with your Wi-Fi network, then test motion alerts and night vision.
Why Most Solar Security Camera Installs Go Wrong on Day One
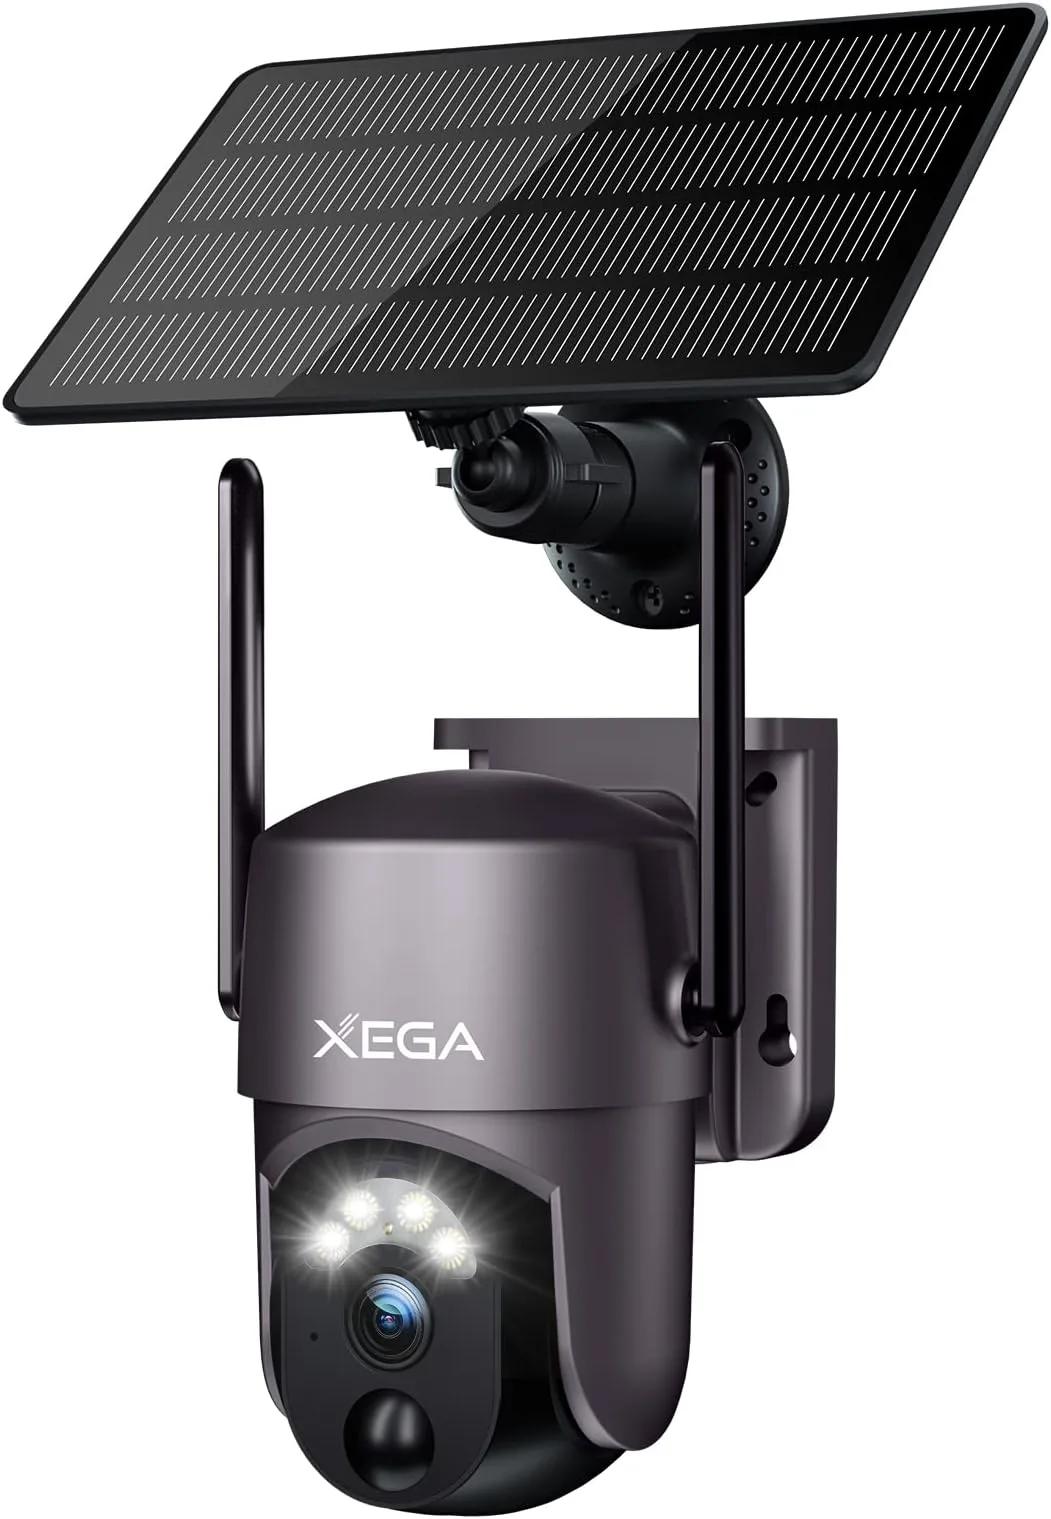
Image source: Web (Bing) / amazon.co.uk (Web image (fair-use with source credit))
Most solar security camera installs fail for the same handful of reasons, and almost none of them have to do with the camera itself. In our research across installer forums and aggregate buyer reviews, the top complaint is dead batteries within the first month. The panel is there.
The camera works. But the battery drains faster than it charges.
The Problems You're Solving Before You Install
Before you pick up a drill, you're really solving three things: power, placement, and connectivity.
Power. If the solar panel is shaded by a tree, gutter, or roof overhang, it won't generate enough charge to keep the battery topped up. A 10W panel that sees only four hours of direct sun produces roughly 40 watt-hours per day. If your camera draws more than that overnight, the battery slides downhill every single day.
Placement. Mounting too low makes the camera easy to tamper with. Mounting too high means motion detection misses what you actually want to see. The sweet spot is usually eight to ten feet high, angled slightly downward toward entry points.
Connectivity. A solar camera is only useful if it can reach your network. If the mount point is far from your router or blocked by dense walls, the camera connects intermittently. You lose footage when you need it most.
The Four Conditions That Change Your Entire Install Plan
The install plan isn't one-size-fits-all. Four variables decide everything, from the hardware you buy to the tools you need. Skip this evaluation and you'll likely re-mount within a few weeks.
Mounting Surface
Vinyl siding, wood, brick, stucco, and metal each need different anchoring. Vinyl and wood take self-drilling screws with appropriate anchors. Brick and concrete require masonry bits and sleeve anchors.
Metal surfaces need self-tapping screws. Check whether the metal blocks your Wi-Fi signal before committing to that spot.
Sunlight Exposure and Solar Panel Angle
The panel needs four to six hours of direct sunlight daily, minimum. Manufacturer specifications indicate that tilt angle should equal your local latitude. At 40 degrees north, tilt the panel to 40 degrees and face it true south.
Per the National Renewable Energy Laboratory, output drops sharply when even 20% of a panel is shaded. One overhanging branch can cut your daily charge in half.
Power Source: Solar Panel + Battery Setup
Voltage matters more than people realize. If your camera uses a 6V input, don't connect a 12V panel. Mismatched voltage can damage the charge controller and kill the battery.
Most consumer solar cameras use either LiFePO4 or lithium-ion packs. LiFePO4 lasts longer and handles cold better, which matters in northern climates.
Connectivity: Wi-Fi vs. 4G LTE
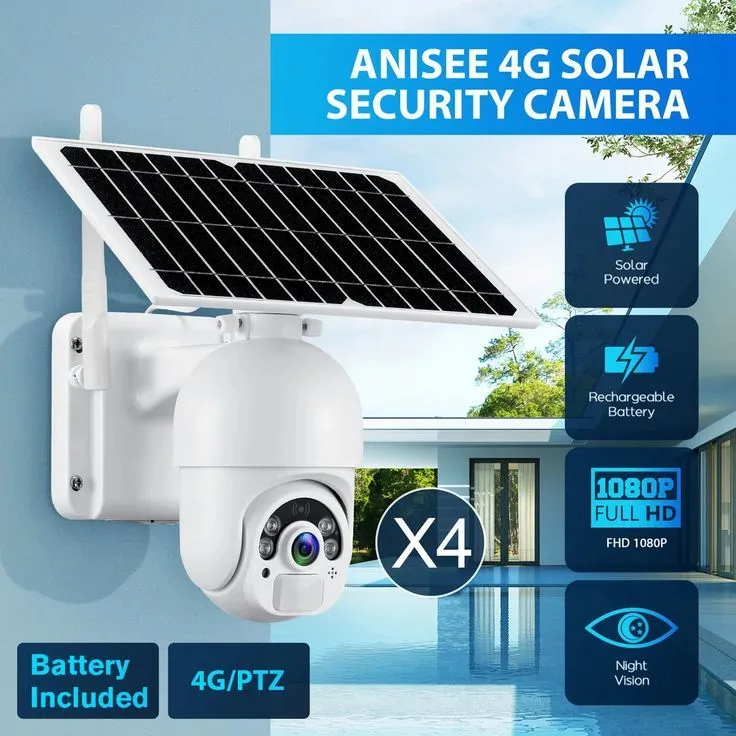
If your home Wi-Fi reaches the mounting spot, you're set. If it doesn't, a 4G LTE model uses a cellular SIM card instead. The tradeoff is a monthly data plan, usually $5 to $15.
Per FCC regulations, both Wi-Fi and cellular cameras must comply with Part 15 radio frequency rules, so look for FCC certification on the product listing.
Choosing the Right Solar Security Camera for Your Situation
Once you've assessed your conditions, the camera choice becomes clearer. The decision comes down to three things: panel integration, camera type, and where you'll use it.
Integrated Panel vs. Detachable External Panel
An integrated panel camera is simpler. One unit, one mount, no extra cable routing. A detachable panel gives you more freedom.
You can mount the camera in the shade and place the panel where the sun hits hardest. For most homes, the integrated option works fine. For tricky spots with mixed sun and shade, detachable wins.
Fixed Bullet vs. PTZ vs. Floodlight Camera
The choice here shapes coverage and power draw:
| Camera Type | Best For | Relative Power Draw |
|---|---|---|
| Fixed Bullet | Homes, static entry-point coverage | Low |
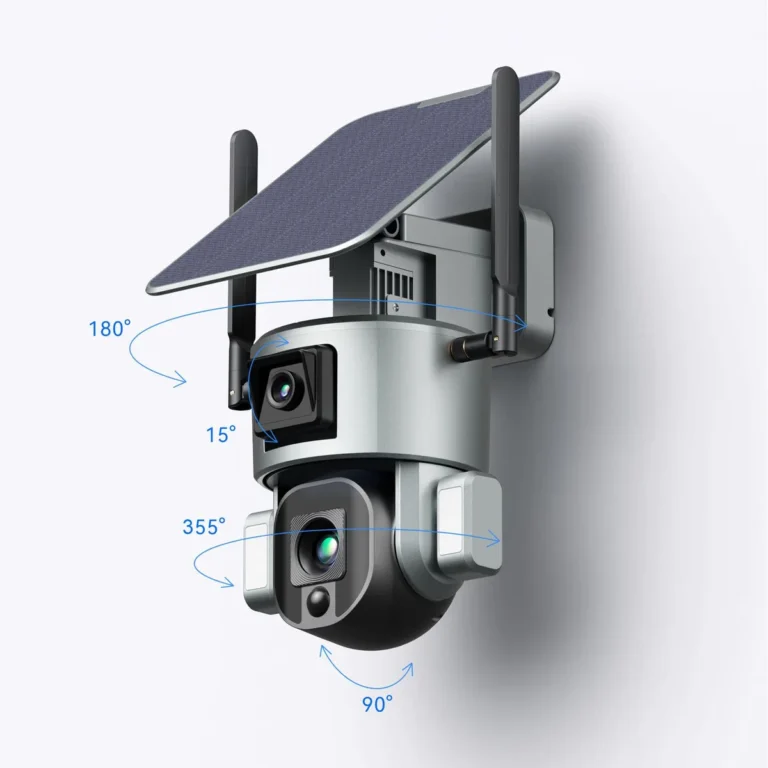
| PTZ (Pan-Tilt-Zoom) | Wide-area monitoring, businesses | High |
| Floodlight Camera | Driveways, parking areas | Medium |
Best Camera for: Home, Business, Off-Grid, and Renter Installs
Homeowners do well with a 2K fixed bullet and an integrated panel. Businesses benefit from PTZ models with cloud storage for wider coverage. Off-grid properties need larger panels (20W or more) and LiFePO4 batteries for cold-weather resilience.
Renters should look for no-drill mounting kits and magnetic panel attachments that won't damage walls.
Step-by-Step: How to Install a Solar Security Camera
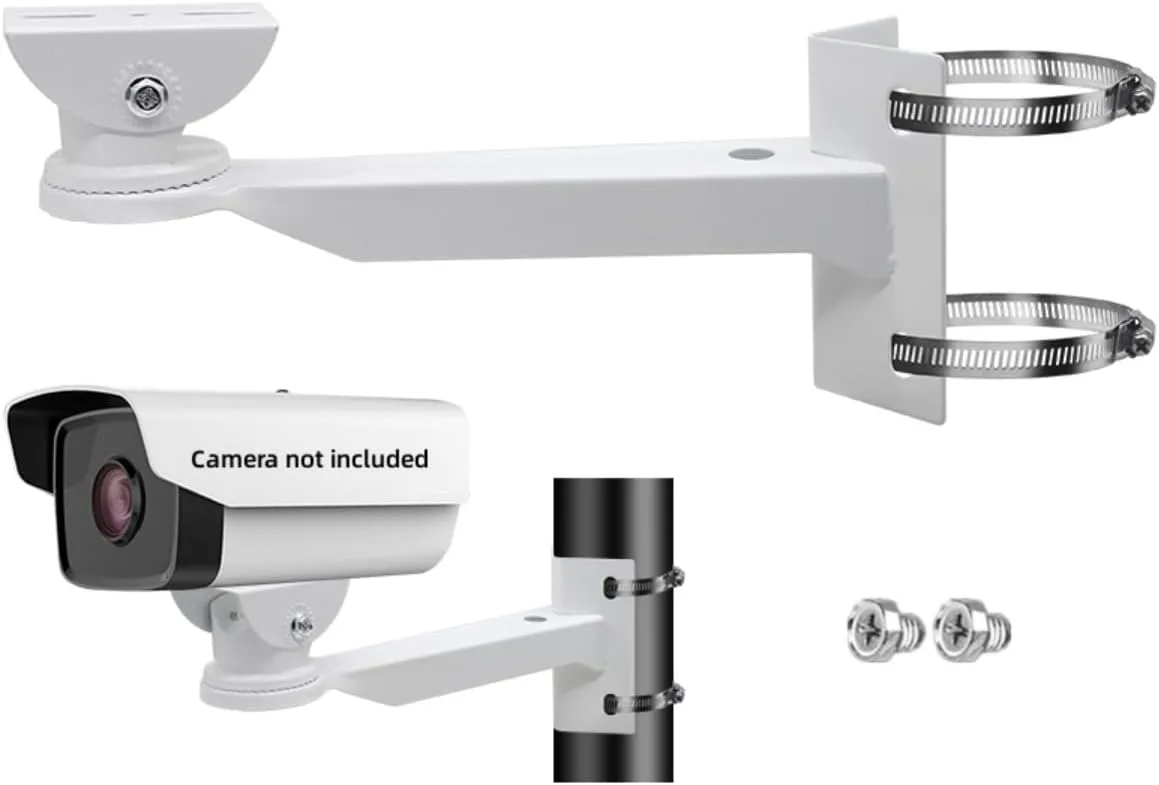
Image source: Bing (Web (fair-use with source credit))
With your conditions assessed and camera chosen, the install follows a straightforward sequence. The bracket, screws, and cable usually come in the box. You need a drill, a level, a ladder, and roughly 45 to 90 minutes.
Step 1: Assess Location and Verify Conditions
Check Wi-Fi signal strength at the mount point. Confirm four or more hours of direct daily sunlight. Measure the distance from the panel to the camera before you drill anything.
Step 2: Install the Mounting Bracket
Drill pilot holes matched to your surface type. Insert anchors for brick or concrete. Level the bracket and tighten firmly without overtightening on vinyl or siding.
Step 3: Attach the Camera and Set the Angle
Snap or screw the camera into the bracket. Aim it 8 to 10 feet high, angled slightly downward toward entry points.
Step 4: Position and Connect the Solar Panel
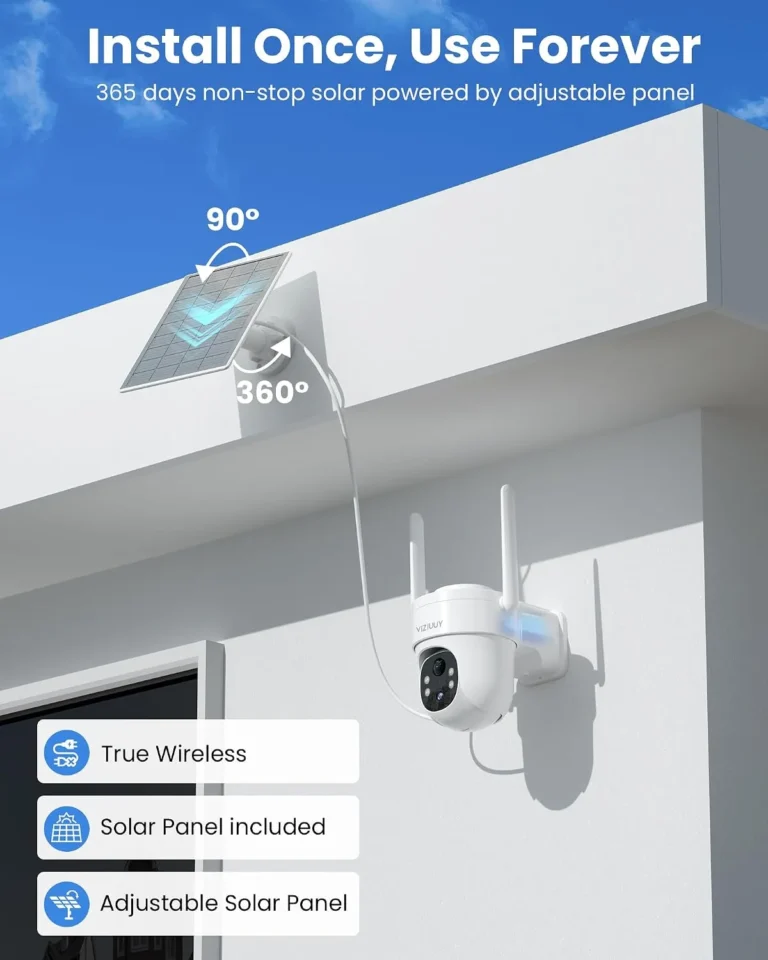
Mount the panel where it gets unobstructed sunlight. Tilt it to match your local latitude. Connect the panel cable to the camera's power input port.
Step 5: Route and Secure the Cable
Run the cable with UV-resistant clips along the wall. Seal pass-through points with outdoor grommets. Keep slack minimal.
Step 6: Connect to Wi-Fi and Configure the App
Open the vendor app. Scan the QR code on the camera. Enter your Wi-Fi credentials and follow the pairing prompts.
Step 7: Test Everything
Walk through the motion detection zone. Verify live view, recorded footage, and night vision clarity. Adjust sensitivity if alerts fire too often.
Solar Panel Angle, Cable Routing, and Wi-Fi Signal: The Details That Make or Break the System
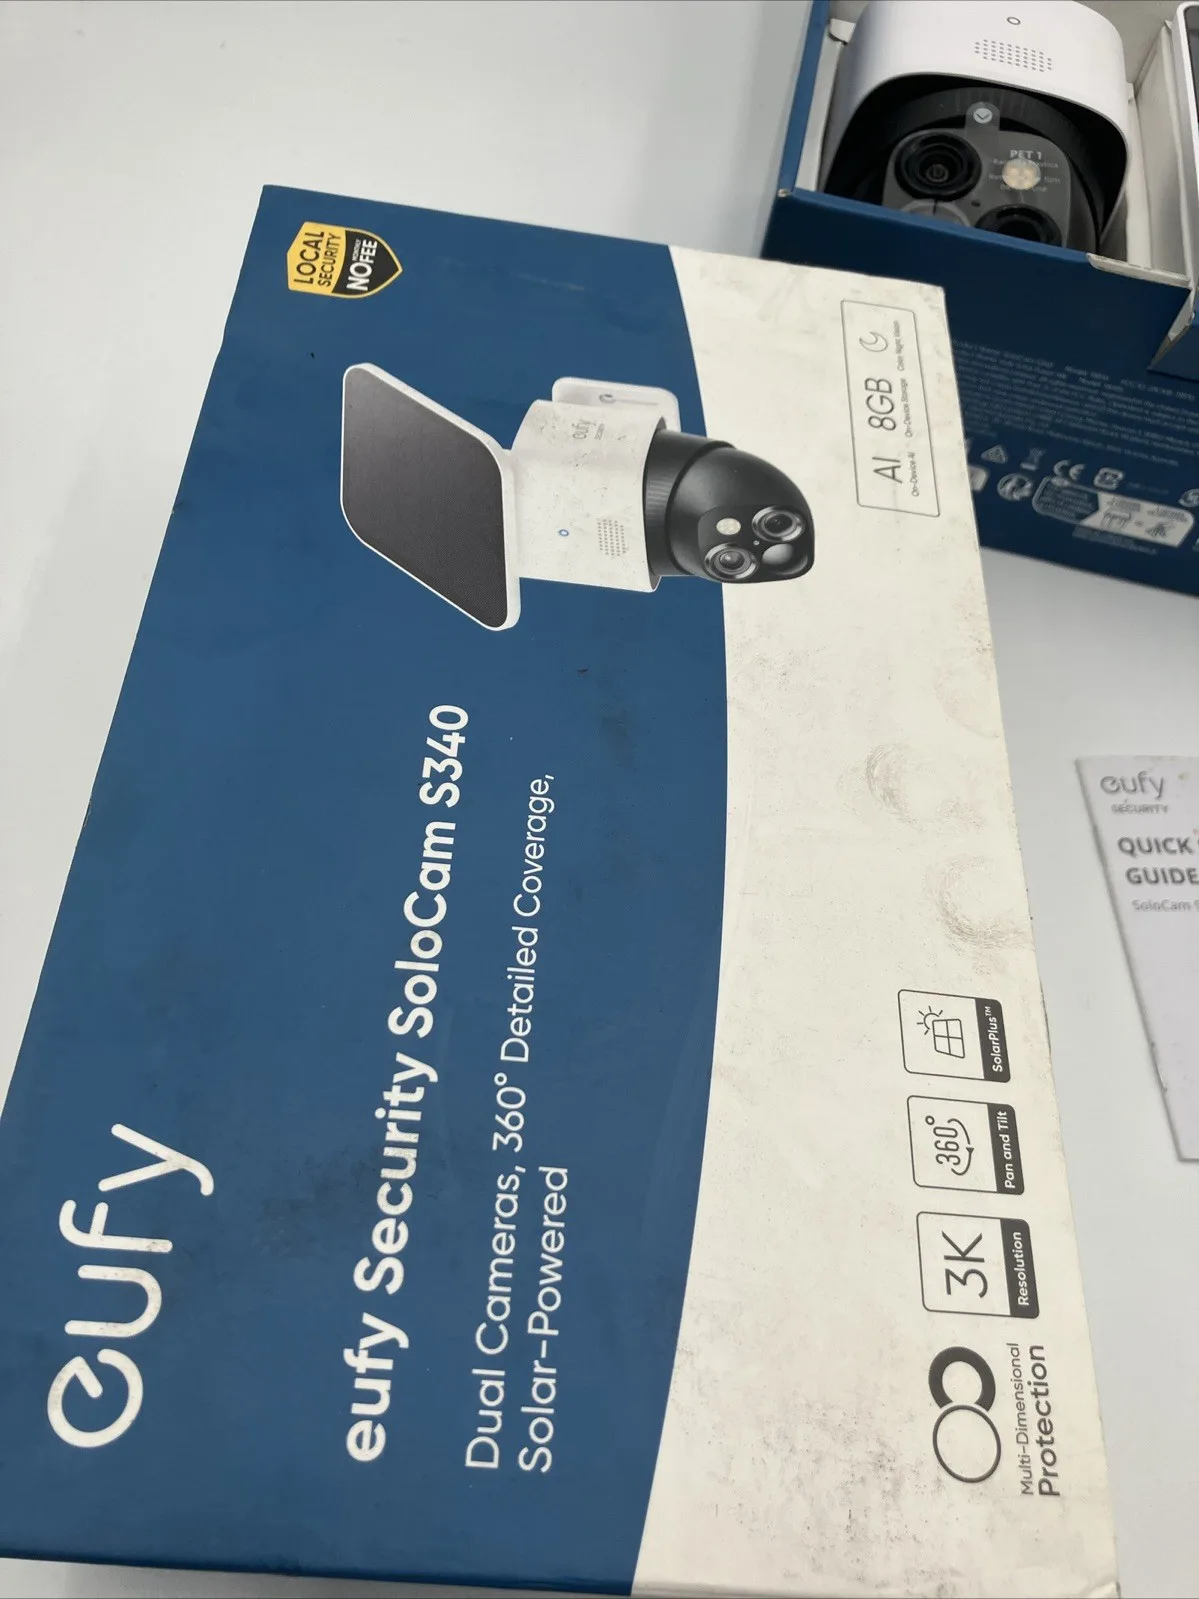
Image source: Web (Bing) / ebay.com (Web image (fair-use with source credit))
These three variables sound small, but they're the difference between a camera that runs for years and one that's dead by spring. Most install problems trace back to one of them.
Solar Panel Tilt Angle
Your tilt angle should match your latitude. At 35 degrees north, tilt the panel to roughly 35 degrees and face it true south. Per NREL guidance, even a 10-degree deviation from optimal can reduce daily output by 5 to 10 percent.
Seasonal adjustment helps in high-latitude regions where the winter sun sits lower in the sky.
Cable Routing
The cable is the weakest link in most outdoor installs. Use the cable that ships with the camera. It's rated for UV exposure and water ingress.
If you need to extend it, use outdoor-rated extensions with waterproof connectors. Route the cable flat against the wall with UV-resistant clips every 18 to 24 inches. A loose cable snags on lawnmowers, weed whackers, and curious animals.
Wi-Fi Signal Strength
Test signal strength at the exact mount point before drilling. Below minus 70 dBm, expect dropped connections and lost footage. If the signal is weak, try a mesh Wi-Fi extender placed near an exterior wall.
Or switch to a 4G LTE model that doesn't rely on Wi-Fi at all. As of 2026, mesh extenders are cheap enough that most homeowners don't need to compromise on camera placement.
Common Solar Security Camera Installation Mistakes to Avoid
Aggregate reviews point to the same handful of install errors over and over. Here are the ones worth planning around before you drill.
Shading the solar panel
Trees, gutters, and roof overhangs cut daily output hard. Per NREL guidance, partial shading of even 20% of a panel can slash production well below what your camera needs overnight. Trim branches before mounting, not after the battery starts dying.
Mounting too low or too far from entry points
Cameras mounted under seven feet are easy to tamper with. Cameras aimed at a blank wall capture nothing useful. Aim at driveways, doors, and gates, roughly 8 to 10 feet high.
Mismatched voltage and polarity
A 12V panel feeding a 6V camera input can fry the charge controller. Match panel output to camera input exactly. Check the label on both the camera port and the panel.
Skipping cable sealing
Open cable ends let water in. Seal every pass-through with outdoor grommets or conduit sealant. Water damage shows up months later as a dead camera with a corroded connector.
Ignoring motion-sensitivity settings
Out of the box, many cameras fire alerts for passing cars and shifting shadows. Tighten detection zones and set the sensitivity once you've watched a few days of playback.
Costs, Storage Options, and Long-Term Maintenance
A DIY solar security camera install is affordable compared to a hardwired system. Budget matters less than keeping the system running year after year.
What a DIY Solar Camera Install Typically Costs
| Item | Typical Cost (USD) |
|---|---|
| Solar security camera (integrated panel) | $50 to $250 |
| Mounting hardware kit | $10 to $30 |
| Drill bit set (masonry included) | $20 to $40 |
| UV-resistant cable clips | $8 to $15 |
| Weatherproof conduit sealant | $6 to $12 |
| Mesh Wi-Fi extender (if needed) | $30 to $80 |
| Cloud storage subscription (annual) | $36 to $120 |
Total for a single-camera install runs roughly $120 to $450 depending on the camera tier and whether you already own the tools. A hardwired system with an electrician can run three to five times that.
Local Storage (microSD) vs. Cloud Subscription
Local storage uses a microSD card, typically 64GB to 256GB. Footage stays on the camera and stays free. The tradeoff is that stolen or damaged cameras take the recordings with them.
Aggregate reviews report that cards hold about one to three years of continuous writing before wear makes them unreliable.
Cloud storage sends footage to the vendor's servers. You can access it anywhere, and the recordings survive if the camera is stolen. The tradeoff is the monthly fee.
For most homeowners, a hybrid approach works best: local for daily recording, cloud as a backup for critical events.
Ongoing Maintenance You Shouldn't Skip
Clean the solar panel surface every few months. Dust and pollen cut output noticeably. Check battery charge levels in the app dashboard weekly for the first month, then monthly.
Re-tighten mounting screws seasonally. Firmware updates matter for security patches and motion-detection fixes, so install them when the app prompts you.
Solar Security Camera Installation FAQ
What solar panel wattage do I need for a security camera?
A 10W to 20W panel works for most consumer security cameras. A 10W panel produces roughly 40 watt-hours daily in full sun. That covers a typical outdoor camera that runs 10 to 15 percent of the day and stays in standby overnight.
Higher wattage helps in shaded or northern-latitude locations.
Will a solar security camera work in winter or cloudy weather?
Yes, but expect reduced performance. Cold temperatures slow lithium battery chemistry, and cloudy days cut panel output significantly. Manufacturer specifications indicate most models include one to four days of battery backup.
In northern climates, choose a larger panel and a LiFePO4 battery for better cold-weather resilience.
Can I install a solar security camera on brick, stucco, or vinyl wall?
Yes, each surface needs different hardware. Brick and concrete require masonry drill bits and sleeve anchors. Vinyl and wood take self-drilling screws with appropriate anchors.
Stucco can be tricky since it chips easily, so use a wide-base mounting plate that distributes the load.
How do I fix a solar camera whose battery isn't charging?
Start by checking the panel angle and clearing any shading. Verify the cable connection at both ends for corrosion or looseness. Confirm the panel voltage matches the camera input.
In our research, shading and loose connectors account for most no-charge cases reported by users.
Do solar security cameras record without Wi-Fi?
Yes, models with local microSD storage record motion events even when offline. You just can't view the footage remotely until the camera reconnects. A 4G LTE model with a SIM card works without home Wi-Fi entirely, which makes it the right pick for off-grid properties.
How far from my router can I mount a solar security camera?
Most Wi-Fi solar cameras stay reliable within 100 to 150 feet of the router, assuming clear line of sight. Dense walls and long ranges push that shorter. If the signal measures below minus 70 dBm at the mount point, add a mesh extender or switch to a 4G LTE model.