How Do I Reset a Solar Security Camera?
Your solar security camera went offline, won't charge, or it's stuck in a setup loop. Resets are the most common fix for solar-powered cameras. Getting the method right prevents you from replacing a device that just needs a fresh start.
Most solar cameras require a reset button hold of 5 to 15 seconds, depending on the brand. The camera also needs at least 30% battery charge before a reset will trigger. As of 2026, brands like Reolink, Eufy, and Wyze each follow their own procedures, but the flow is similar.
Here's what actually happens during a reset.
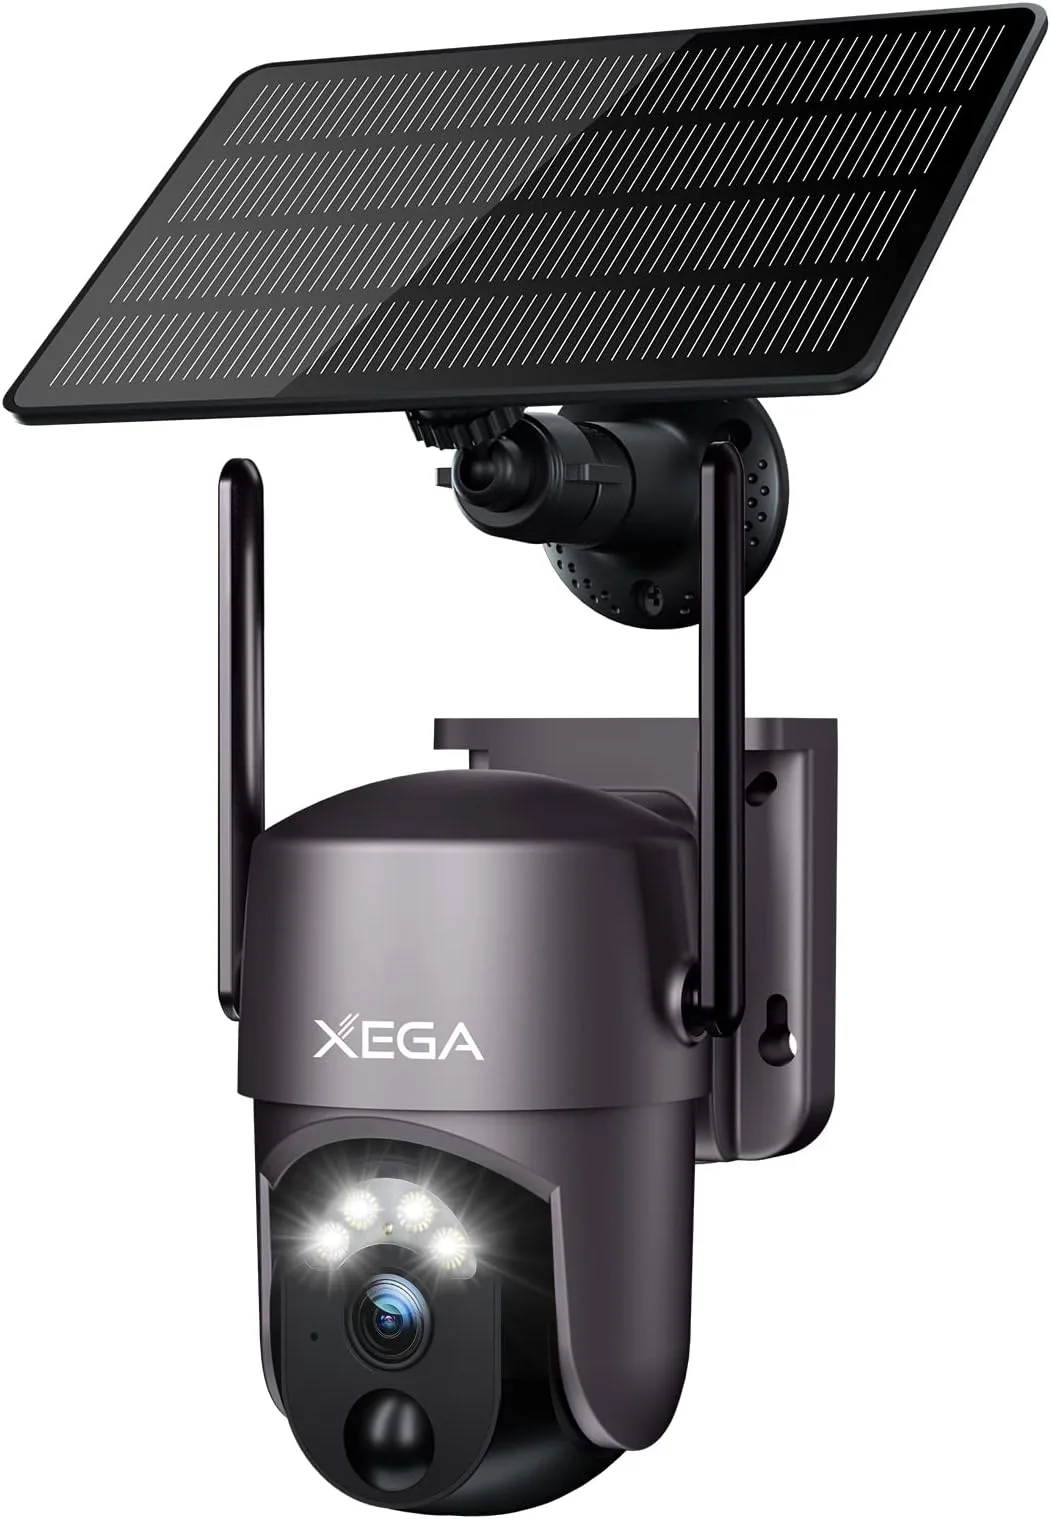
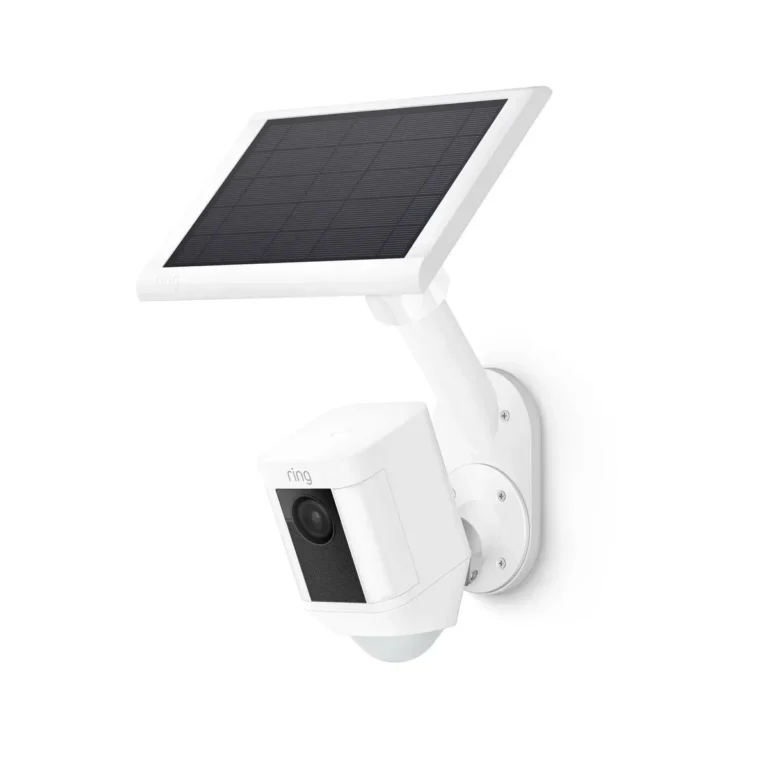
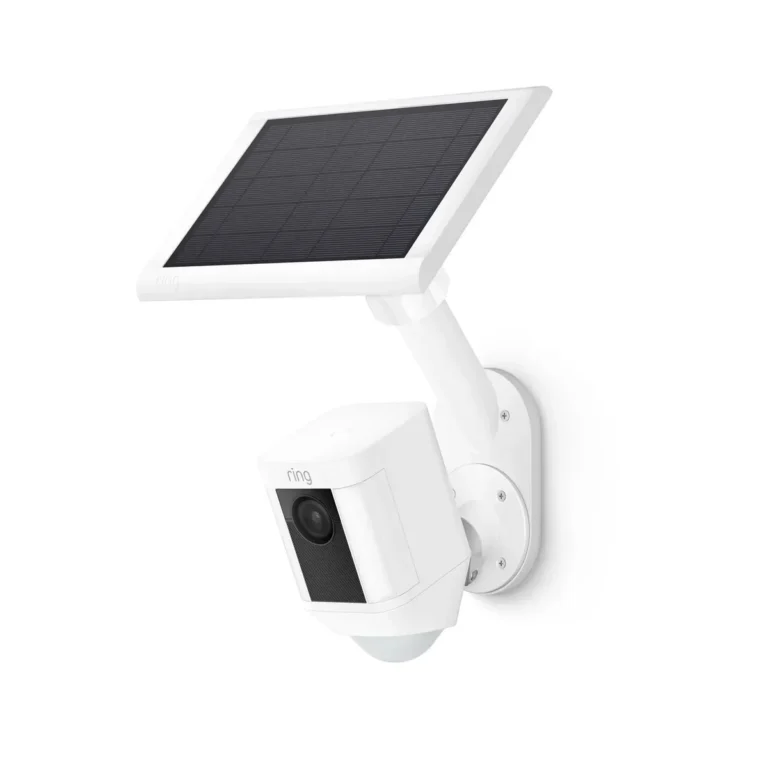
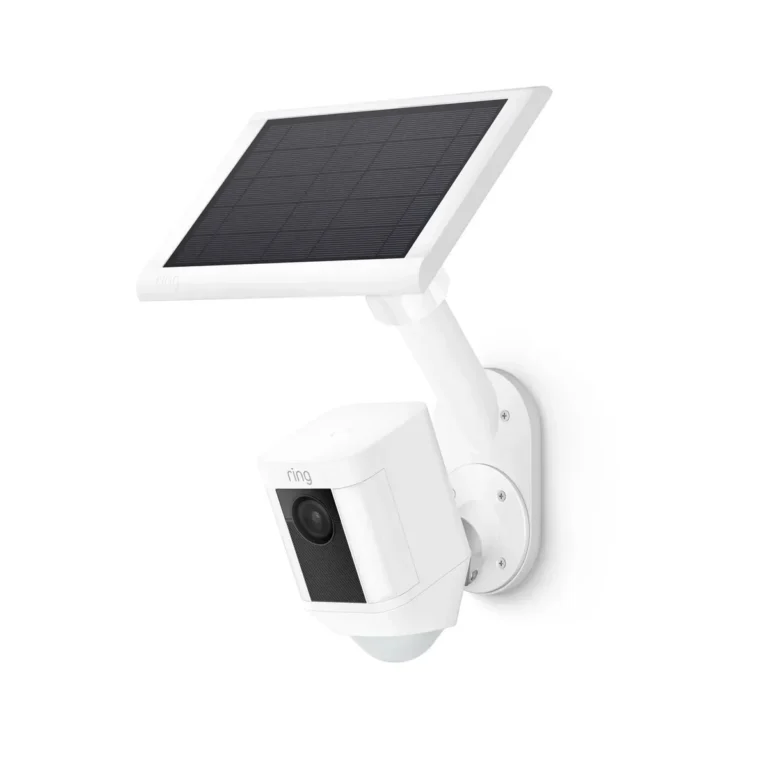
Image source: Web (Bing) / amazon.co.uk (Web image (fair-use with source credit))
Quick Answer
To reset a solar security camera, hold the reset button 5 to 15 seconds. Then re-pair the device through its companion app. The method depends on your brand and model.
Most solar cameras need at least 30% battery charge first. Check your manual for the specific hold time.
Why Your Solar Security Camera Needs a Reset (and What Actually Happens)
Solar security cameras depend on three systems working together: the solar panel, the rechargeable battery, and the Wi-Fi connection. When one of those fails, the camera stops recording or goes offline. A reset clears corrupted settings and forces everything to reconnect from scratch.
The most common triggers include:
- Failed firmware updates. An interrupted update can leave the camera stuck in a boot loop.
- Router or ISP changes. Your camera loses its stored Wi-Fi credentials when your network changes.
- Dead batteries. Shaded, dirty, or misaligned solar panels can't charge. At 0% battery, the camera won't respond to a reset command.
- App glitches. Sometimes the companion app stops recognizing the device even though the camera itself is fine.
Pressing the reset button clears the camera's stored Wi-Fi settings, motion detection schedules, and notification preferences. It doesn't wipe footage stored on an SD card or in cloud storage, but you'll need to re-pair the camera before you can access those recordings again.
Per NIST guidance on IoT device security, regular resets are a recommended practice for clearing potentially compromised network configurations on connected cameras.
The Three Types of Resets: Soft Reset, Factory Reset, and App-Based Reset
Not all resets are the same. Solar cameras typically offer three levels of reset, and using the wrong one can create more problems than it solves.
Soft Reset (Power Cycle): This simply restarts the camera without clearing any settings. Press the power button, wait 10 seconds, turn it back on. It's the least invasive option and works best for freezes, lag, or blank live feeds.
Factory Reset (Hardware Reset): This wipes everything. Wi-Fi credentials, motion detection schedules, notification preferences, and cloud pairing all get erased. You'll need the reset button (usually a pinhole near the power port) and your phone with the companion app ready.
App-Based Reset: Some brands, like Eufy and Ring, let you reset the device from within the companion app. This is useful when you can't physically reach the camera but still have the app logged in.
| Reset Type | Clears Settings? | Physical Access Needed? | Best For |
|---|---|---|---|
| Soft Reset | No | Yes | Freezes, lag, minor glitches |
| Factory Reset | Yes | Yes | Wi-Fi changes, firmware issues |
| App-Based Reset | Varies | No | Remote or hard-to-reach cameras |
If the camera still works but shows odd behavior, start with a soft reset. If it won't connect to Wi-Fi at all, go straight to a factory reset.
How Solar Camera Resets Work: The Solar Panel, Battery, and Wi-Fi Connection Factors
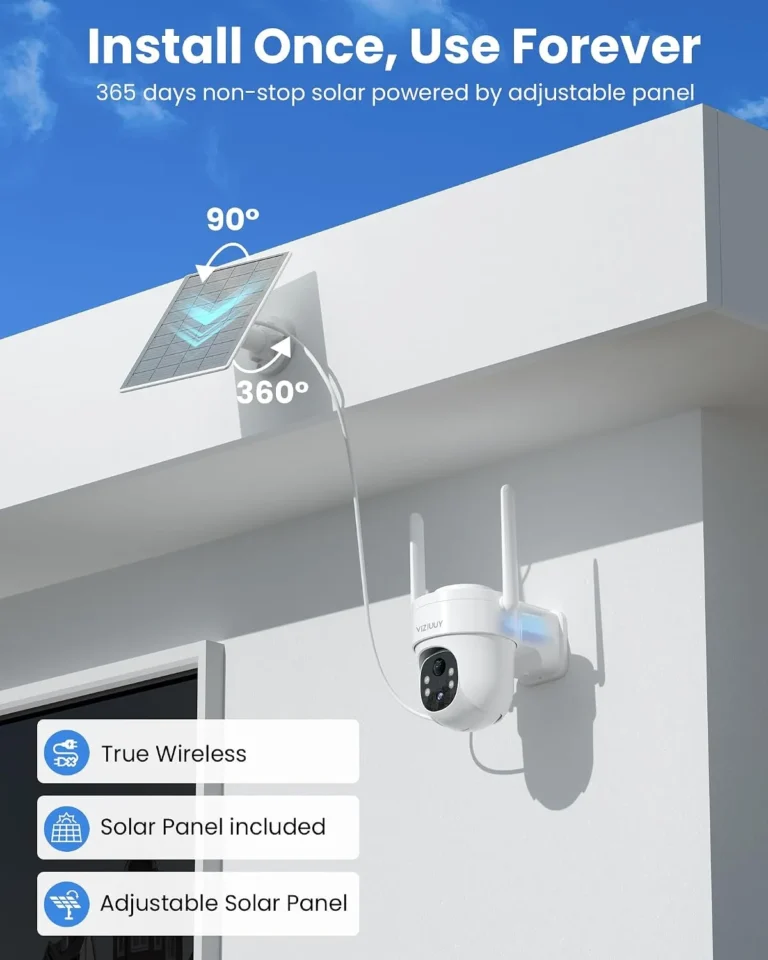
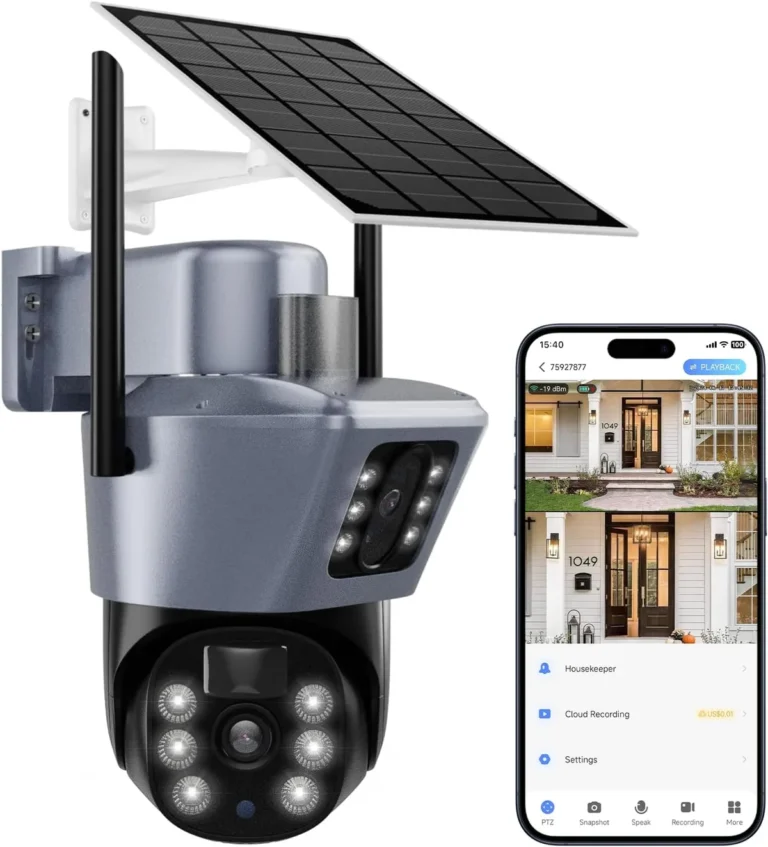
A solar security camera has an extra layer of complexity compared to a wired one: it depends on sunlight to stay alive. Your reset strategy needs to account for the solar panel, battery level, and Wi-Fi connection all at once.
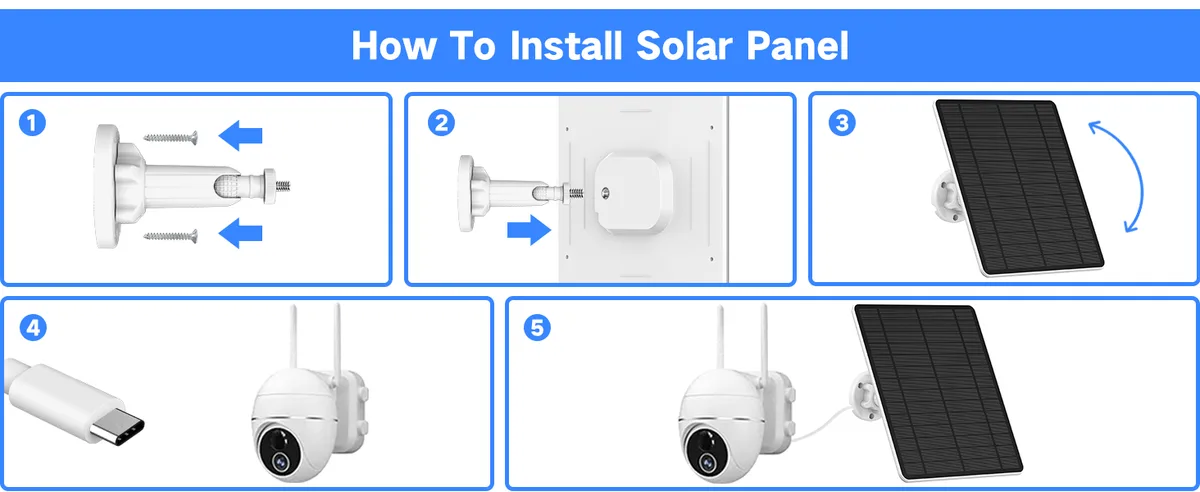
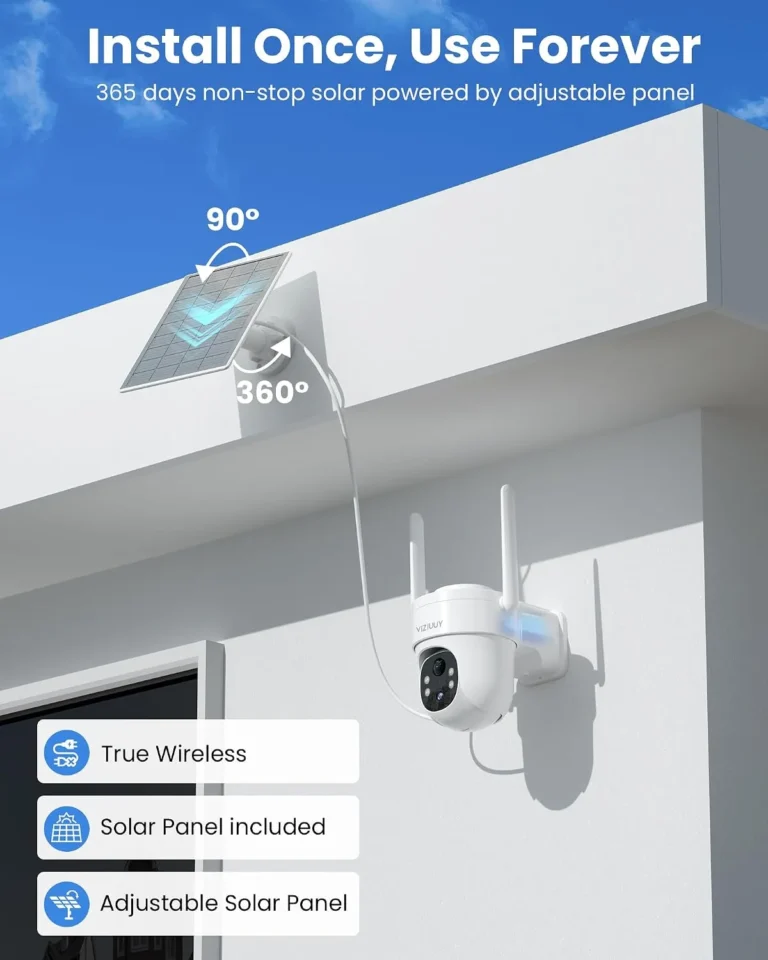
Image source: Bing (Web (fair-use with source credit))
Solar panel output matters. Most solar cameras use panels rated between 2W and 6W. If the panel is shaded, dirty, or misaligned, the battery won't charge. A camera at 0% battery can't process a reset command no matter how long you hold the button.
Clean the panel and let the camera charge for 30 to 60 minutes before attempting a reset.
Battery threshold. Manufacturers typically require at least 30% charge for a factory reset to work. Below that threshold, the camera may simply shut down instead of resetting. Most solar cameras show a red LED when the battery is critically low.
Wi-Fi band. After a factory reset, the camera loses its stored credentials. You'll need to reconnect it through the companion app using your home network. Per FCC Part 15 regulations, most solar security cameras operate on the 2.4GHz band.
Make sure your router broadcasts 2.4GHz or the camera won't find the network.
The order matters. Charge first. Reset second.
Re-pair third. Skipping steps causes most failed resets.
Step-by-Step Reset Guide for Solar Security Cameras (By Brand and Situation)
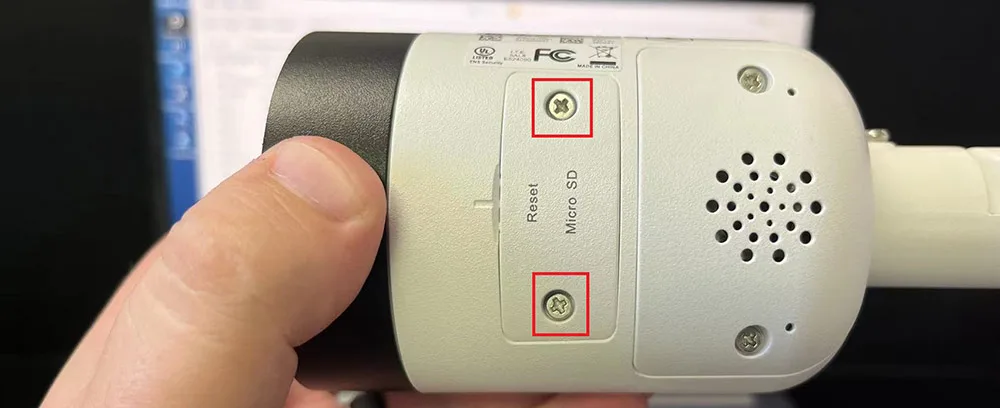
Image source: Bing (Web (fair-use with source credit))
Here's the general reset flow that works across most solar security cameras. The exact hold time and button location vary by brand, but the steps stay consistent.
- Charge the camera. Connect the solar panel and wait until the battery hits at least 30%. Clean the panel first if it looks dusty or covered.
- Locate the reset button. Most cameras have a pinhole near the power port, battery compartment, or underside. Use a paperclip or SIM tool.
- Press and hold. Hold the reset button for 5 to 15 seconds. Watch for the LED to flash or change color. That signals the reset has started.
- Wait for reboot. The camera powers down and restarts. This takes 30 to 90 seconds.
- Re-pair through the app. Open the companion app, add the device as new, and follow the Wi-Fi setup prompts.
- Verify. Check the live feed, test motion detection, and confirm the solar panel is charging.
Brand-specific quick notes:
- Reolink: Hold the reset button about 10 seconds. The status LED flashes blue.
- Eufy: Remove the device from the app first, then hold the sync button 5 seconds.
- Wyze: Use the Wyze app device settings or press the physical reset button for 10 seconds.
- Ring: Hold the setup button 20 seconds until the light spins orange.
- Arlo: Soft reset through the app's device management settings, or the physical button for a full factory reset.
Mistakes to Avoid When Resetting a Solar Security Camera
Even simple resets go wrong when you skip details. These are the mistakes people make most often:
- Resetting with a dead battery. The camera can't process the reset command. Charge to at least 30% before you start.
- Not holding the button long enough. A quick tap won't trigger a reset. Most brands need 5 to 15 seconds of continuous pressure.
- Pressing the wrong button. Some cameras have both a power button and a separate reset button. Pressing the wrong one does nothing.
- Skipping the app re-pair. After a factory reset, the camera has no Wi-Fi credentials stored. It'll sit offline until you reconnect it through the companion app.
- Ignoring the solar panel condition. A dirty or shaded panel means the battery drains while you're trying to reset. Clean the panel and position it in direct sunlight first.
- Forgetting to note your settings. A factory reset wipes motion detection schedules and notification preferences. Screenshot or write down your custom settings before you reset.
Pro Tips for Keeping Your Solar Camera Running After a Reset
A successful reset is only the start. These habits prevent you from ending up back here next week.
Clean the solar panel monthly. Dust, pollen, bird droppings, and tree sap all block charging. Manufacturer specs for 2W to 6W panels assume direct, unobstructed sunlight. Even a thin layer of grime can cut output by half.
Position the panel correctly. Tilt it 20 to 45 degrees depending on your latitude. In the northern hemisphere, face it south. If trees are shading the camera site, trim branches or relocate the camera.
Update firmware after resetting. Go to your companion app's device settings and check for pending firmware updates. Outdated firmware is the #1 cause of connectivity failures across solar cameras.
Keep a maintenance schedule. Here's a practical monthly checklist:
- Wipe the solar panel and camera lens
- Verify the status LED shows normal charging
- Check the companion app for firmware updates
- Test motion detection and push notifications
- Confirm recordings are saving to SD card or cloud
Watch the battery in cold weather. Lithium-ion batteries lose 20 to 30% of their effective capacity below 32°F (0°C). If you're in a cold climate, position the solar panel where it gets winter sun, and consider a battery with a higher mAh rating.
Use a surge-protected power source. When the solar panel feeds into an indoor outlet adapter (common in some setups), a surge protector guards against electrical spikes that can brick the camera.
Solar Security Camera Reset FAQs
How do I reset a solar security camera without the app?
You can reset most solar security cameras without the app by holding the physical reset button for 5 to 15 seconds. The LED light will flash to confirm the reset. However, you'll still need the app to re-pair the camera to your Wi-Fi network after the reset completes.
Why won't my solar security camera reset?
The most common reason is a dead battery. A solar camera needs at least 30% charge to process a reset command. Connect the solar panel, clean it first, and let the camera charge for 30 to 60 minutes before retrying.
If it still won't reset, the battery itself may need replacement.
Does a factory reset erase my recorded footage?
A factory reset erases settings, Wi-Fi credentials, and app pairings, but it doesn't erase footage already saved to an SD card. Cloud recordings stay linked to your account. However, you'll need to re-pair the camera through the companion app before you can access either.
How long does it take to reset and re-pair a solar security camera?
The full process typically takes 2 to 5 minutes. The reset itself takes 30 to 90 seconds. Re-pairing through the companion app takes another 1 to 3 minutes depending on how fast your Wi-Fi connects the new device.
What should I do if my solar camera won't reconnect after a reset?
Check three things in order. First, confirm your router broadcasts on the 2.4GHz band, since most solar cameras won't detect 5GHz networks. Second, make sure the camera is within range of your Wi-Fi signal.
Third, restart your router and try the pairing process again.
Quick Decision Guide: Which Reset Path Is Right for Your Situation
Use this guide to match your problem to the right reset action.
| Your Situation | Recommended Action | Expected Outcome |
|---|---|---|
| Camera frozen or lagging | Soft reset (power cycle) | Camera restarts, settings preserved |
| Camera won't connect to Wi-Fi | Factory reset + re-pair in app | Fresh Wi-Fi credentials stored |
| After router or ISP change | Factory reset + re-pair in app | Camera finds new network |
| App shows "device not found" | Remove from app, then factory reset | Clean re-pair from scratch |
| Firmware update failed | Charge fully, then factory reset | Camera boots fresh, update retried |
| Solar panel not charging camera | Clean panel, wait 30 to 60 min, then reset | Battery recovers enough to process reset |
| Motion detection not working | Soft reset first, then factory reset if needed | Detection settings refreshed |
| Camera won't power on at all | Charge solar panel, replace battery if needed | Camera powers up, reset possible |
Should I reset or replace my solar security camera?
Replace it if the battery won't hold a charge after a full day of direct sunlight, the solar panel connector is physically damaged, or the camera won't power on after charging for several hours. A failed lithium-ion battery typically costs 30 to 60% of the camera's price to replace, depending on the brand. If the camera is more than three years old, aggregate buyer feedback suggests replacement often makes more sense than repair.
What's the difference between a soft reset and a factory reset?
A soft reset restarts the camera without erasing any settings. It's useful for freezes and minor glitches. A factory reset wipes everything: Wi-Fi settings, motion detection schedules, notification preferences, and app pairings.
Use a soft reset first. Only go to factory reset if the soft reset doesn't solve the problem.