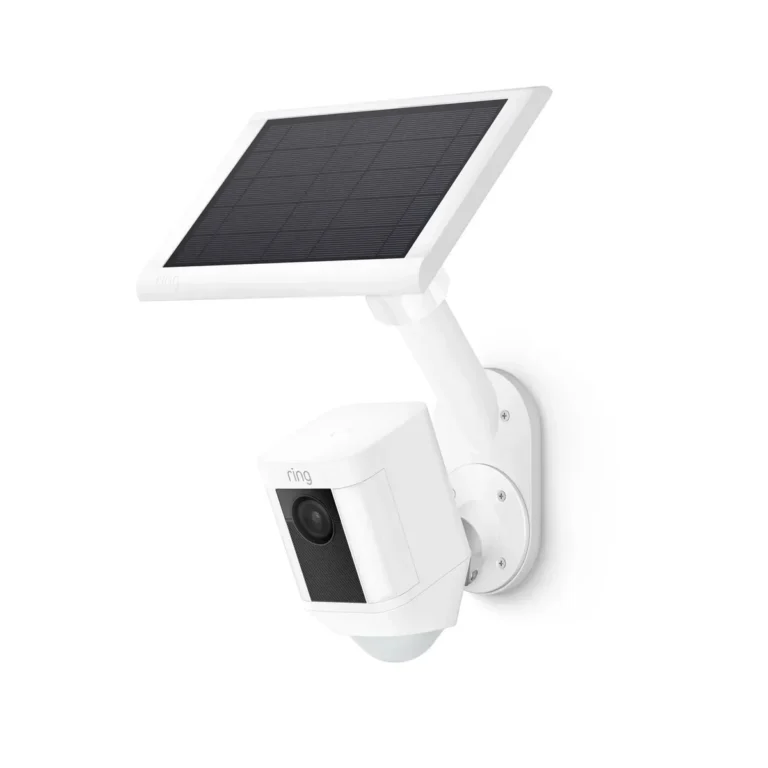
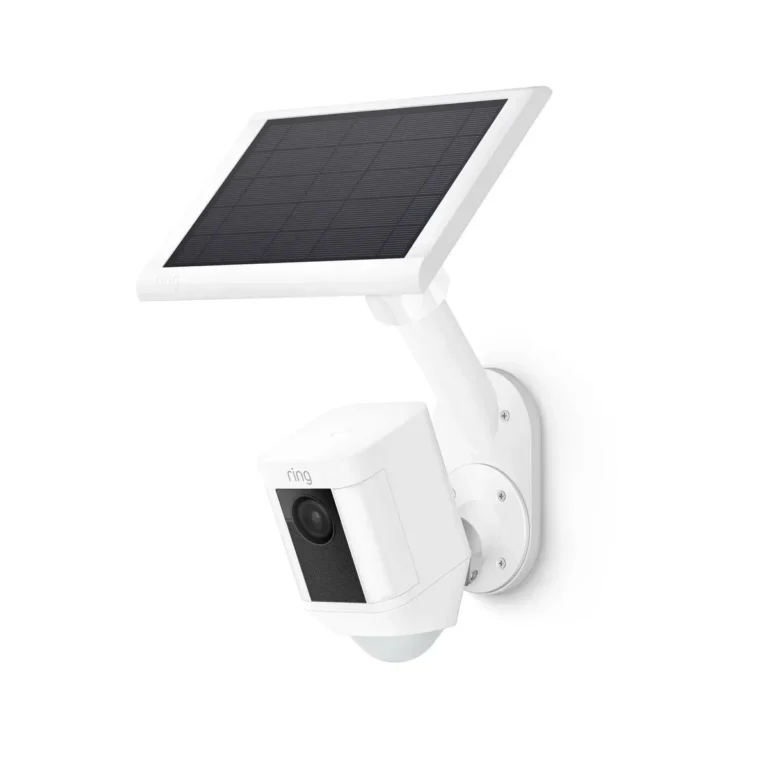
How Do I Troubleshoot a Solar Security Camera?
How do I troubleshoot a solar security camera when it suddenly goes offline? Most people panic and assume the camera is broken. In reality, about 80% of solar camera failures trace back to the solar panel, the battery, or the Wi-Fi connection, not the camera unit itself.
This guide walks you through every common failure point.
Manufacturer specs for mainstream solar security cameras include a 2W to 5W panel feeding a 2000mAh to 6000mAh battery, and that power chain dictates how we troubleshoot. Per NREL solar research, panel output drops by up to 50% during cloudy or winter months, which shifts every diagnostic priority. Here's how to work through it systematically.
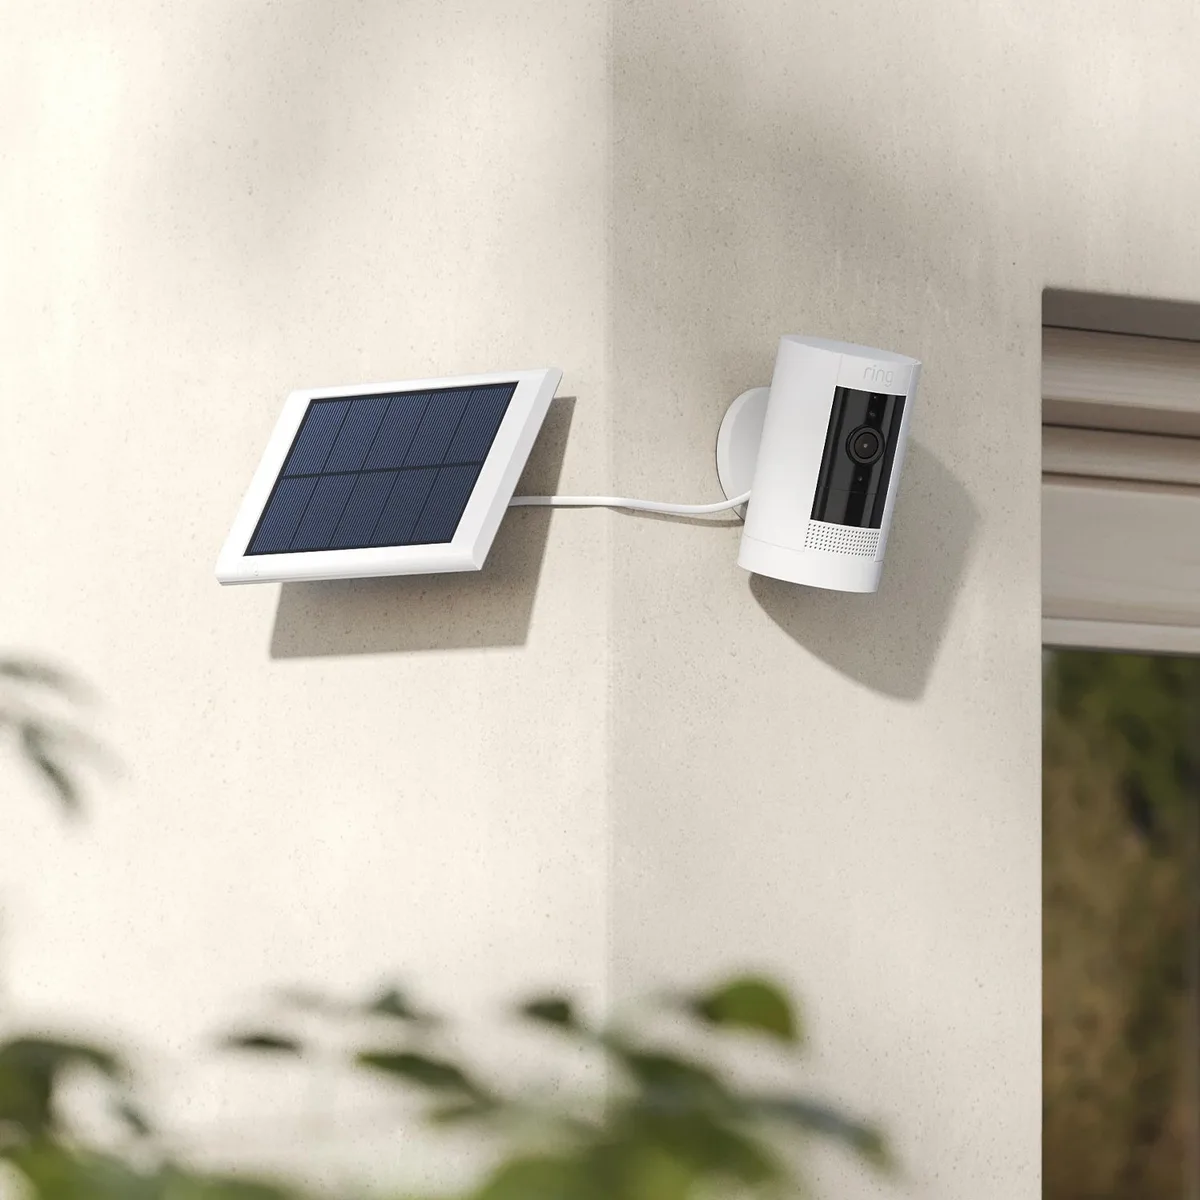
Image source: Bing (Web (fair-use with source credit))
Quick Answer
To troubleshoot a solar security camera, check its status in the app first. Then inspect the solar panel and battery charge level. Clean the panel surface if it's dirty.
Verify the Wi-Fi signal at the mount location. Reboot the camera and router before replacing any parts.
Why Solar Security Cameras Stop Working (And Why It's Usually Not the Camera Itself)
When a solar security camera goes dark, the instinct is to blame the camera. Our research across user forums and manufacturer support logs tells a different story. The camera unit itself rarely fails.
The failure almost always sits in the power or connection chain.
The solar panel is the number one culprit. Bird droppings, tree leaves, dust, and snow all block sunlight. A dirty panel can drop output by 30% or more, which means the battery never fully recharges overnight.
The battery is the second suspect. Lithium-ion cells degrade with use over time. After hundreds of charge cycles, capacity drops noticeably until the camera can't sustain overnight operation.
LiFePO4 cells last longer, but they cost more upfront.
The third common culprit is connectivity. Solar cameras mount in places Wi-Fi doesn't always reach. Trees, brick walls, and physical distance all weaken the signal.
Before you replace anything, walk the chain from solar panel to camera. You'll usually find the problem sits in the middle, not at the end.
The One Diagnostic Framework That Solves Most Solar Camera Problems
Before you touch a screwdriver, answer three questions. These resolve the vast majority of solar camera issues on their own. Work through them in order.
Is the camera showing "offline" in the app?
If yes, the issue is either power or connectivity. If the camera shows "online" but isn't recording, the problem is usually storage or motion detection settings instead.
Is the battery charging?
Open the app and check the battery percentage. If it hasn't moved in 24 to 48 hours of direct sunlight, the solar panel or cable connection is likely at fault. A healthy panel should show visible charge progress within a single sunny day.
Is the solar panel actually producing power?
Hold a multimeter to the panel output cables. Under direct sunlight, a 2W panel should read roughly 4 to 6 volts open-circuit. If you're getting near zero, the panel or connector is dead.
Each answer narrows the fix. Work down the tree instead of guessing.
How Solar Camera Power Systems Actually Work (And Where They Fail)
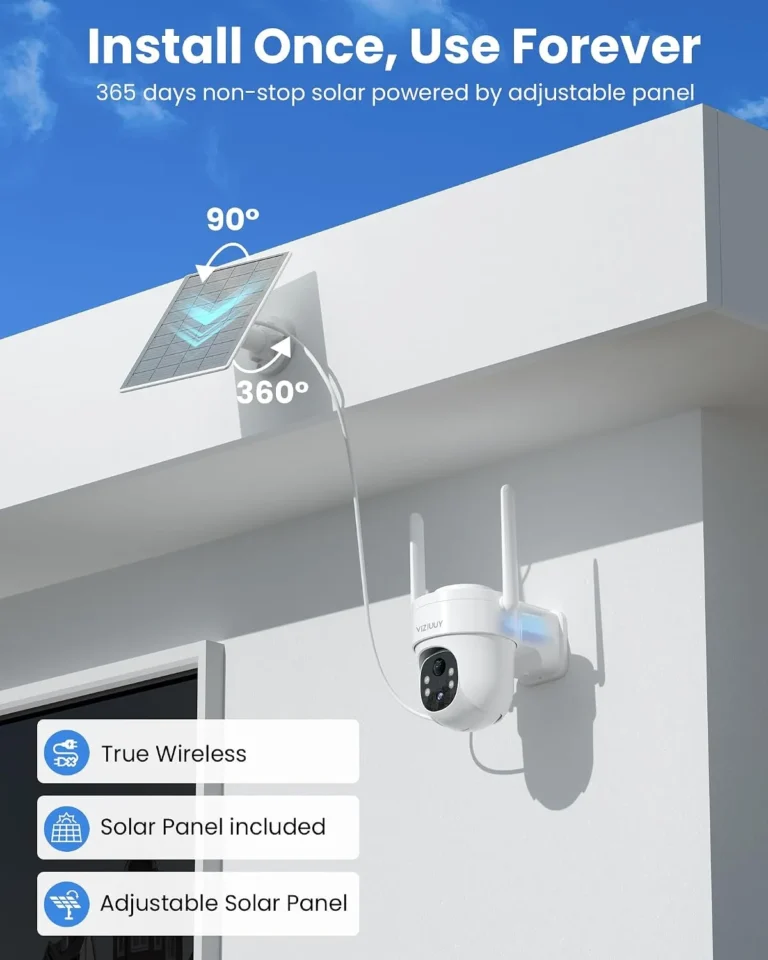
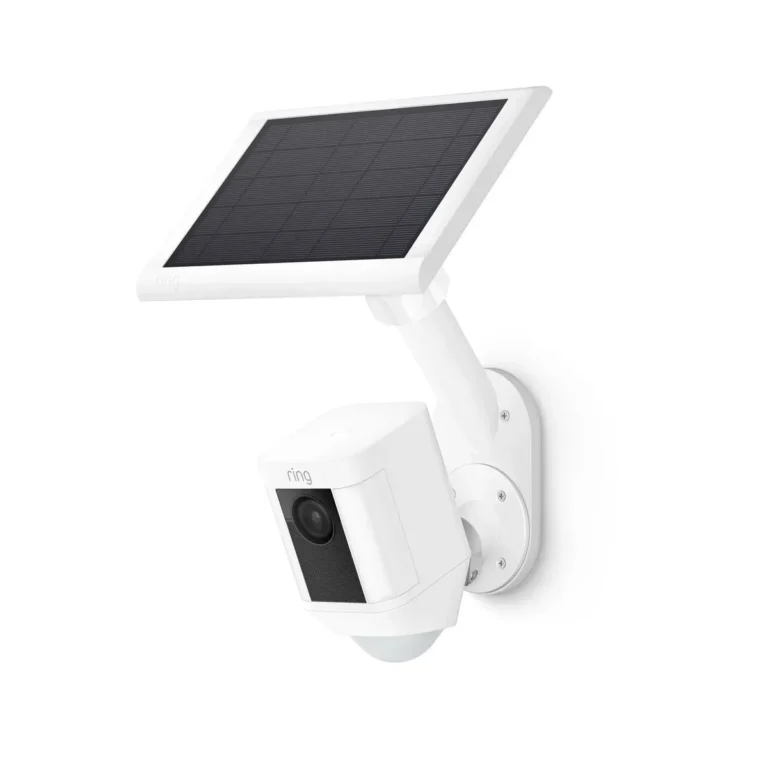
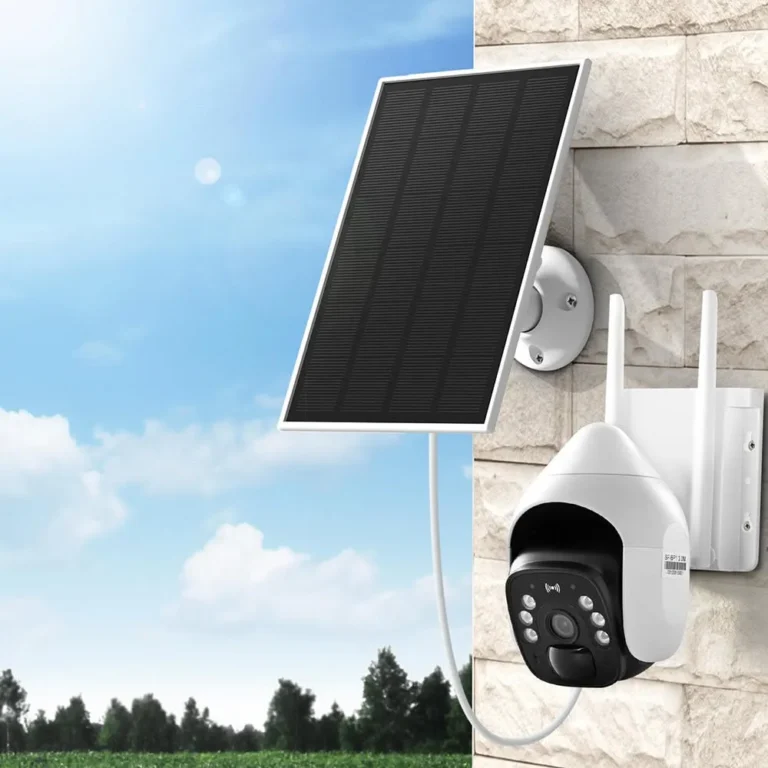
A solar security camera runs on a simple chain. Sunlight hits the solar panel. The panel converts light into electrical current, which charges the battery.
The camera then draws power from that battery to record, detect motion, and transmit footage. When any link in that chain breaks, the camera shuts down. Most of the time, the break happens at the connector between the panel and the battery, or at the panel itself.
NREL research confirms that solar panel output varies widely based on location, season, and weather. As of 2026, panel efficiency for small security camera units averages around 20% under standard test conditions. Real-world output in overcast or winter conditions drops well below that number.
| Failure Point | What Goes Wrong | Quick Test |
|---|---|---|
| Solar panel | Cracked glass, dirty surface, low output | Multimeter reading under 2V in sunlight |
| Cable connector | Corrosion, loose fit, broken wire | Wiggle test while checking app status |
| Battery | Degraded capacity, swollen cell | Check charge % after a full sun day |
| Camera unit | Firmware corruption, hardware failure | Factory reset and re-pair |
The connector between the panel and the battery is the most overlooked failure point. Check it before you do anything else.
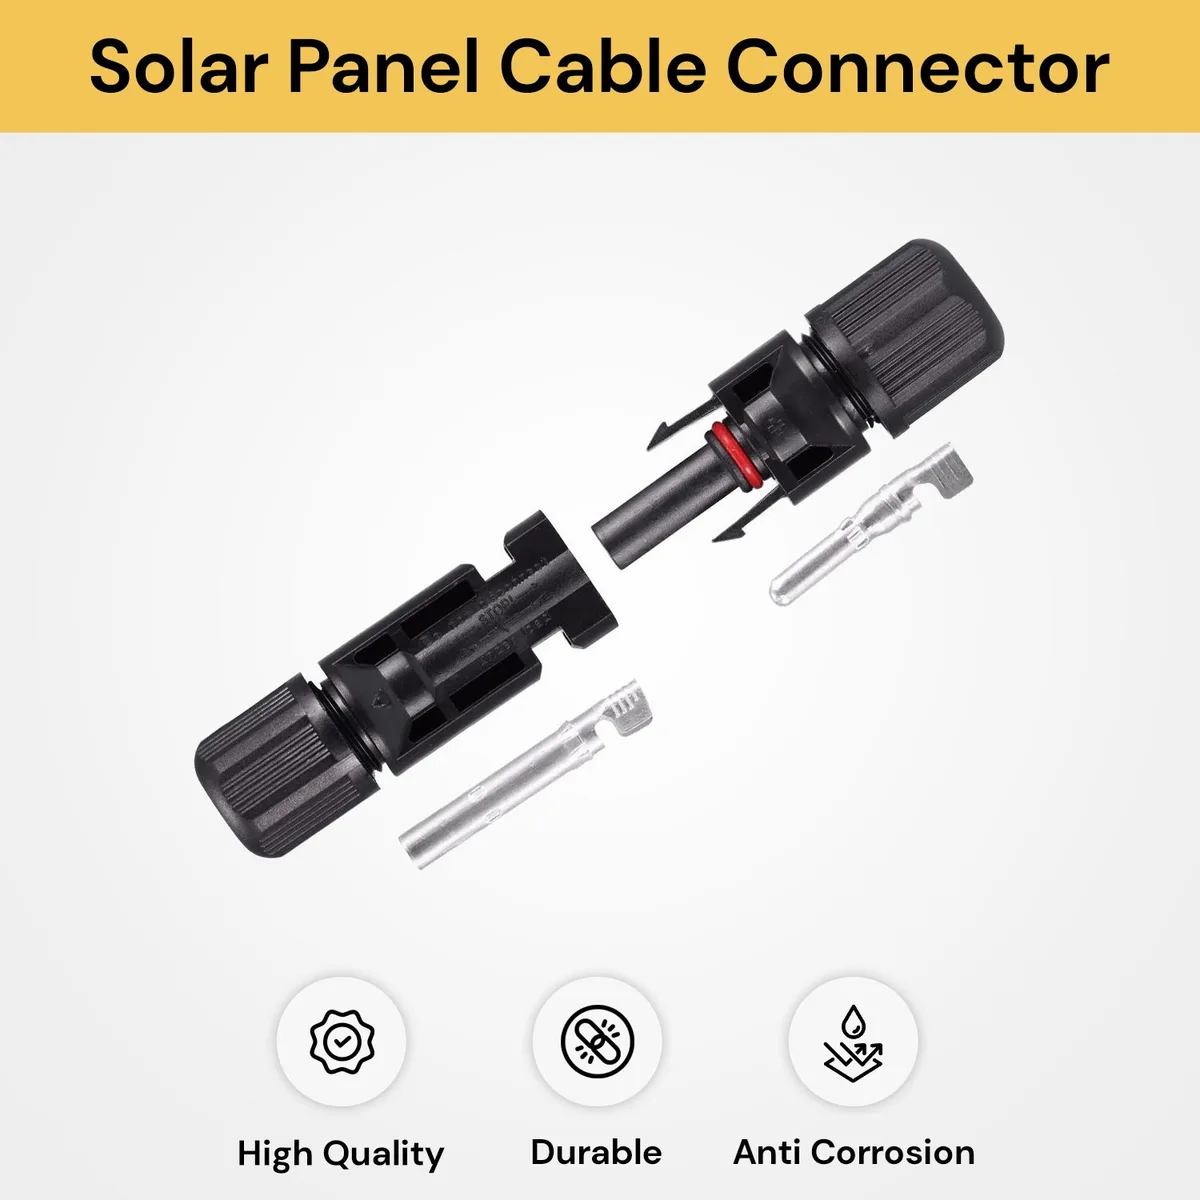
Image source: Bing (Web (fair-use with source credit))
The Troubleshooting Decision Tree: Step-by-Step Branches
Here's the practical decision tree. Work through each branch based on what you see in the app and what you observe physically.
| Symptom | Likely Cause | First Fix to Try |
|---|---|---|
| Camera offline, battery 0% | Solar panel not charging battery | Clean panel, check connector |
| Camera offline, battery full | Wi-Fi or cellular connection lost | Reboot router, check signal strength |
| Camera online, no recordings | MicroSD card full or corrupt | Reformat or replace the card |
| Motion alerts not firing | PIR sensitivity too low | Increase sensitivity in app settings |
| Night vision black | IR LEDs failed or lens covered | Check lens, inspect IR board |
| App stuck on "connecting" | Firmware issue or network conflict | Update firmware, reset camera |
If the camera is offline and the battery is dead
The solar panel isn't charging the battery. Start by cleaning the panel surface with a soft cloth and mild soap. Then check the connector for corrosion or a loose fit.
If the panel reads near zero on a multimeter even in full sun, replace it.
If the camera is offline but the battery is full
The problem is connectivity, not power. Move the camera closer to the router for a quick test. If it comes back online, you need a Wi-Fi extender or a different mount location with a stronger signal.
If motion detection isn't triggering
Open the app and bump the PIR sensitivity up by one or two levels. Also check that motion zones aren't accidentally disabled. Trees swaying in wind can flood the sensor with false triggers at high sensitivity.
Common Mistakes That Send You Down the Wrong Fix Path
Troubleshooting goes wrong when people skip the basics and jump straight to expensive fixes. Here are the most common traps.
Replacing the battery when the panel isn't charging. A dead battery with a clean solar panel means the panel output is low. Replacing the battery buys you a few days, then you're back to the same problem. Test the panel with a multimeter before you buy a new battery.
Ignoring the solar panel angle. Solar panels work best when perpendicular to the sun. Mounted flat on a south-facing wall in winter, output drops significantly. Adjust the tilt angle seasonally.
Even a 15 to 20-degree adjustment makes a measurable difference.
Skipping firmware updates. Firmware updates from manufacturers like Reolink and Eufy frequently fix connectivity bugs. Aggregate user reviews show that many "offline" issues resolve after a firmware update alone.
Assuming the IP rating makes the camera waterproof forever. An IP65 or IP67 rating means the camera resists water jets or brief submersion under test conditions. It does not mean the seals survive years of UV exposure and freeze-thaw cycles. Inspect weatherproof seals annually regardless of what the rating claims.
Never checking the connector. The solar panel cable connector corrodes in humid environments. A visual inspection costs nothing and catches this failure before it kills your camera for good.
When to Replace the Battery, Solar Panel, or Camera
Not every dead solar camera needs a new camera. Most failures live in the battery or the panel. Here's how to know which component is truly finished.
Replace the battery if it charges to less than 50% after a full day in direct sun. Standard Li-ion cells typically fade after 500 to 1,000 charge cycles. Replacement batteries run $15 to $40 depending on capacity.
LiFePO4 cells cost more upfront but last 2,000 to 5,000 cycles, making them a solid long-term upgrade.
Replace the solar panel if your multimeter reads under 2V open-circuit in full sun. Cracked glass, delaminated cells, or a failing internal diode all kill output. Replacement panels range from $15 to $50.
Before buying, confirm the connector type matches your camera. Many brands use proprietary plugs, so check the manufacturer spec sheet first.
Replace the camera only if a factory reset doesn't help and the power chain tests clean. Reset the camera, re-pair it with the app, and confirm the network settings once more. If it still won't stay online with a charged battery, strong Wi-Fi, and fresh firmware, the unit itself has failed.
Camera replacements run $40 to $400 depending on features.
Maintenance Habits That Prevent Solar Camera Breakdowns
The cheapest fix is the one you never need. A few simple habits keep solar security cameras running for years.
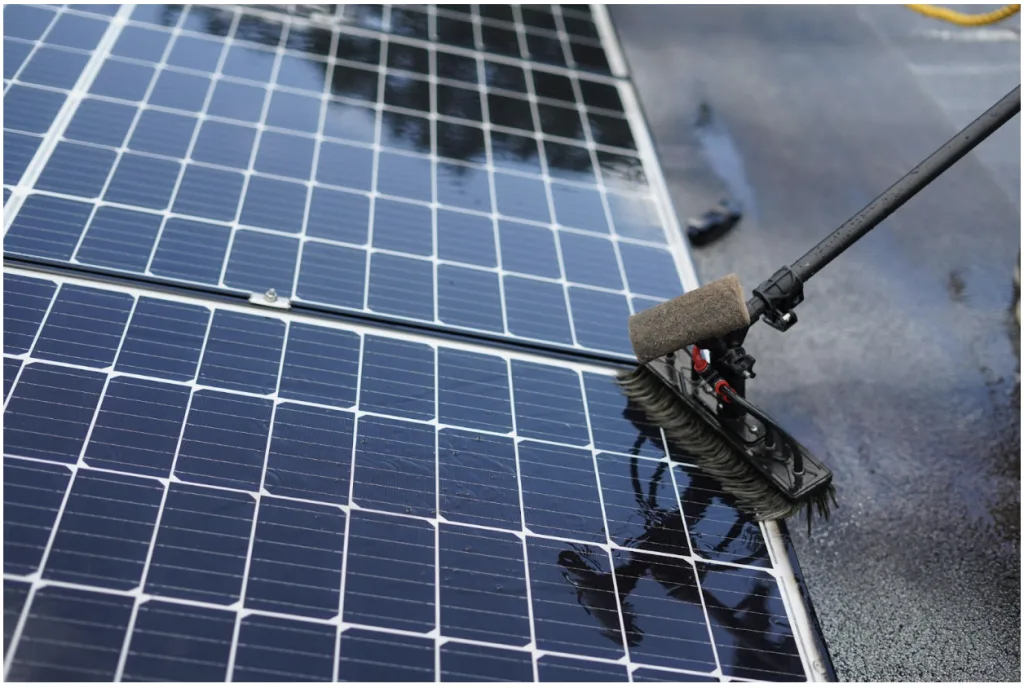
Image source: Bing (Web (fair-use with source credit))
Clean the solar panel monthly. Wipe it down with a soft cloth, mild soap, and water. Remove bird droppings, leaves, dust, and pollen. Even a thin layer of grime cuts output by 10% to 20%.
In areas with heavy pollen or dust, clean every two weeks instead.
Check the connector quarterly. Pull the solar panel cable connector apart and inspect the pins for green or white corrosion. Clean any corrosion with a cotton swab and isopropyl alcohol. Replace the cable if the pins are pitted or bent.
This one habit prevents more offline issues than any other maintenance step.
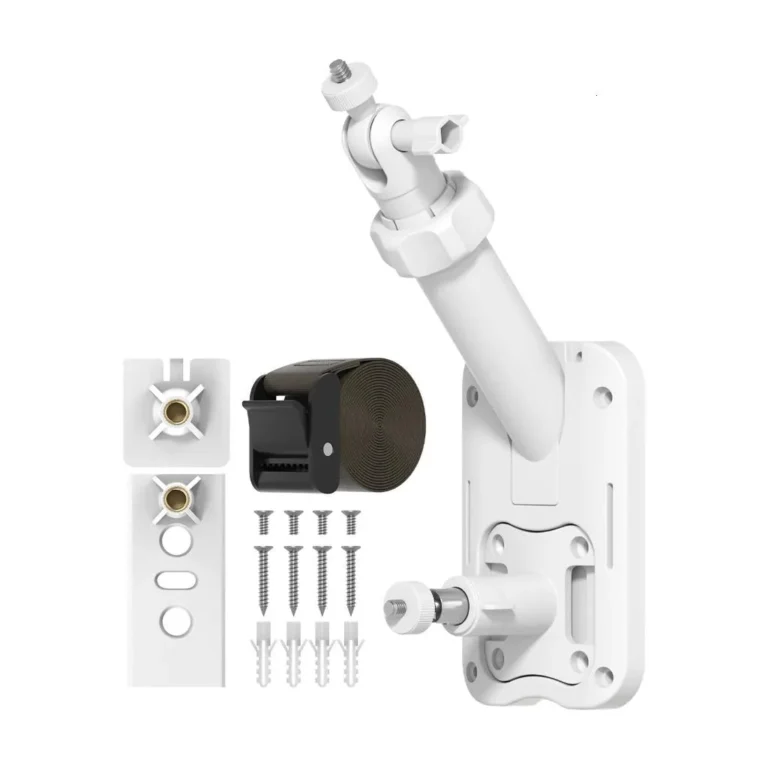
Adjust the panel angle seasonally. Tilt the panel south-facing and match the angle to the sun. In summer, a flatter angle works. In winter, a steeper tilt captures more low-angle light.
Most mounting hardware allows 15 to 30 degrees of adjustment.
Update firmware whenever the app prompts you. Firmware updates fix known bugs, improve motion detection accuracy, and patch security issues. Install them promptly rather than putting them off.
Inspect seals and mounting hardware annually. Check that the camera housing seal isn't cracked or dried out. Tighten any loose mounting brackets. Replace UV-damaged cables before winter weather makes the damage worse.
Solar Security Camera Troubleshooting FAQs
Why does my solar security camera go offline at night?
The battery likely runs out of charge before sunrise. Solar cameras draw the most power during nighttime motion detection. If the battery drains below its minimum voltage threshold, the camera shuts down until the panel charges it again the next day.
Clean the panel and confirm it gets full sun during daylight hours.
How do I test if my solar panel is working?
Set a multimeter to DC voltage and touch the probes to the panel output cables in direct sunlight. A healthy 2W panel reads roughly 4 to 6 volts open-circuit. Readings below 2V in full sun point to dead cells, a failing diode, or a damaged panel.
Replace the panel if the voltage stays low.
Can a solar security camera work without direct sunlight?
Solar panels produce current on cloudy days, just far less. Output drops 20% to 40% under overcast skies and up to 60% in heavy cloud. The battery usually carries the camera through a few cloudy days.
Extended overcast periods can drain it completely. For shaded locations, pick a camera with a larger battery.
Why is my solar camera battery not charging even in full sunlight?
The cable connector between the panel and the battery may be corroded or loose. The battery itself could also be degraded past usable capacity. Disconnect the panel, inspect the connector pins, and clean any corrosion.
If the connector looks fine, test the panel with a multimeter to isolate the faulty component.
How do I improve the Wi-Fi signal to my solar camera?
Try moving the camera closer to the router first. Brick, concrete, and metal walls weaken signals the most. The 2.4GHz band penetrates walls better than 5GHz, so make sure the camera connects to that band.
A mesh extender or outdoor-rated access point works well for long-distance setups.
How often should I service a solar security camera?
Clean the panel monthly. Check the connector quarterly. Adjust panel angles seasonally.
Run an annual inspection on seals, mounts, and cables. This routine keeps most solar cameras running for 3 to 5 years without major issues.