Where Should a Solar Security Camera Be Installed?
Where should a solar security camera be installed? The answer depends on your property layout, how much sun a spot gets, and what you actually need to monitor. There's no single magic location that works for every home.
But there are wrong answers that lead to dead batteries, blind spots, and cameras that quit after a few months.
Manufacturers typically require 2 to 4 hours of direct sunlight per day for reliable solar charging. The National Renewable Energy Laboratory (NREL) calculates ideal solar panel tilt as your latitude plus or minus seasonal adjustment. Getting placement right means fewer maintenance headaches down the road.
Here's how to think through it.
Quick Answer
A solar security camera belongs 8 to 10 feet high. Mount it on a south-facing wall, eave, or pole. The solar panel needs 2 to 4 hours of direct sunlight daily.
Point the camera at doors, gates, or driveways. Check Wi-Fi signal strength before drilling any holes.
Why Your Solar Security Camera Placement Makes or Breaks Your Setup
Bad placement is the single biggest reason solar security cameras underperform. If the solar panel sits in shade, the battery drains faster than it charges. If the camera angle is too steep, you'll capture treetops instead of the driveway.
Aggregate buyer feedback across solar camera brands reports battery life as the leading complaint. In most cases, the root cause isn't a defective battery at all. It's a bad location that never received enough sun to begin with.
For example, a camera mounted on a north-facing wall in the Northern Hemisphere might get 30 minutes of direct sunlight in winter. The battery would drain within two weeks, and the owner would assume the camera failed. It didn't fail.
The location did.
Every decision in the placement workflow that follows depends on five key variables. Sun exposure, field of view, and mounting surface each pull in different directions. Getting these right turns a frustrating setup into something that just works.
The Five Variables That Decide Where Your Camera Goes
Before you pick a spot, evaluate these five factors in order of priority:
| Variable | What to Check | Why It Matters |
|---|---|---|
| Sun exposure | Hours of direct sunlight on candidate spots | Drives solar charging performance |
| Wi-Fi signal strength | Signal strength at each mounting location | Determines whether the camera stays connected |
| Field of view | What the camera captures at that angle | Prevents blind spots and wasted views |
| Mounting surface | Wall, eave, pole, or fence condition | Affects long-term stability and durability |
| Entry point coverage | Doors, driveways, gates, side yards | Ensures you're watching what actually matters |
Sun exposure is the variable that changes most seasonally. In the Northern Hemisphere, south-facing panels capture the most light year-round. As of 2026, solar panel efficiency for security cameras typically ranges from 15 to 22 percent.
Every shaded hour genuinely costs you battery life.
Wi-Fi signal is the second variable to nail down. Walk to each candidate spot with your phone and check your signal bars. If you get fewer than two bars, the camera will drop connection or stream at unusable speeds.
Don't overlook the fifth variable either. A camera aimed at a blank siding wall is protecting nothing. Mark every door, gate, and driveway you want covered before you decide on mounting hardware.
How to Find the Best Spot: A Step-by-Step Placement Workflow
No tools or guesswork needed for the first phase. This workflow takes about 30 minutes of observation and works for any property type. Follow the steps in order.
Step 1: Map your entry points. Walk your property and mark every door, gate, driveway, and side yard you want covered. This becomes your coverage checklist for the rest of the process.
Step 2: Assess sun exposure at each spot. Use a free solar path app or simply observe the area at different times of day. If a spot gets less than 2 hours of direct sunlight, it's not a good solar camera location. Trees lose leaves in winter and gain them in summer, which shifts shade patterns significantly.
Step 3: Check Wi-Fi signal strength. Stand at each candidate spot with your phone open to a speed test app. Two bars of signal or more means reliable streaming and cloud uploads.
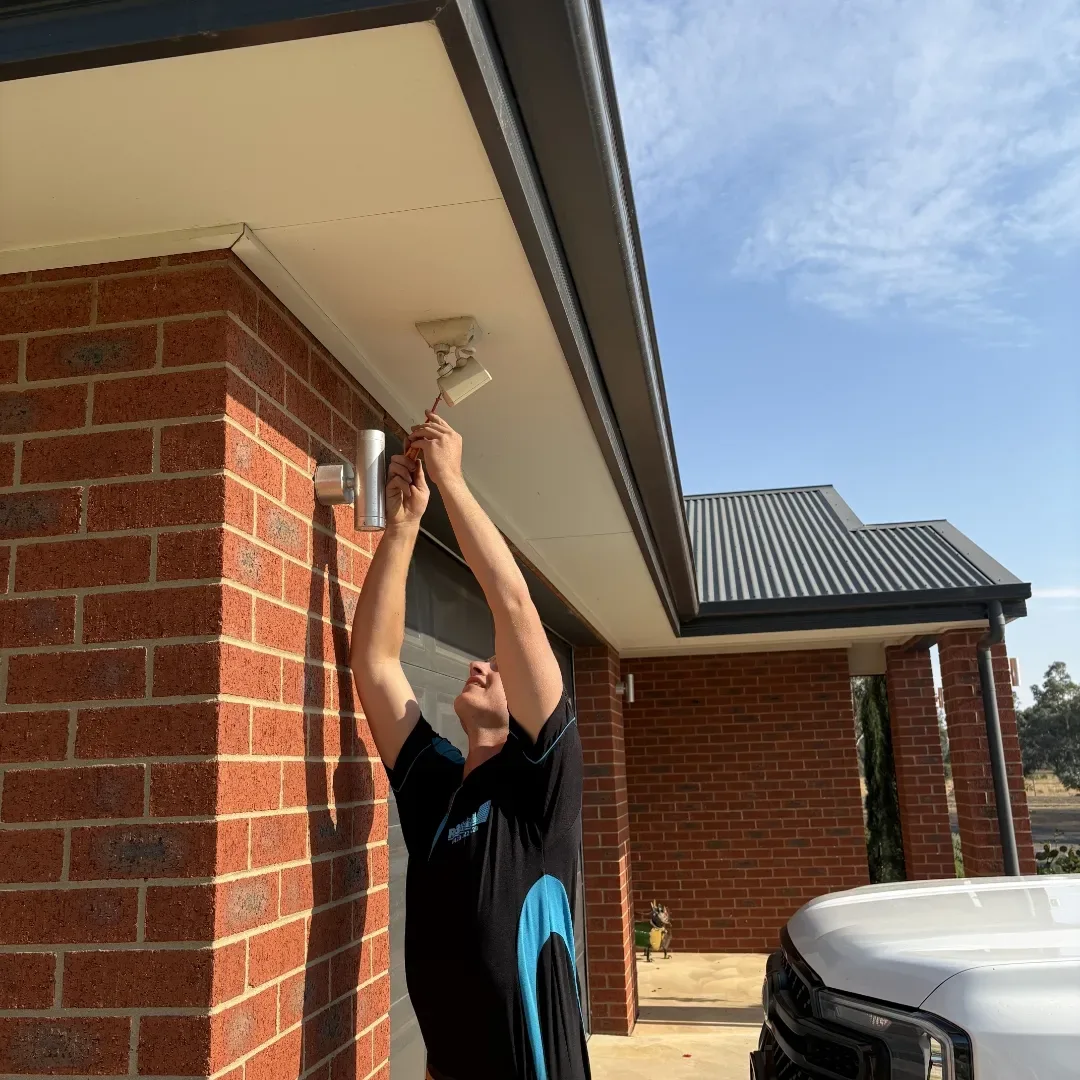
Step 4: Mount at 8 to 10 feet high. This height keeps the camera out of easy reach. It also gives the best downward angle for capturing faces and license plates.
Step 5: Angle the solar panel for maximum sun. In the Northern Hemisphere, aim the panel south. Tilt it roughly equal to your latitude. This maximizes charging efficiency across all four seasons.
Step 6: Test before you commit. Use temporary adhesive or a clamp mount first. Let the camera run for 48 hours. Check the app for live feed quality and battery percentage before drilling permanent holes.
Solar Camera Placement Mistakes That Leave You Vulnerable
If any of these sound familiar, you're in good company. They're the most common mistakes reported in solar camera support channels and installer forums.
Mistake 1: Mounting the solar panel where it gets shade for half the day. A panel that only receives direct sun for one hour will never keep up with the camera's power draw. You'll end up with a dead camera by mid-afternoon.
Mistake 2: Pointing the camera at a blank wall instead of an entry point. A camera that watches siding but misses the front door isn't protecting anything. Always aim at doors, gates, or the driveway first.
Mistake 3: Installing at the wrong height. Below 6 feet, the camera is easy for someone to tamper with or cover. Above 12 feet, you'll struggle to aim it accurately or clean the panel.
Mistake 4: Ignoring Wi-Fi dead zones. A camera that drops signal every few minutes is arguably worse than no camera at all. It misses footage, drains the battery on failed connections, and frustrates you daily.
Mistake 5: Skipping the test run before permanent installation. Many installers drill holes first and test second. That often leaves them with a blind spot they can't fix without a fresh set of holes in the wall.
Mistake 6: Forgetting about seasonal shade changes. A spot that's perfect in June might be buried in tree shadow by December. Always check the location in both winter and summer before finalizing.
Expert Placement Tips Most Installers Don't Share
Here are placement strategies that go beyond the basics and come from real-world installer experience.
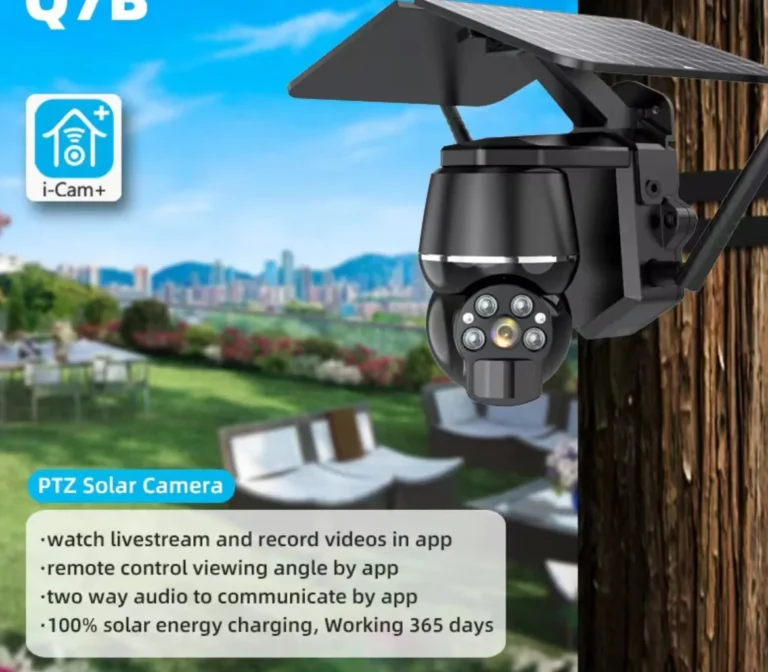
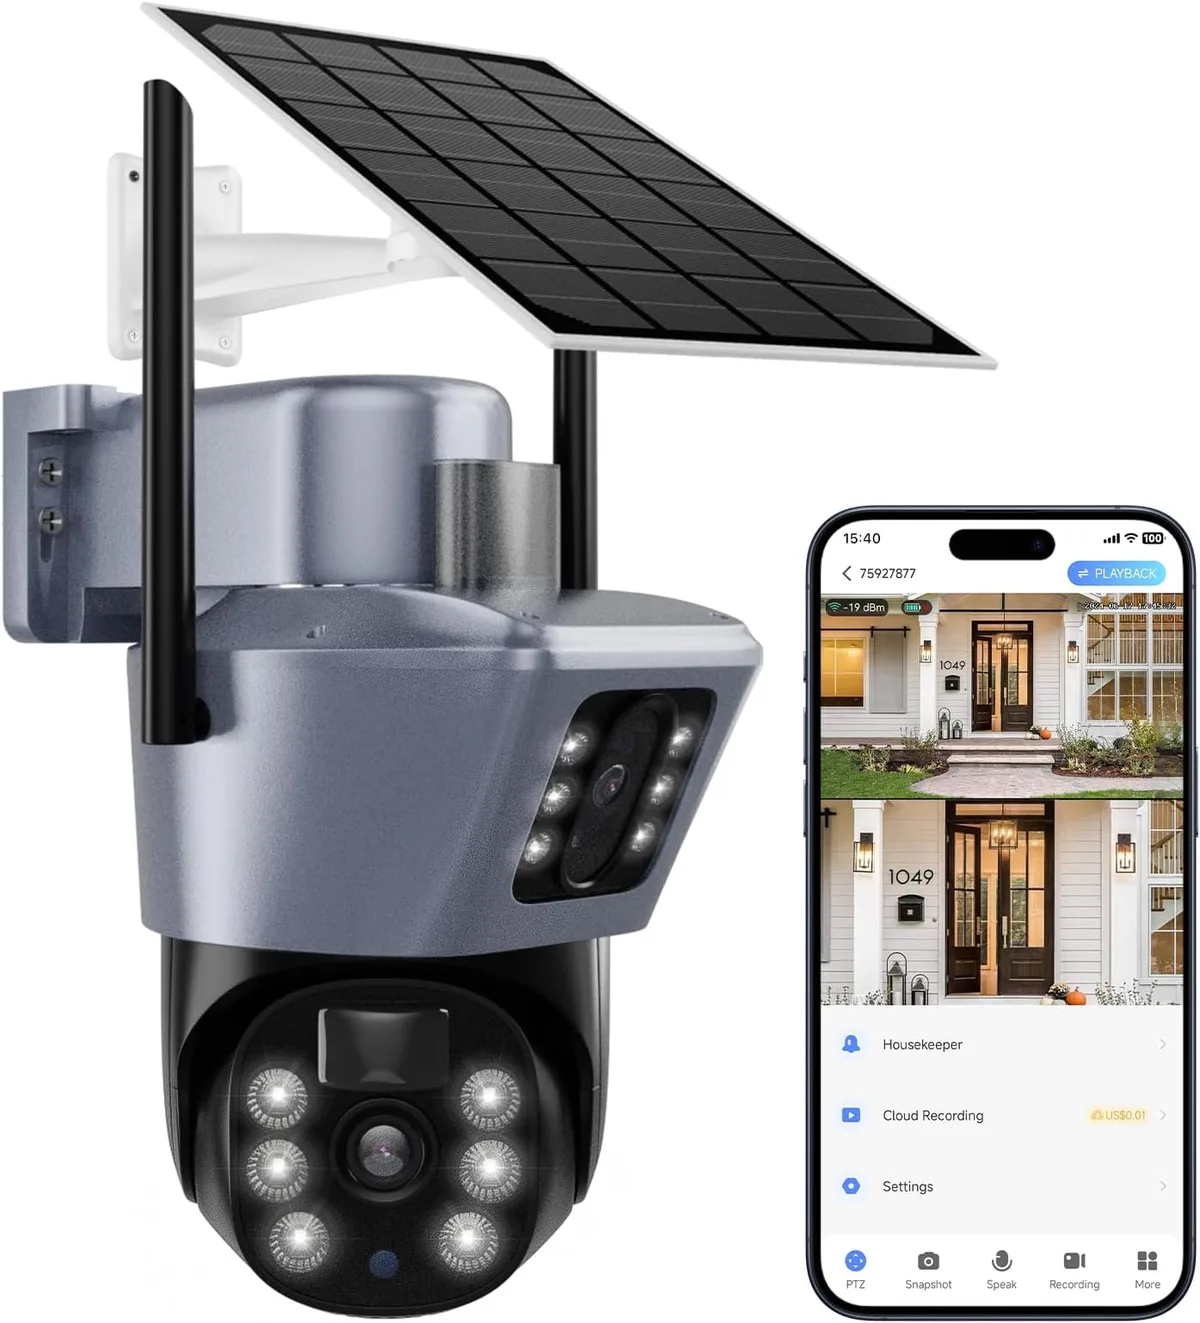
Use a wide-angle solar PTZ camera for large properties. A pan-tilt-zoom solar camera can cover an entire yard from a single mounting point instead of needing three or four fixed cameras. This reduces cost, simplifies wiring, and concentrates your solar panel placement in one optimal spot.
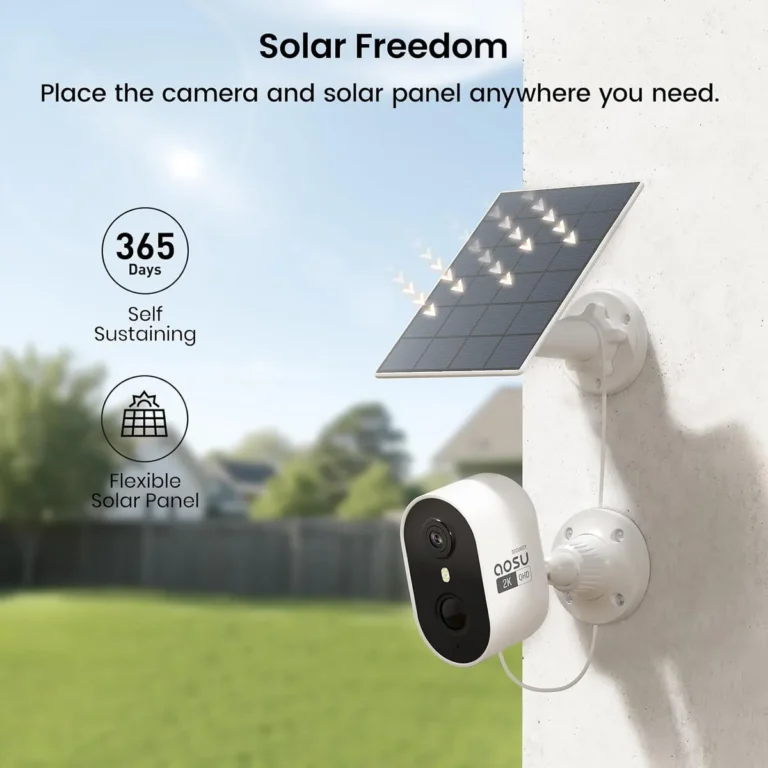
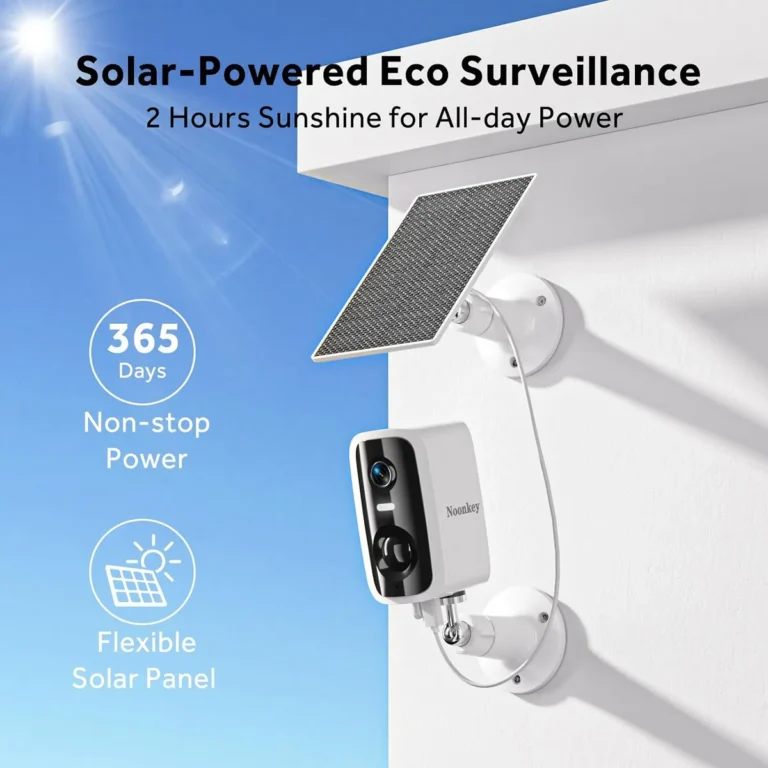
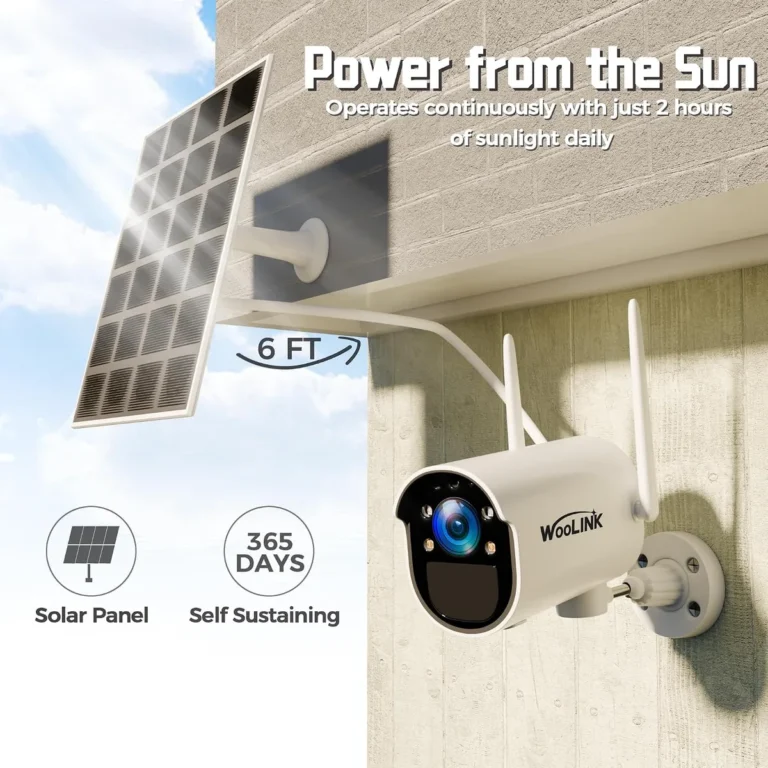
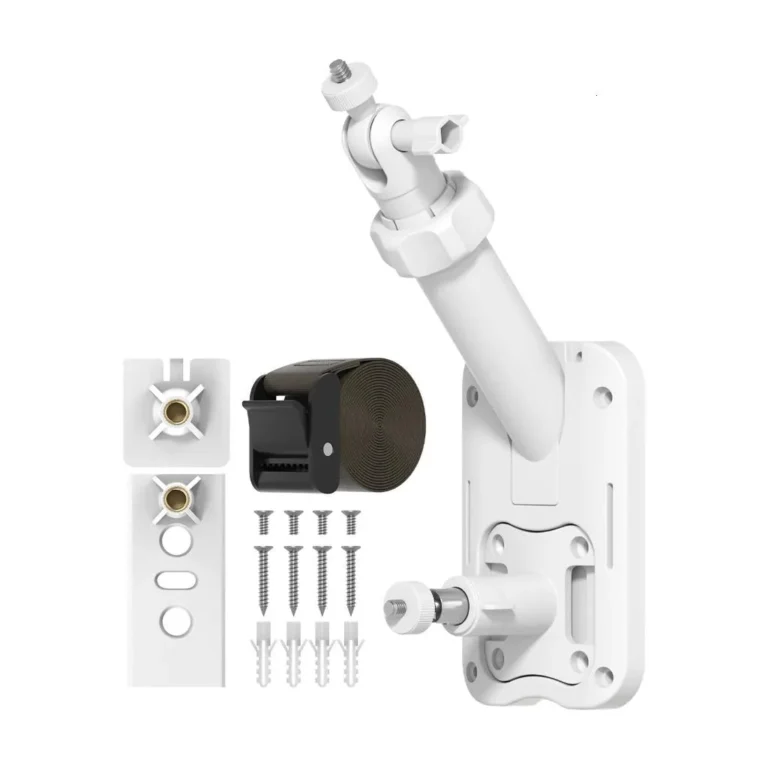
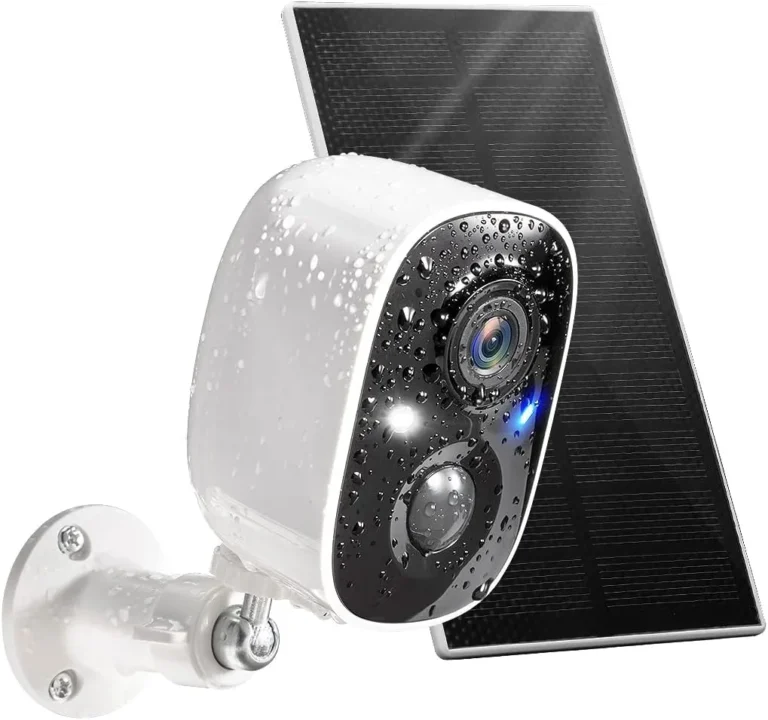
Mount the solar panel separately from the camera. If the camera spot and the sunniest spot aren't the same, use a detachable panel with a longer cable. Most detachable solar panels include 10 to 15 feet of cable, which gives you flexibility to split the two locations.
Aim the camera at an angle relative to traffic flow. Cameras positioned at a 30 to 45 degree angle relative to an approaching path of travel capture faces far more clearly than those aimed straight on. Motion detection also triggers more reliably this way.
Add a second camera at your side gate. Most homeowners focus everything on the front door. Side gates and back gates are where break-ins often happen. A smaller, inexpensive solar camera at a secondary entry point dramatically improves overall coverage.
Test night vision before you finalize. Walk your property at night after mounting the camera. Check the infrared range and see if reflective surfaces like walls or fences wash out the image. Adjust the angle until night footage looks clean and readable.
Seasonal Adjustments and Long-Term Maintenance
Solar security cameras aren't install-and-forget devices. They need periodic care to stay reliable through every season. Most of this maintenance takes just a few minutes.
Cleaning the Solar Panel
Dust, pollen, bird droppings, and snow all block sunlight and reduce charging efficiency. Manufacturer specifications recommend cleaning the panel every one to three months. Use a soft cloth and plain water.
Avoid harsh chemicals, which can degrade the panel's anti-reflective coating over time.
Adjusting the Panel Seasonally
In the Northern Hemisphere, lower the panel tilt in winter when the sun sits lower in the sky. Raise it back in summer. [The U.S.
Department of Energy](https://www.energy.gov) recommends seasonal adjustments to optimize solar panel output for fixed installations. Even a 15 to 20 degree change can improve winter charging by 10 to 15 percent.
Battery Health and Firmware
Lithium batteries in solar cameras typically last 300 to 500 full charge cycles. If the app reports significantly faster battery drain than before, the battery may be aging. Some manufacturers sell replacement battery packs for their solar camera models.
Check for firmware updates every few months. Updates often improve motion detection accuracy and battery management algorithms. Keeping the camera's software current prevents small bugs from becoming real problems.
Frequently Asked Questions
What is the ideal height for mounting a solar security camera?
Most manufacturers recommend 8 to 10 feet above the ground. This height keeps the camera out of casual reach while providing a good downward angle for capturing faces and license plates. Below 6 feet, tampering becomes a real risk.
What direction should a solar security camera face for best charging?
In the Northern Hemisphere, the solar panel should face south. In the Southern Hemisphere, it should face north. This orientation captures the most direct sunlight throughout the year and keeps the battery charged reliably.
How can I check if a location gets enough sun?
Use a free solar path or sun-tracking app to observe the spot at different times over several days. You need at least 2 hours of direct, unobstructed sunlight per day. Trees, roof overhangs, and neighboring buildings all count as obstructions.
Does cold weather affect solar security camera performance?
Yes, cold temperatures reduce lithium battery capacity. A camera rated for 2,000 mAh might only deliver 1,500 mAh in freezing conditions. Snow on the panel compounds the problem.
Keep the panel clear and consider an insulated mount if you live in a harsh climate.
Can I mount a solar security camera on a tree or fence?
Yes, provided the mounting hardware is secure and the surface can support the weight. Most solar security cameras weigh between 0.5 and 1.5 kg. Use appropriate screws and ensure the bracket won't loosen over time from wind or vibration.
Choosing Your Final Camera Location: The Decision Guide
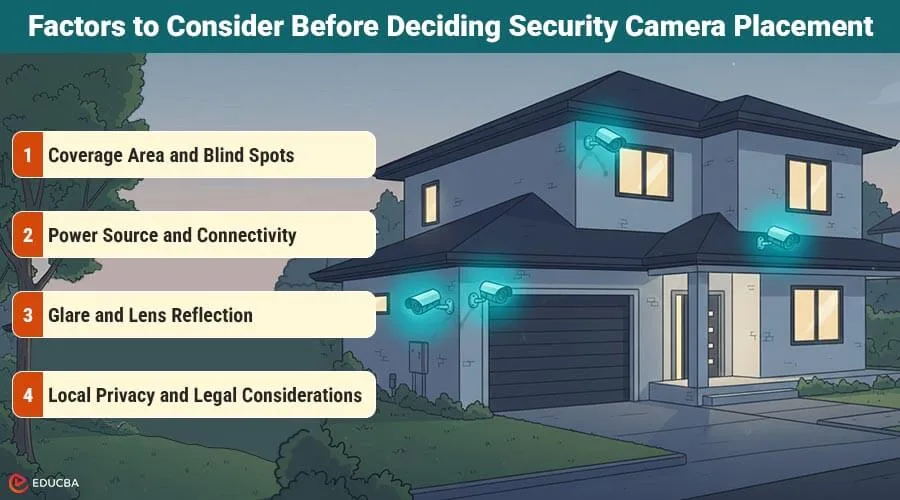
By now you have the full picture. But if you're still weighing options, here's a simple decision flow that pulls everything together.
If you're in a cold climate: prioritize sun exposure over Wi-Fi convenience. A camera that stays charged but drops signal is easier to fix than one that dies from lack of sun. Mount the solar panel at the sunniest spot and run a longer cable to the camera if needed.
If you're in a warm, sunny climate: focus on shade management and overheating prevention. Mount the camera under an eave or awning to protect it from direct midday heat. Ensure the panel itself still gets full sun.
If you're in an urban area with heavy building shade: use a detachable solar panel mounted at a higher, sunnier point. Consider a 4G LTE camera instead of Wi-Fi if your router can't reach the location.
If you're in a rural or remote area: a pole-mounted solar camera with a wide field of view covers the most ground from a single point. Ensure clear sightlines to avoid blind spots.
Before you drill anything permanent, run through this checklist:
- Sun exposure confirmed at 2 or more hours per day
- Wi-Fi signal tested at the mounting spot
- Camera aimed at the most critical entry point
- Mounting height between 8 and 10 feet
- Solar panel angled for your hemisphere and latitude
- Test run completed before permanent drilling
- Night vision verified under real conditions
If every box checks out, you've found a location that works. If one item is off, revisit that variable before you drill. Getting placement right the first time saves you the frustration of remounting, rewiring, and dealing with a dead battery later.